A few weeks ago at an estate sale I found this old saw set by Chas. Morrill. It was looking pretty rough from lack of use, but cleaned up nicely. The lower handle has something like JB Weld on it, but I can't figure out why since there are no evident cracks. Perhaps it was to make the handle more comfortable for the user.
 |
| Charles Morrill saw set |
 |
| Inside of upper handle |
 |
| Inside of lower handle |
 |
| Top side of business end |
 |
| Bottom side |
The other markings on the set are as follows:
 |
| Bottom of lower handle: CHAS. MORRILL REG U.S. PAT. OFF. NEW YORK |
 |
| Right side of lower handle: TRADEMARK (APEX in TRIANGLE) REG. U.S. PAT. OFF. |
 |
| Left side of lower handle: Patented Feb. 23 1897 July 1 1902 "OMO" symbol with plus signs in the O's (may have been some kind of trademark) |
 |
| On the main body: 15 (who knows, maybe a saw set number) |
I took it apart to clean it, which involved knocking out a pin that holds the lower handle in place. That always makes me nervous. But the parts all cleaned up nicely.
 |
| Parts is parts |
Here are a couple pictures of the "plunger", the part that pushes a saw tooth against the anvil (wheel).
 |
| The plunger |
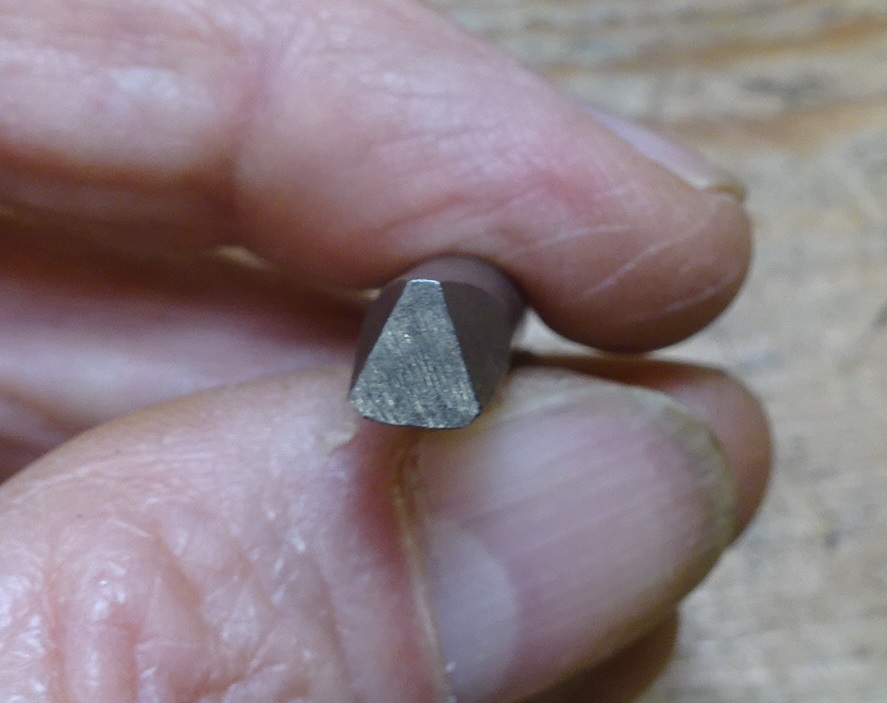 |
| Front end that contacts a saw tooth |
When I took it apart, there was one part I couldn't remove: the adjustment for different size saw teeth. It was stuck hard. I oiled it several times and used a metal prod to pry it loose from the front wall of the main body. Eventually it could rotate to adjust for different tooth sizes, but I still couldn't remove it.
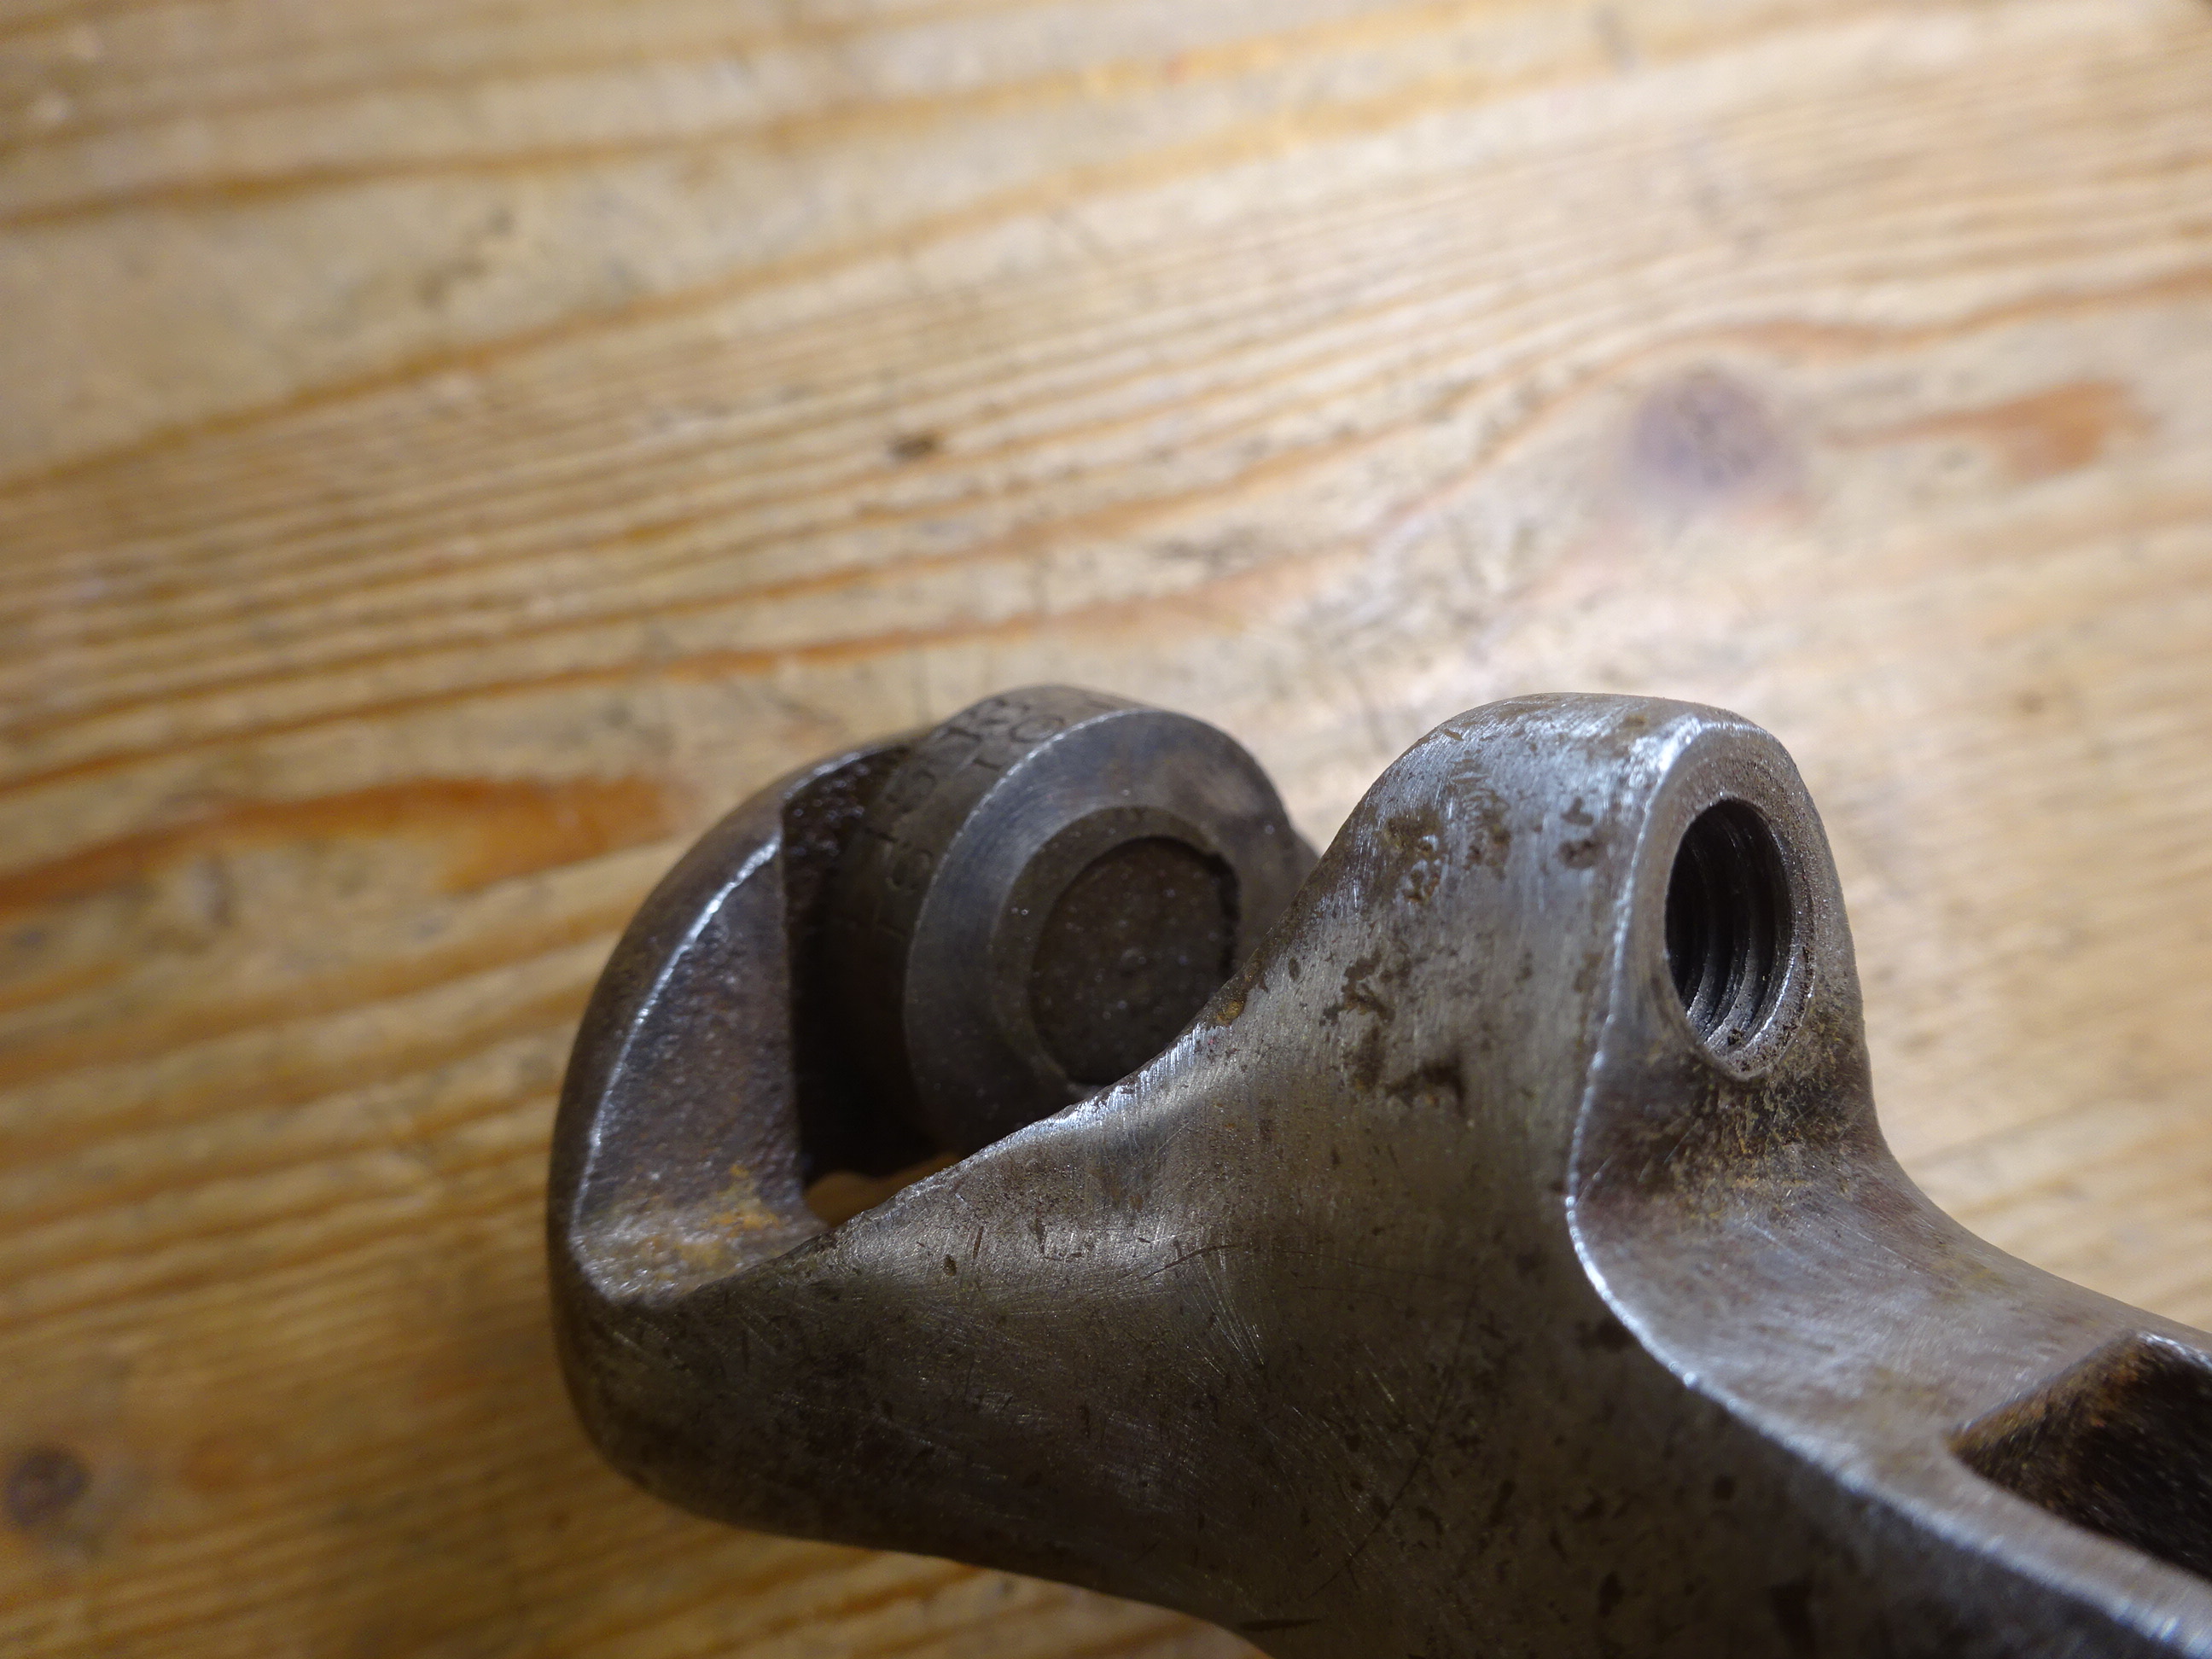 |
| The wheel (anvil) that adjusts for tooth size: note how the bevel on the side facing the camera gradually changes around the wheel |
 |
| This round pin is somehow involved in keeping the wheel in place, but I didn't want to try tapping it out for fear of breaking it |
After a thorough cleanup, I could see the markings on the wheel much better. The following six pictures show the markings as the wheel is rotated. Note that these pictures are taken of the underside of the tool.
 |
| ... 8 10 12 ... ... SAW POI ... |
 |
| ... 12 14 15... ... POINTS ... |
 |
| ... 15 13 11 ... ... TS TO INC ... |
 |
| ... 13 11 9 ... ... TO INCH |||||||| ... |
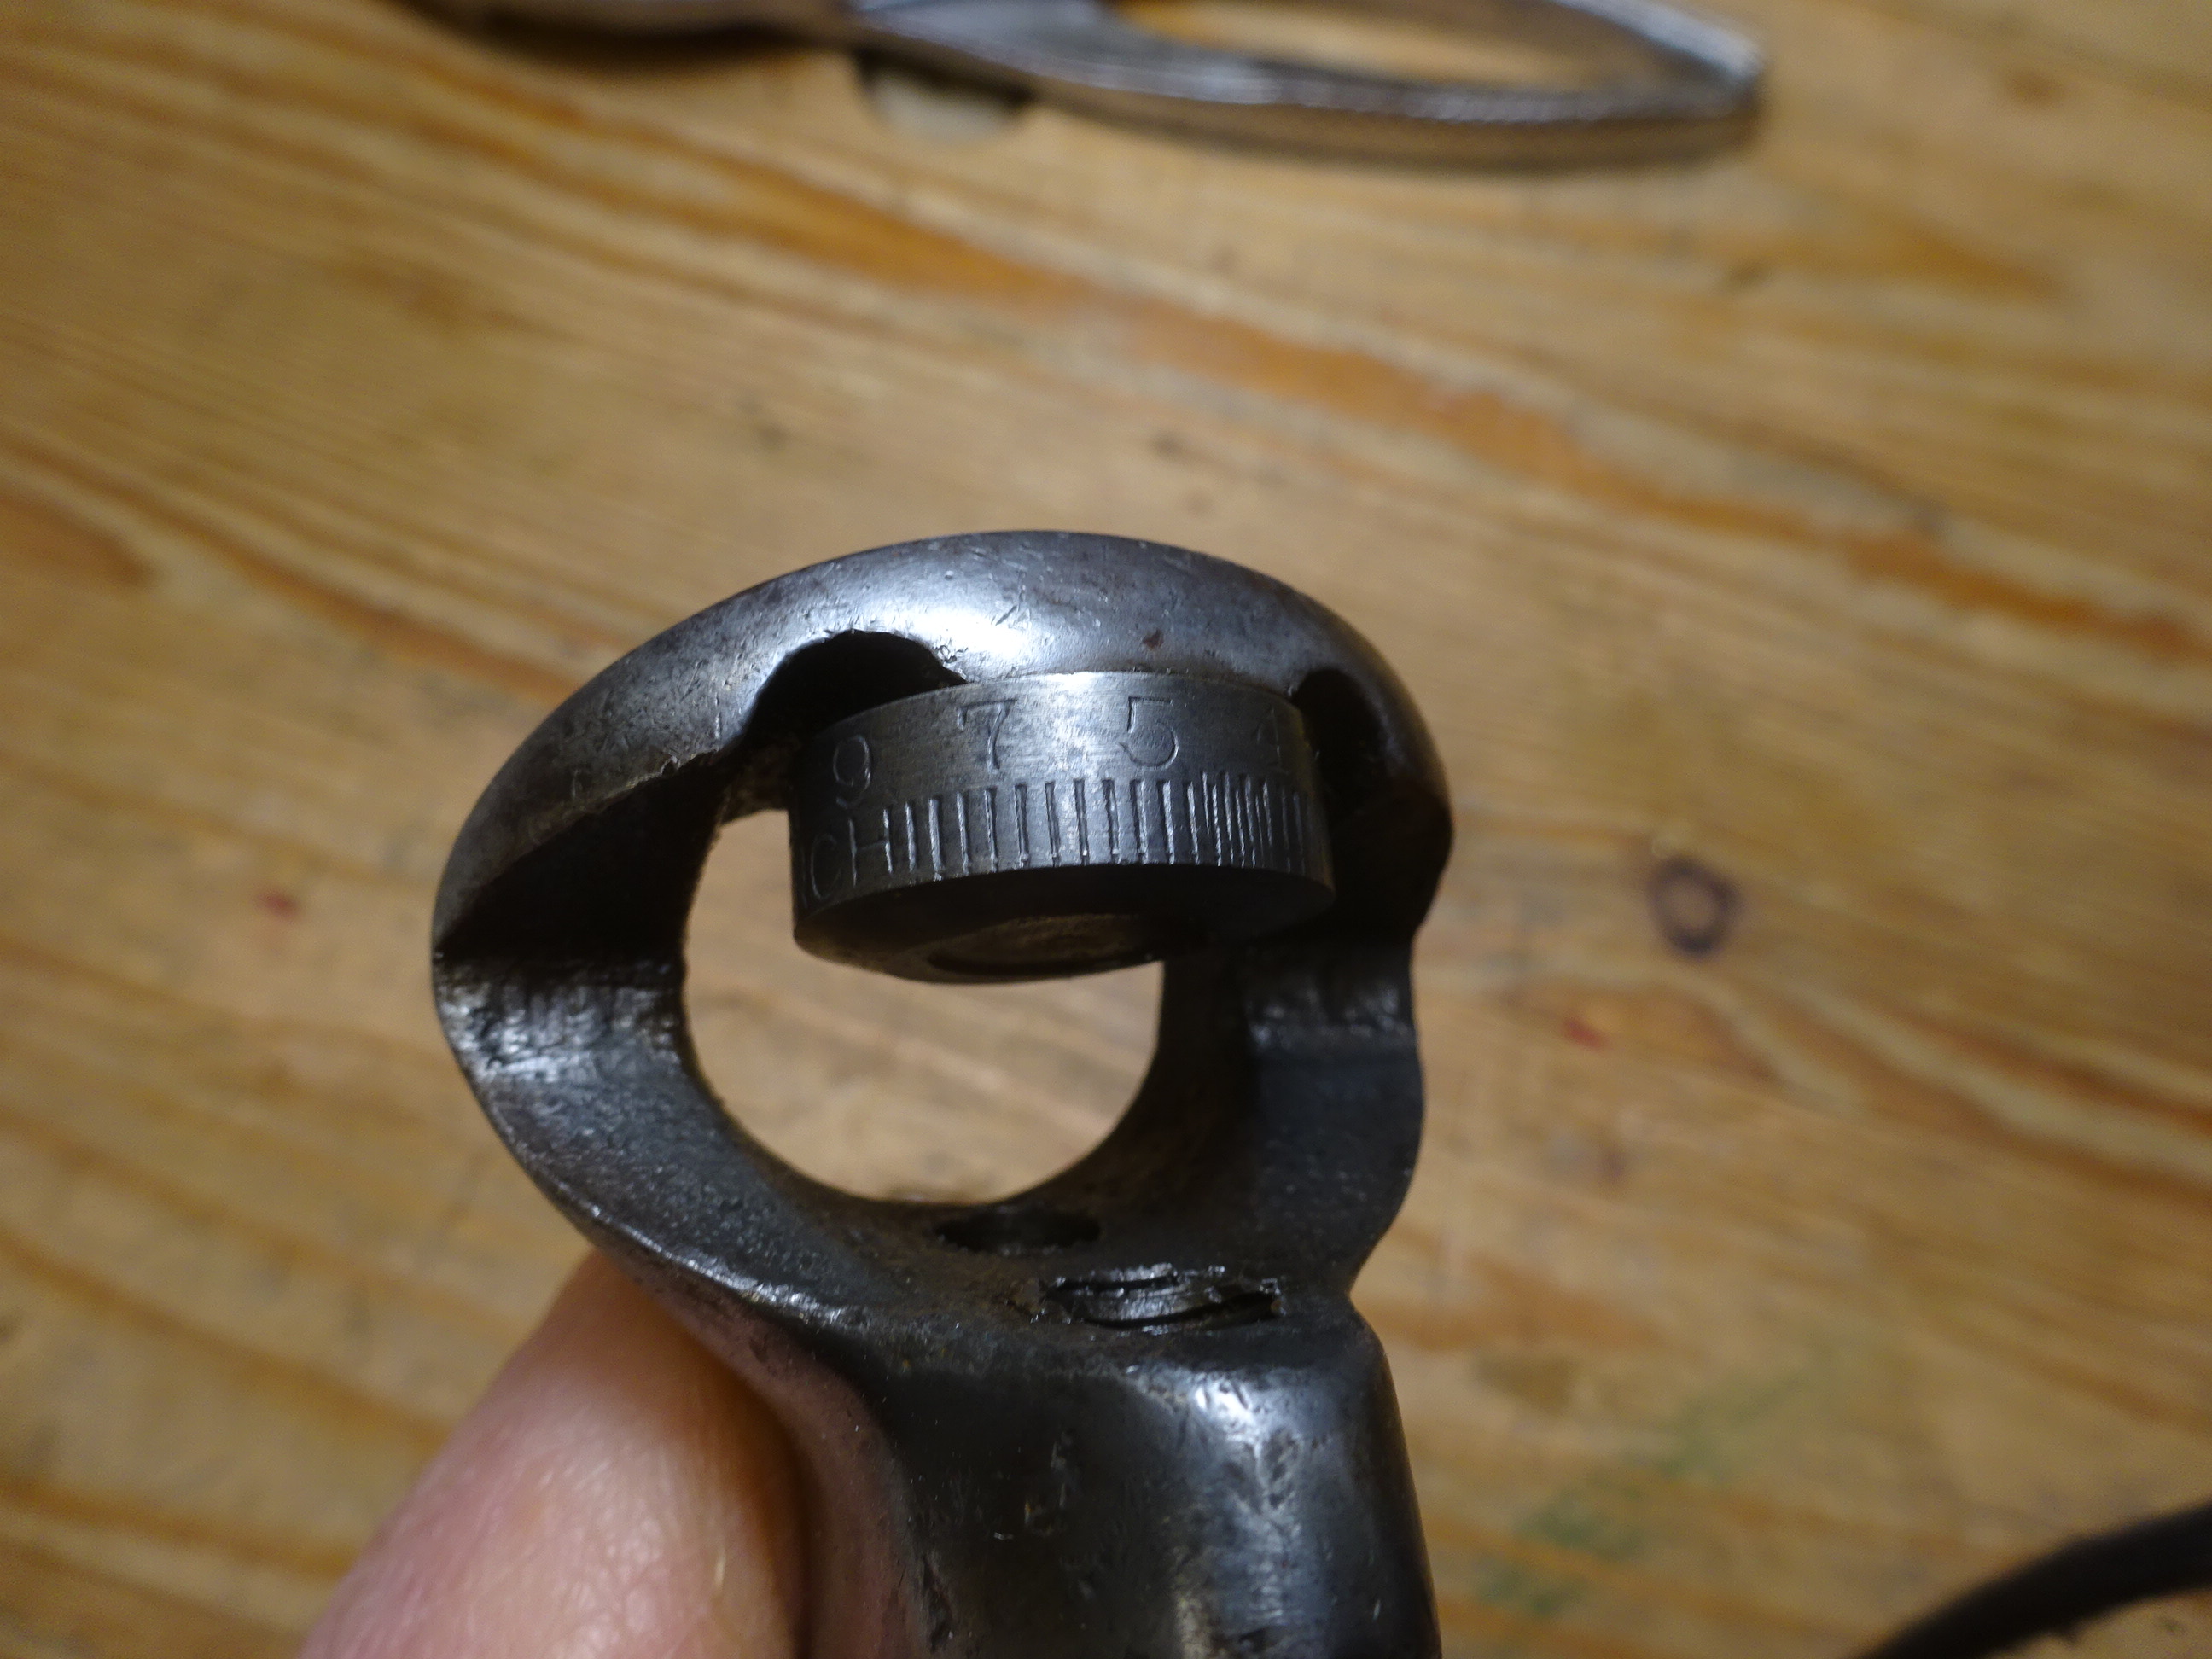 |
| ... 9 7 5 ... ... |||||||||||||||| ... |
 |
| ... 4 6 8 ... ... |||||||||||||||| SAW ... |
And we're back to the beginning. So if I start from the 4 ppi, the numbers are: 4, 6, 8, 10, 12, 14, 15, 13, 11, 9, 7, and 5. It's interesting that they went up to 15 and then started down again. But I guess that makes sense - you don't want a "cliff" on the anvil between the smallest and largest settings.
In the following pic, I'm simulating the use of the set on my largest rip hand saw that has about 5 1/2 ppi. The wheel setting is a little left of the 5 (towards the 7).
 |
| Choosing the right setting for tooth spacing |
Here's another interesting feature of this saw set. When the set is placed on a saw, there is a machine screw on the underside that tightens against the saw plate so that the set won't pivot up or down while setting the teeth.
 |
| Side view of saw set on a saw. Note the screw pinching the saw plate to the center of the adjuster wheel. It has a lock nut to keep the position. |
Well, that's it. This is a very nice saw set. It cleaned up nicely and works perfectly. I'm not sure I would use it on my smaller saws with 12-15 ppi because the face of the plunger seems too large for that. But I've got it for the larger saws.
No comments:
Post a Comment