Thursday, June 29, 2023

Kiln-Dried Wood for Windsor-Style Chairs

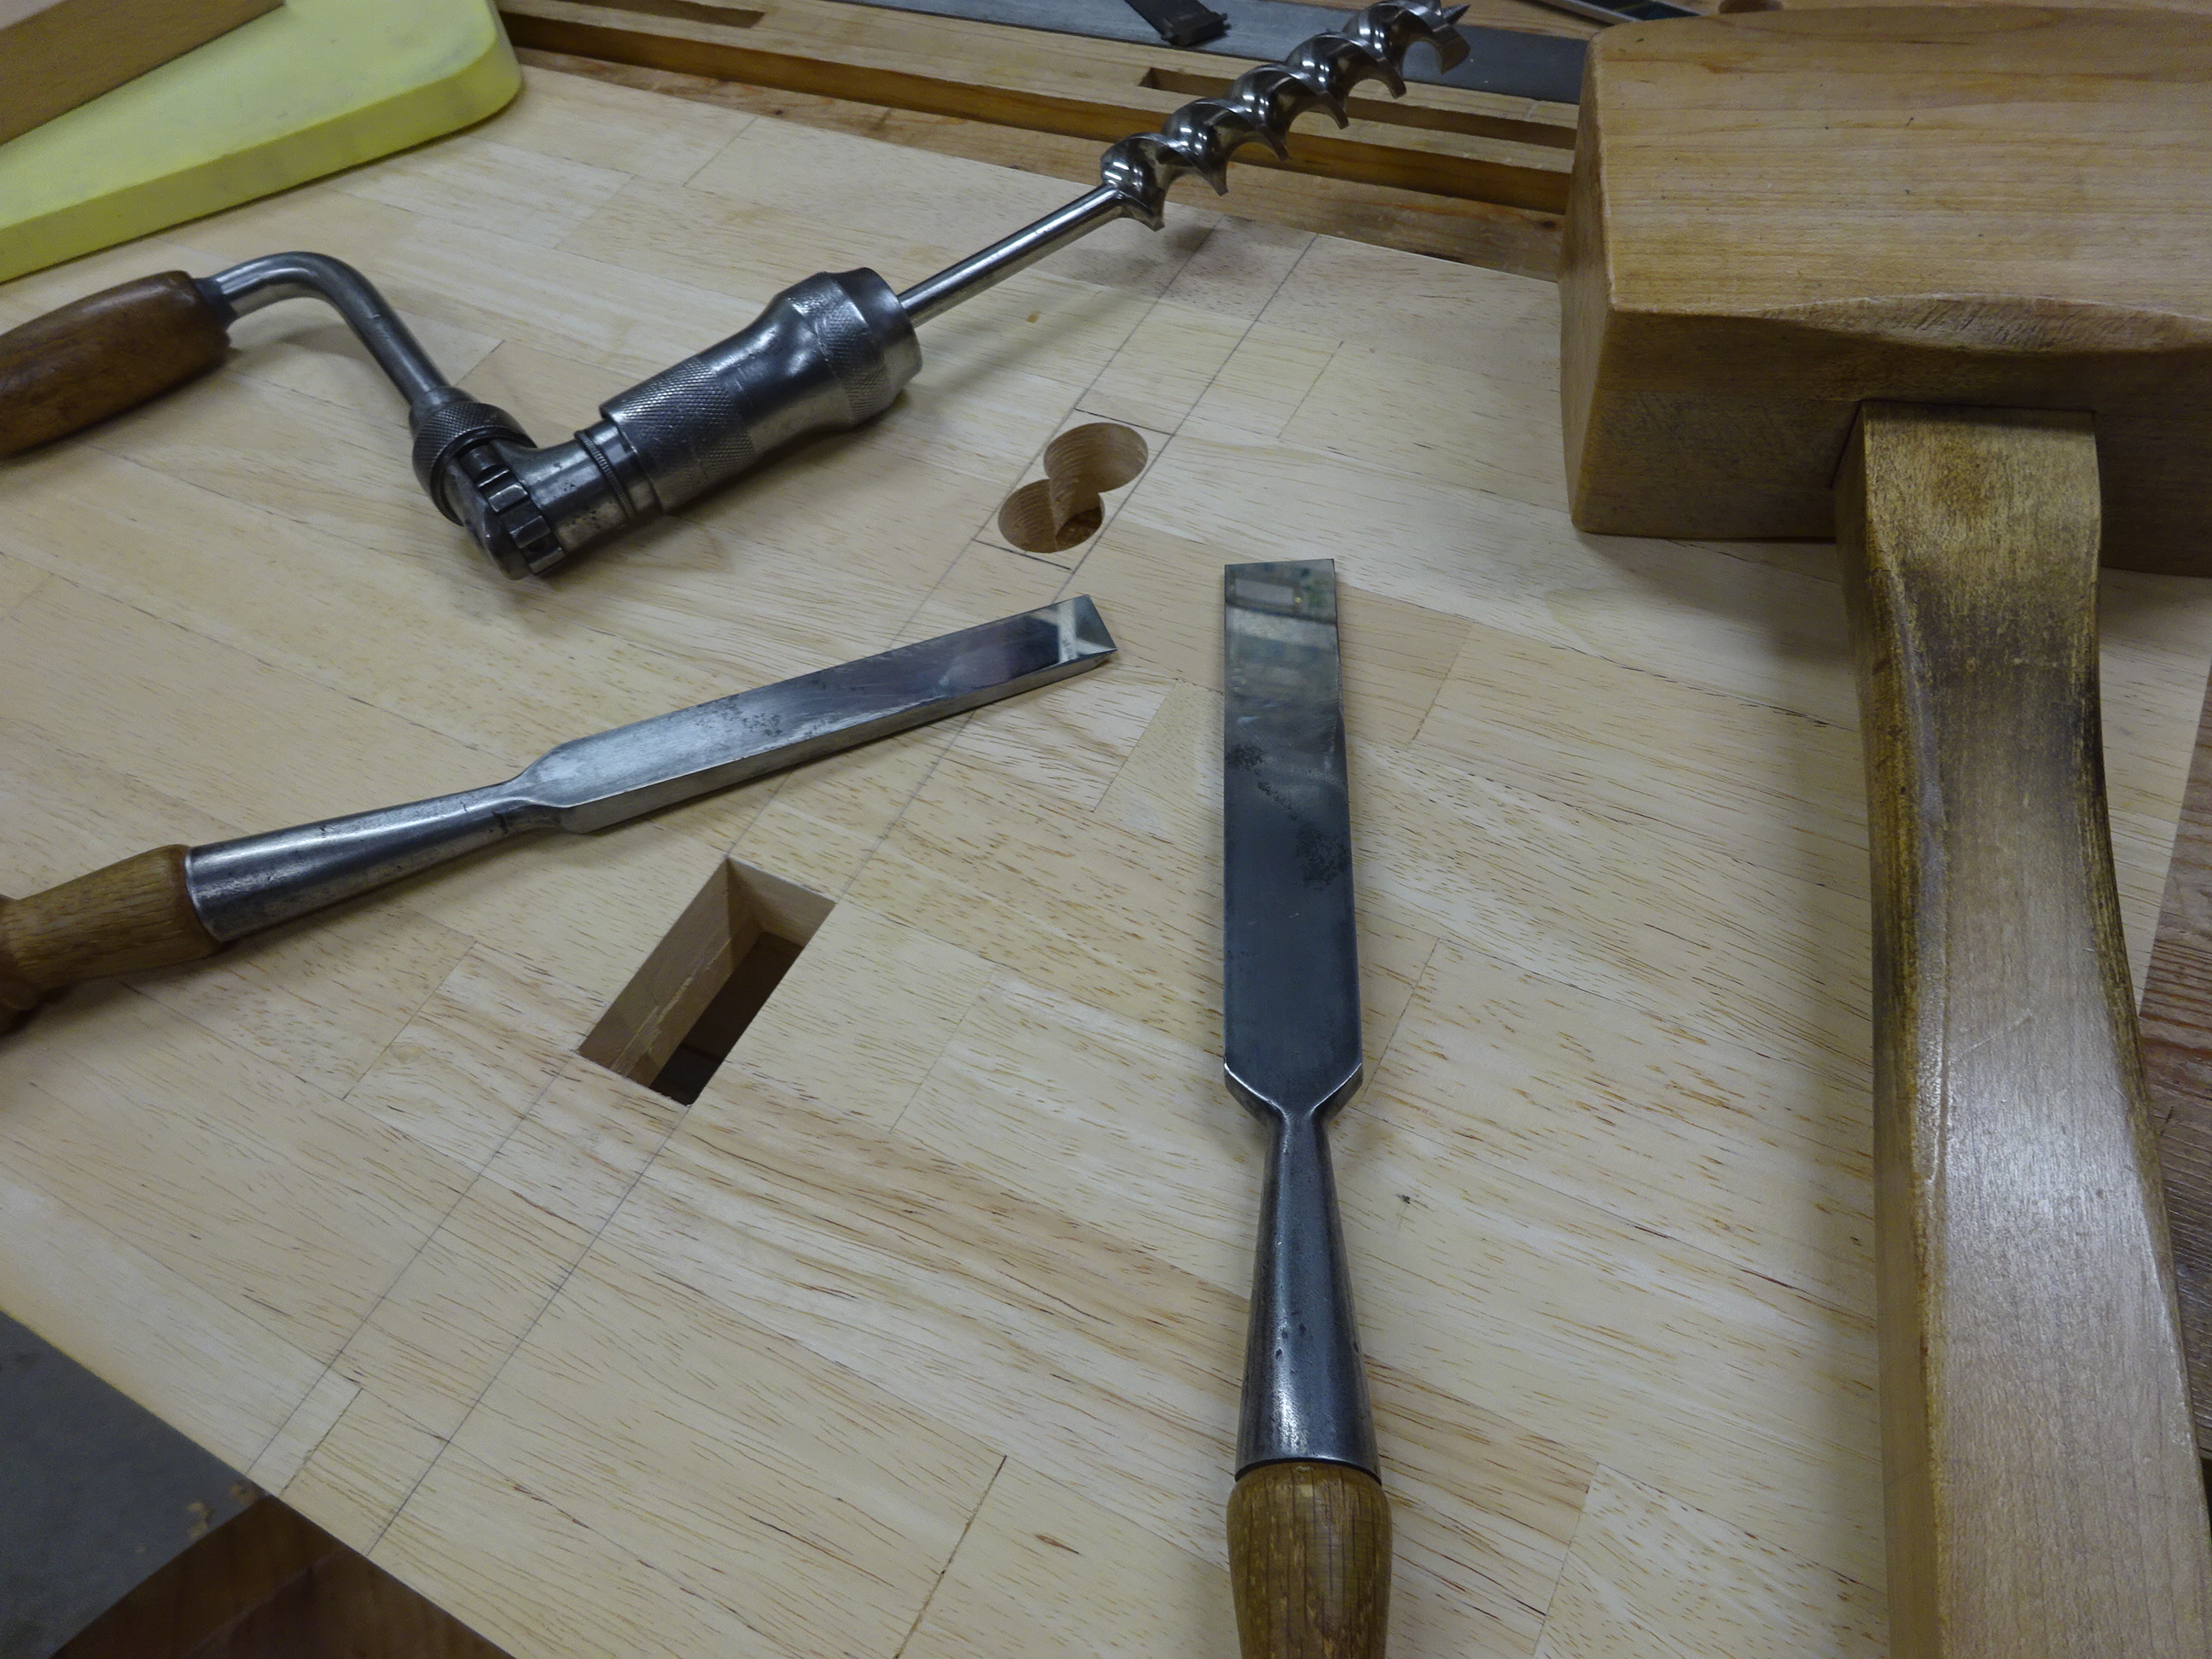
One thing frustrating about living in California is the lack of access to the types of woods used by chairmakers like Curtis Buchanan.  Curtis and others regularly buy whole logs and split them to get the straightest grain possible for chair components.  Last year I saw a Pete Galbert video where he shows how to get straight-grained parts from kiln-dried lumber.

I'll leave the details and finer points of the method to Pete - the video is great.  After splitting the wood and cutting judiciously to ensure straight grain, he soaks the parts in water for a few days to soften them so they'll be easier to shape with a drawknife.  Today I practiced with a small scrap piece of white oak.  All I got from it was a pile of drawknife shavings, but at least I got some practice at shaving a piece to get some straight grain.

Using a section of PVC pipe to soak the piece of wood

About 3" inner diameter

This 14-15" long stick soaked for about 2 days

If you zoom in on that picture, you'll see that the grain does not run straight.  Galbert would normally split that stick to see which way the grain runs, then the edge grain on the split area will tell whether the face grain dives or rises.

But today, I just wanted to practice shaving with a drawknife to get a feel for how to get a surface to follow the grain.

Pencil sitting on a face, pointing in the grain direction.
The bottom edge is unaltered: I've shaved the upper edge to follow the face grain

This is looking at the upper edge that I shaved.  Note how the grain runs toward the lower face.
I then shaved the upper face (near the pencil) to follow that grain.

Here's what I got from this experiment: a pile of drawknife shavings

It was interesting to get a feel for how a drawknife cuts when it gets into a "seam" - a line of straight grain.  I'm going to try more of this very soon - a couple months ago I bought a big chunk of 1 3/4" thick red oak that looked fairly straight-grained.  I'll know more when I split it and try to get some chair parts out of it.

Thursday, June 22, 2023

Sitting Bench from Old Table Top

I picked up this table from the curb a year or two ago and the top has been leaning against the garage door since then.  I wanted to make use of it and rid myself of the clutter.  All parts for this project are 1 1/8" thick.  The top is 54" x 15", legs started out 21.5" x 15", stretcher is about 42" (not certain of that length) x 4".  The wood is an unknown species (glue-laminated together) that is native to where they make these tables, most likely Viet Nam or Thailand.

What follows is a pictorial chronicle of the build.

I had used a corner of this tabletop for a stool a few months ago

Ripped off a section for the top and trued one edge before cutting to length
(note the shop stool helping to support the long board)

This is one of two sections that will be the legs (ignore the lighter colored board).
Here I'm using a toothing plane to help get rid of the old finish.

On the top, first penciled then knifed the mortise outlines.
Note the use of the straightedge to extend the range of my 12" combo square.
A panel gauge was used to mark the side-to-side extents of the mortises.

The same panel gauge settings were used to mark the leg tenons

Mortises were excavated using a brace and bit, then chisels

Tenons formed on a leg

A first test fit

Laying out the leg mortises

Bored, then cleaned up with chisels

Leg mortises complete

Getting stretcher shoulder lines directly from top mortises
(this stretcher is still a bit too long)

Dialing in the tenons

First test fit with all components

Rounded the corners of the top and rounded all edges

Leg sides shaped with gentle "S" curve
(used saws, chisel, spokeshaves, scraper)

The half-oval cutout in the bottom of the legs was challenging due to its depth

Rounded over the stretcher's edges and protruding tenons

First view all shaped and assembled

Decided to add a little extra stability where the legs join with the top
using this 1/4" deep housing dado.  This was fussy to get aligned with the mortises.

Glued and in the clamps.  I've had these parallel jaw clamps
for many years, but rarely ever use them any more.

Finish is two coats of milk paint, lightly rubbed with scotch-brite after each coat dried,
followed by 2-3 coats of spar urethane (sanding between coats) for outdoor protection.

Its resting place in a corner of the back yard

Just a little rant here.  The hardware stores no longer carry half-pints of polyurethane-type finishes.  I had the choice of 11 oz. in a spray can for $14 or a quart for $25.  Hating the thought of wasting the unneeded 90% of the quart that would surely harden in its can by the next time I use it, I got the spray can.  Big mistake!  Most of that stuff goes into the air and not on the project.  It barely made one thin coat on the bench.  I had to go back and buy the quart can for further coats.

Rant, part deux.  I hate using this stuff.  It stinks, it's a hassle to clean up after, and it's got far more chemicals than I'd like to subject myself to.  But I know this stuff is probably the best for an outdoor project.

Until next time ...

Thursday, June 15, 2023

Shop Tip: Vise Chop Markings

A few weeks ago, I replaced the worn out plywood "chops" on my front vise with hardwood chops lined with cork.  I find it helpful to mark a couple of lines on the top edges of the chops.  The lines mark the outside edges of the guide bars that are a few inches below.

Pointing to one of the marked lines

Closer view

How they're located: blade of the square is touching the guide bar

This way, when I need to clamp a workpiece vertically in the vise, I can butt the piece against the guide bar and align the piece with the marks on the chop.  This ensures the workpiece is (very nearly) perpendicular to the benchtop.

It's perpendicular to the bench, but not exactly vertical due to
the garage floor sloping at about a 1-2° angle

Here's another one.  On the cork that lines the vise chops I've marked a series of lines at 30° to the horizontal top of the vise.  For a tool that is challenging to sharpen, this can help.  When I line up the tool with the marked lines, the tool's bevel will be approximately horizontal, making it easier to hone the bevel.

Marking 30° lines on the rear chop

Clamped an incannel gouge along one of those lines

This makes sharpening the incannel gouge less difficult

I've found these to be helpful time-savers; hopefully you will too.

Thursday, June 8, 2023

PAST Tool Meet 03 June

This past weekend I attended the Spring tool show put on by PAST Tool Collectors (formerly Preserving the Arts and Skills of the Trades).  As always, there were some great people, great tools and great deals.  Tools from all trades can be seen here, but there is typically more woodworking stuff than other trades.

Closest table: axe heads, router planes, chisels, braces, planes, much more.
Middle table: planes, auger bits, and yes, that's a small furnace in the middle

Closest table: look at that lineup of planes!
Middle table: specializes in various spokeshaves, but many other tools as well
Rear table: hammers, lots of hammers!

There was a woman and her husband who traveled down from Seattle to disburse her father's collection of hammers.  This was a crazy collection!  Hundreds of hammers!  Big hammers, small hammers, ball peen hammers, cross peen hammers, claw hammers, double claw hammers, tack hammers, extendo poster tack hammers, axe heads with hammer head on the other side, crow-bar hammers, hammers of every description and for so many different trades.  There was even a decorative glass hammer!

A small sample of the hammers in that collection
$5 each or 5 for $20!

After lunch there was an auction.  There were about 25-30 boxes of tools to be auctioned off.  Most boxes sold for between $5 and $25 - a steal.  The first dozen boxes were hammers - probably from that collection I mentioned earlier.

Three of the many boxes of hammers in the auction

But there were many other things to be found: saws, planes, and lots of tools I had no clue about.

This box was loaded with rabbet planes (at least 3 different model numbers),
many missing the fence and fence rods, but still ...

For my own part, I came away with just a couple small things.  Recently I wrote about finding a protractor head for a combination square, so for $5 at the show I bought a 12" rule to mate with it.  This way I won't have to change out the blade from my Starrett combo square when using the protractor head.  Then later I saw a centering head for a combination square and for $13 it was mine.  Now I've got all the heads for a combination square and these should be a nice addition.

No markings on the centering head, but the seller said it's a Starrett.
The rule is by Fulton, straight and true

Assembled

It was a great tool show.  Not as huge as a M-WTCA show, but a really nice show.  Can't wait for the next one.

Thursday, June 1, 2023

Union Tool Protractor Head

I found this protractor head for a combination square at a recent garage sale.  It had no rule with it, so I had to hope the rule on my Starrett combo square would fit it.  For a buck it was worth the risk.

UNION TOOL CO.
ORANGE, MASS. U.S.A.
Note that Orange, MA is right next to Athol, MA, home of Starrett (coincidence?)

I like taking things apart (to the extent of my limited abilities, anyway) to see how they work and to clean them up.

These thumb-screws lock the rotation ...

... and when completely removed, the inner part comes out

It didn't have to be apart to try this, but while it was apart, I tried the rule from my Starrett combo square in the head.  At first they didn't fit together at all - the rule couldn't get clamped tightly and I thought maybe it needed a different width rule.  But then I took the rule back out and removed the clamping mechanism.

Ruler is loose when fully tightened up

The clamping mechanism: Red arrow shows the part that fits in the ruler's groove.
Yellow arrow shows a raised "key" that only allows the clamp to work one way in the head.

After cleaning up these part and putting it back together, the ruler clamped tightly in the head.  It turned out that the clamp screw has a raised "key" that needs to be in the proper orientation in the head for it to fully clamp the ruler.

Protractor head reassembled with the Starrett combo square's rule

And showing it at a 30° angle

There was one last thing that I wanted to check out.  There's a bubble level on the back side of the protractor head.  I wanted to see if it was reading level accurately so I checked it against a couple of other levels.

Back side showing the bubble level

Set the protractor head to zero degrees and rested it on a four-foot level clamped
exactly level in the vise.  A small torpedo level is also there as another check.

Four foot level bubble perfectly centered ...

... but the protractor head bubble was off

At first I thought about sanding some off the base of the head.  It needed a little cleaning up anyway.

Cleaning up and flattening the base

It turned out that the bubble level has adjusting screws that make it a cinch to get the bubble just right.  It would have been a very bad idea to try to adjust it by grinding the base on sandpaper.

Loosen these two screws to adjust the bubble level.

And that's that.  For a buck I now have a protractor head for my combo square rule and it works great.  I've seen incomplete combination squares at garage sales - for example just the rule, but no head.  Maybe next time I'll pick up the parts - you never know when you'll find the missing part.