Part 1 of this series was about making the frame for the Roubo frame saw kit I had purchased from Blackburn Tools. Today I'll write about my experience with the saw so far.
 |
| The completed Roubo frame saw |
It would be nice to have had a woodworking mentor to learn from. But lacking that, the best way to learn is by doing. There are techniques in using any saw that may not be readily apparent. For instance, when using a hand saw for ripping a board, I've learned how to stay to the line by tilting the workpiece away form me, sawing a diagonal kerf in the board, then flipping the board and repeating from the other side. The Roubo frame saw is no different in that respect.
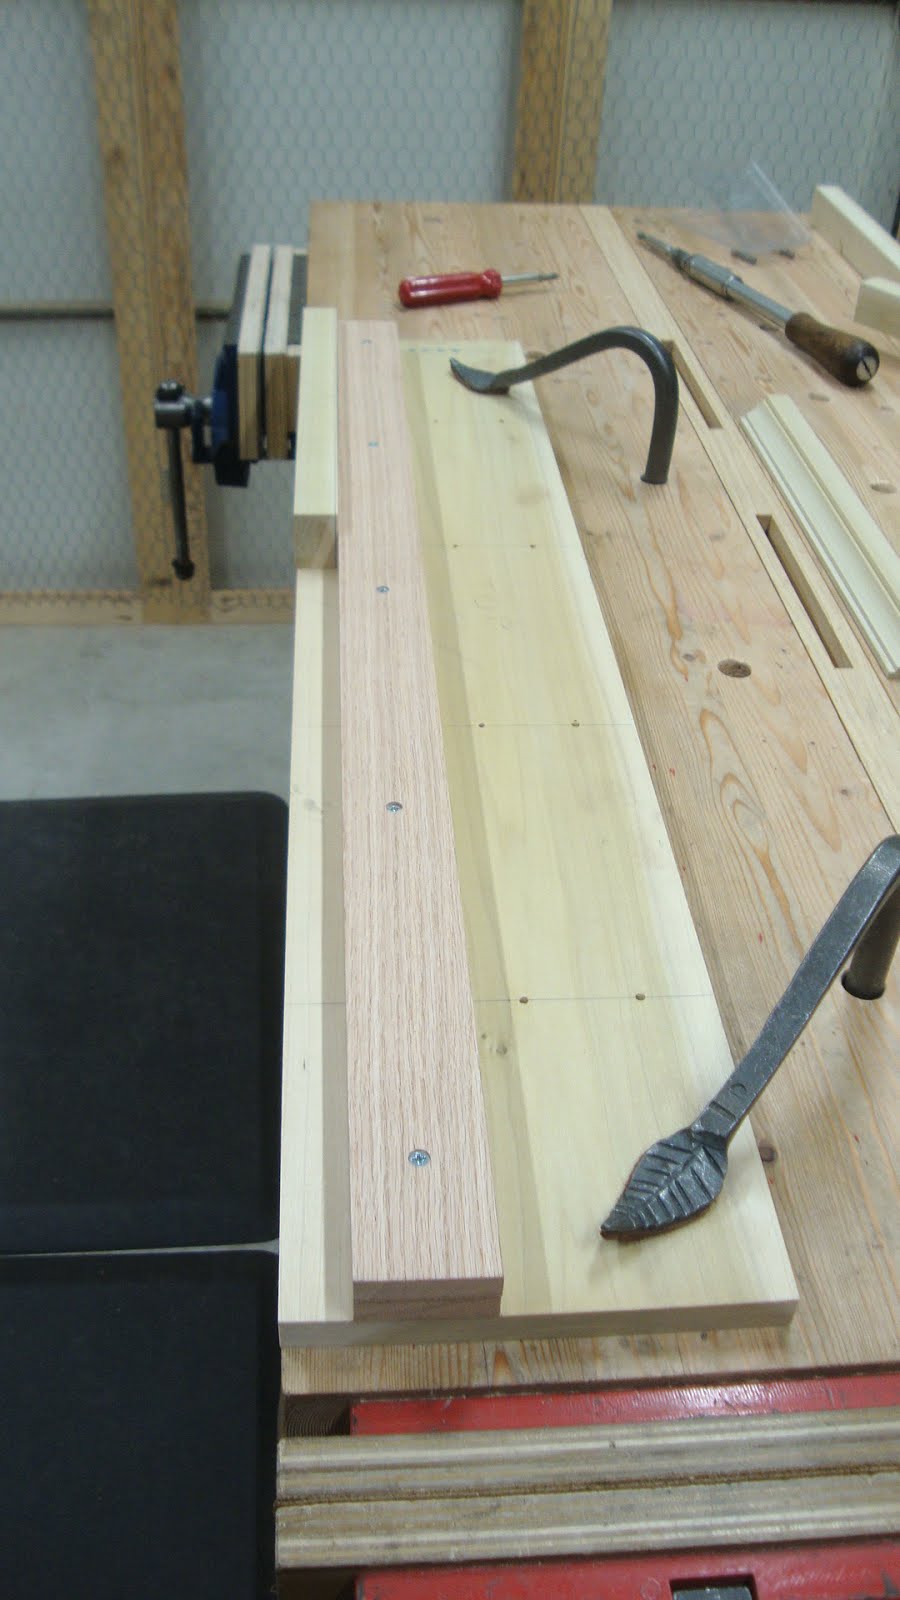
Setting Up The Saw
To tighten up the saw blade, I crank the eye bold with a #3 screwdriver shank.
 |
| Tensioning the blade |
It is never clear how much tension you should put on the blade, but with the amount I put on it, the saw cut and tracked well. Any veering off the line was user error. The blade gave a nice twang when tensioned.
The end of the saw with the tensioning mechanism is automatically centered. But the other end can go off center, so I marked a center line and make sure the steel bracket is centered on the mark.
 |
| Centering the other steel bracket |
Body Position And Work Holding
This is a BIG saw. And I have a SMALL shop. I had to figure out the best way to chuck up a board and position myself for cutting.
 |
| First option: sawing across the width of the bench |
My bench is fairly stable, but I detected a bit of movement when sawing in a direction across the width of the bench. There is much more stability when sawing along the length of the bench. Also, clamping the board in the vise as shown above doesn't let you tilt the board - it's always vertical.
 |
| Second option: sawing along length of bench, from right to left |
This position is OK, but my body doesn't get square to the cut. The center of my lower body is to the left of the center of the cut. I can lean my upper body over to get it centered on the cut, but it's not perfect.
 |
| Third option: sawing with length of bench from left to right |
I think this is the best position since I can get my body positioned directly behind the cut. But I don't have enough room when the garage door is closed. Note that I have the workpiece clamped on the right side of the vise to give me an extra 4-5 inches, but it still isn't enough. And I can't really move my bench further inside the garage.
I built that screen in front of the garage door so I can open the garage door and still keep the cat from getting out. It easily folds up, so I can move it out of the way when necessary. So I did that, made sure the cat couldn't get into the garage, and put up the door.
 |
| With garage door opened, I can properly get behind the cut |
 |
| View from the outside |
This was by far the best position for resawing. I could really put my body into the cut and it went faster. Here's the thing, though. I don't often have the garage door open when I'm working. At certain times of the year, the sun shines in. Seems like that would be a good thing. But I'm a whitey - thanks to my ancestors who gave me my skin, I can get a sunburn in 5 minutes. I don't want to have to say, "Honey, I'm going to get some woodworking done - would you please get me the sunscreen?" I'll just have to do my resawing late in the afternoon when the sun is more favorable.
Holding The Saw
This saw weighs 10 pounds! No wonder the saw can do most of the work for you - it's heavy. After the cut has been started, I can hold the saw by the handle ends, and that's comfortable (see the "First Option" picture above). But when starting a cut, you need to lift a little to take some of the weight off the cut. I've found the way to hold the saw is as shown below.
 |
| Hand position when taking weight off the cut |
My forearms are on top of the saw, elbows near the saw handles, hands holding the stretchers, lifting a bit. This is analogous to how the heel of your hand rests on the lower horn of a hand saw when using a light touch to start a cut.
 |
| On a regular hand saw, heel of hand on lower horn to take weight off the front of the saw |
I got a comment from Bob E. in my last post about shaping the stretchers. He was right. After a while I had to use bicycle gloves when holding the saw by the stretchers. Even though I removed the arises from those stretchers, I think I'll round them over more significantly where my hands grab them.
Starting A Cut
When starting a cut, I first cut a kerf about 3/4" down both ends with my largest rip pattern hand saw.
 |
| Kerf made by this hand saw is still a little narrower than the frame saw's kerf |
 |
| Starter kerf from hand saw |
When I start cutting with the frame saw, I have the workpiece vertical or slightly leaning away from me. I'm taking weight off the teeth using the alternate grip.
 |
| Starting the resaw cut |
After 5 or 10 strokes, I tilt the board further away from me and continue cutting a diagonal kerf in the board. Before I get to the bottom of the starter kerf on the far side of the board, I flip the board and repeat from the other side.
BTW, you'll notice in the picture of the starter kerf that I have two guide lines that I'm sawing between. These lines are 3/32" apart and I violated them a few times. Until I get more practice, I'll need to make these lines about 7/64" or 1/8" apart. Some people just use one line - or a "finger-gauged" pencil line - but for now I like two well-defined lines.
Finishing A Cut
After sawing down halfway (or most of the way - depends on the sawyer), the board is flipped top to bottom and the cut is started from the other end. If you veer off your lines, then the two cuts won't meet quite right. But with practice, this gets better.
 |
| This one was very good |
When the above board came apart, there was only a small area that showed the last area to break free.
 |
| A fairly smooth result |
 |
| Close up of the area that broke free before being cut by the saw (circled) |
That was my third or fourth practice run. Other runs didn't turn out so nice.
 |
| Small piece of white oak - not too bad, but you can see where I was off my line |
 |
| This piece of laminated pine is a bit messy, but cleaned up with 5-10 passes with a thickly set Stanley 4 1/2 |
 |
| This early test in mahogany was way off |
A Few Other Notes
- I timed myself on two boards, not trying to rush. On some very soft mystery wood, it took me 19 minutes to cut a 40" length of 3 3/4" wide board.
 |
| On your mark, get set, ... |
- On a 20" long, 5 1/2" wide piece of (I think) birch, I went through it in 10 minutes. For that one I sawed with the garage door open and that really helped. Proper body position really makes a difference.
- I wear glasses all day when woodworking. My glasses allow me to see things more clearly from about 10" to about 24" away. There were times I took my glasses off to see the cut lines and saw tracking better because this saw is so long. It's a little challenging this way - I need to stop sawing at times to get a better look at how I'm sawing to my lines.
- I put the saw down on the bench when repositioning the board. I found it helpful to have some blocks of wood to rest the saw on so that the teeth do not rest on the bench.
- This saw makes interesting saw dust. Depending on the wood, the dust might look like tiny shavings instead of dust.
 |
| Mahogany - check out the miniature shavings |
 |
| Birch |
I thought this was so neat that I had my wife take some pictures with her good camera and a macro lens.
 |
| Pine |
And a close-up of the last picture:
 |
| Very interesting mini shavings |
Conclusion
I'm thrilled with this saw. It cuts like a hot knife through soft butter. There is a learning curve, but I think after only 5 boards I've already gotten through much of that curve. It is heavy - I can feel it in my back. Imagine if your cantilevered forearms were 4 feet long and each hand had a 5 pound weight in it. Picking that up each time you need to flip the board can get tiring.
Now I've gotta find a place for it. Probably will hang it from the ceiling. A new tool is not done until you've found a home for it!