Showing posts with label Gouges. Show all posts

Wednesday, July 8, 2026

Rehabbing a Small Incannel Gouge

Back in February I got this small incannel gouge at a tool show.  I cleaned it up and sharpened it at the time, but I didn't really put it through its paces until recently.  When I  sharpened it, I knew something wasn't right.  I just couldn't seem to get a good consistent edge.  It sat on a shelf until this week waiting for me to look more deeply into it.

New Haven Edge Tool Co.

The curve of the gouge is part of a 9/16" diameter circle (9/32" radius).  The cutting edge measures 7/16" corner to corner.  The handle is clearly a user-made job, and it had come loose while I was working on it, so I made a new one.

When I tried sharpening the gouge, something wasn't right.  The wire edge that forms would get too large and end up flaking off more metal than it should have.  One time, when I finally got a good edge, I tried to cut some wood and the edge just crumbled.

Result of using the gouge lightly.  Can you see the chip in the edge?

I figured the tool had lost its temper somewhere along the line.  So I annealed it by heating to cherry red and plunging into a bag of vermiculite to allow the heat to dissipate slowly.

My heat-treating set-up: two torches pointing at a steel can.
The gouge is stuck in the vermiculite at left.

After it had cooled, I hardened and tempered the gouge.  This was the first time I tried to temper a tool by watching the color advance towards the cutting edge.  When the edge got to a straw color, I plunged it into oil to stop the tempering.

You can see the colors here on the convex side of the gouge

After cleaning up the blackened and discolored steel, I gave it a good sharpening.  But I got an equally crumbly edge!  I'm aware that when heat-treating an edge tool that has a sharp edge, the thin cutting edge can get overly brittle.  So I ground back a couple of millimeters and re-sharpened it.  This time I finally got a good cutting edge without crumbling.  I tested it on some end grain walnut and finally didn't ruin the edge after just a single or even multiple cuts.

Testing on end grain walnut

When I was satisfied that the steel was in good enough condition to warrant a new handle, I got a chunk of cherry, sketched a pattern on some cardboard and got out the bungee lathe.  The shape didn't come out exactly how I had planned, but it'll be fine.

Showing the new handle and the lathe set-up

This was my first time re-handling a tanged tool.  To fit the tang into the cherry handle, I drilled successively bigger holes at successively shallower depths.  I had to adjust the hole a bit to get the gouge to align better with the handle.  I used the brass ferrule from the original handle, which had a 5/8" outer diameter and just shy of 9/16" inner diameter.  It was very satisfying when I tapped the handle home up to the bolster.

New handle next to the original

I gave the handle a single coat of BLO, which really brought out the color of the cherry.  Another tool in the arsenal.

Completed


Thursday, February 12, 2026

Some New (To Me) Tools from the PAST Show

At the end of January, I went to the PAST tool collectors show in Fremont, CA.  Usually I don't come home with anything, but this time I did grab a few things.  I'll show them below, but first let me show this router plane display that one of the guys brought!

A collection of mostly craftsman-made router planes

None of these planes was made by Stanley or Preston or Millers Falls, or any other maker that we typically think of when we think of router planes.  These were mostly user-made tools and they were pretty dang cool.  The longest one was 14" long.

On the same table was also a display of an unusual Disston saw - a #196 "docking" saw.

Disston #196 Docking Saw

There's nothing about it on the Disstonian Institute site, but some other search results indicated it was used for heavy construction, like timber framing or railroad work.  It has crosscut teeth and a heavily breasted tooth line.  Someone at the tool show suggested the name came from its use on the docks, perhaps crosscutting dock boards to length.  The metal handle was interesting - possibly due to its getting rough use.

Anyway, moving on to what I picked up ...

A couple years ago I bought two larger auger bits - 1 1/8" and 1 1/4".  I found a 1 1/2" bit at the show and grabbed it for $10.  It's a Snell's-Jennings bit, no idea when it was made, but it was in near perfect condition.  It was already sharp - both spurs and both cutting lips.  And when I got home and made a test hole I was very impressed at how clean the entry rim was.  This was a great find because I have had some trouble using expansive bits for larger holes.

A beautiful, clean 1 1/2" hole

SNELL'S
JENNINGS'
6

That's a really clean hole!

I'm a sucker for incannel gouges.  One of the sellers had a table where everything was $8.  There was a box filled with chisels of all types and I grabbed four - two small incannel gouges (that will add nicely to the larger ones I've got), a bent gouge, and a 1" bevel edge chisel.

The lineup

The two incannel gouges were from Spear & Jackson and New Haven Edge Tool Co.  I just need to clean and sharpen them and I think they'll be a great addition to my shop.

SPEAR & JACKSON
SHEFFIELD

The S&J was about 9/16" wide

S&J curvature approx 9/16" radius

NEW HAVEN
EDGE TOOL CO.

About 7/16" wide

Curvature of 9/32" radius

The bent gouge is from Ulmia.  It's 13 mm wide with an approximate 1/4" radius curvature.  I don't do much carving, but this one will be a nice addition to the carving set.

ULMIA 

It's about 1/2" wide

This shows the amount of bend

Finally, there was this 1" socket chisel.  I don't need another 1" chisel, but this one is a T. H. Witherby.  If their chisels are as good as I've heard their drawknives are, this will be a real winner!  It's got a little pitting on the flat side, but I think I'll be able to get that out.  I found a good article about Witherby by Brian Welch here.

T. H. WITHERBY
WARRANTED

You can see the pitting here

Not sure why, but I do prefer socket chisels

That's it.  Some nice additions to the shop.  Now I have a little work to do to get them up to working condition.


Friday, January 25, 2019

Re-Handling a Tanged Gouge

One of the tools that was in the box of tools I won in an auction recently was a Buck Brothers gouge.  The business end just needed some cleaning up, but the handle was in sad shape.
Buck Brothers 5/16" radius gouge
Buck Bros logo
The handle was cracked and had black cloth tape wrapped around the "ferrule".  When I took the tape off, I found this.
Homemade "ferrule" made from wire
Apparently the original ferrule broke and the handle cracked (who knows - maybe simultaneously?) and a previous owner fixed it this way.
Took off the wire and ...
... the tang came out easily
The tang was pretty gnarly so I cleaned it up with a file
This shows the tang hole, the crack and the original lathe chuck marks
The back of this gouge was interesting.  There is a leather washer on the back end.
The leather is about 1/4" thick
It's actually two pieces of leather
They came off fairly easily - perhaps originally glued with hide glue.
The end tenon of the chisel handle was 1/2" diameter.
Well, having just built my bungee lathe, making a new handle was my first turning project.  It's a rather unremarkable handle, but so are my turning skills.  I wanted it to be shaped like my other gouge handles - just a gentle bulge in the middle of the handle's length.
Turning the new handle from mystery wood
(possibly some kind of mahogany - it was a piece of an old coat rack)
I turned a 7/8" cylinder at the left end that would receive a ferrule.  That's the same size as the original handle.  Unfortunately it looks too clunky to me.  The bolster is much smaller - about 1/2" across and the transition doesn't seem to flow just right (see pics further down this post).

When it came to fitting the tang, I used a technique that I learned from a Bob Rozaieski video.  I drilled with three sizes of drill bits, successively deeper as the drill sizes got smaller.  Then used the tang to ream the hole until the bolster was about 1/8" from the handle.
Handle perfectly level in vise
Small bubble level on the top of my drill makes it easy to judge level drilling
Using the tang to ream the hole
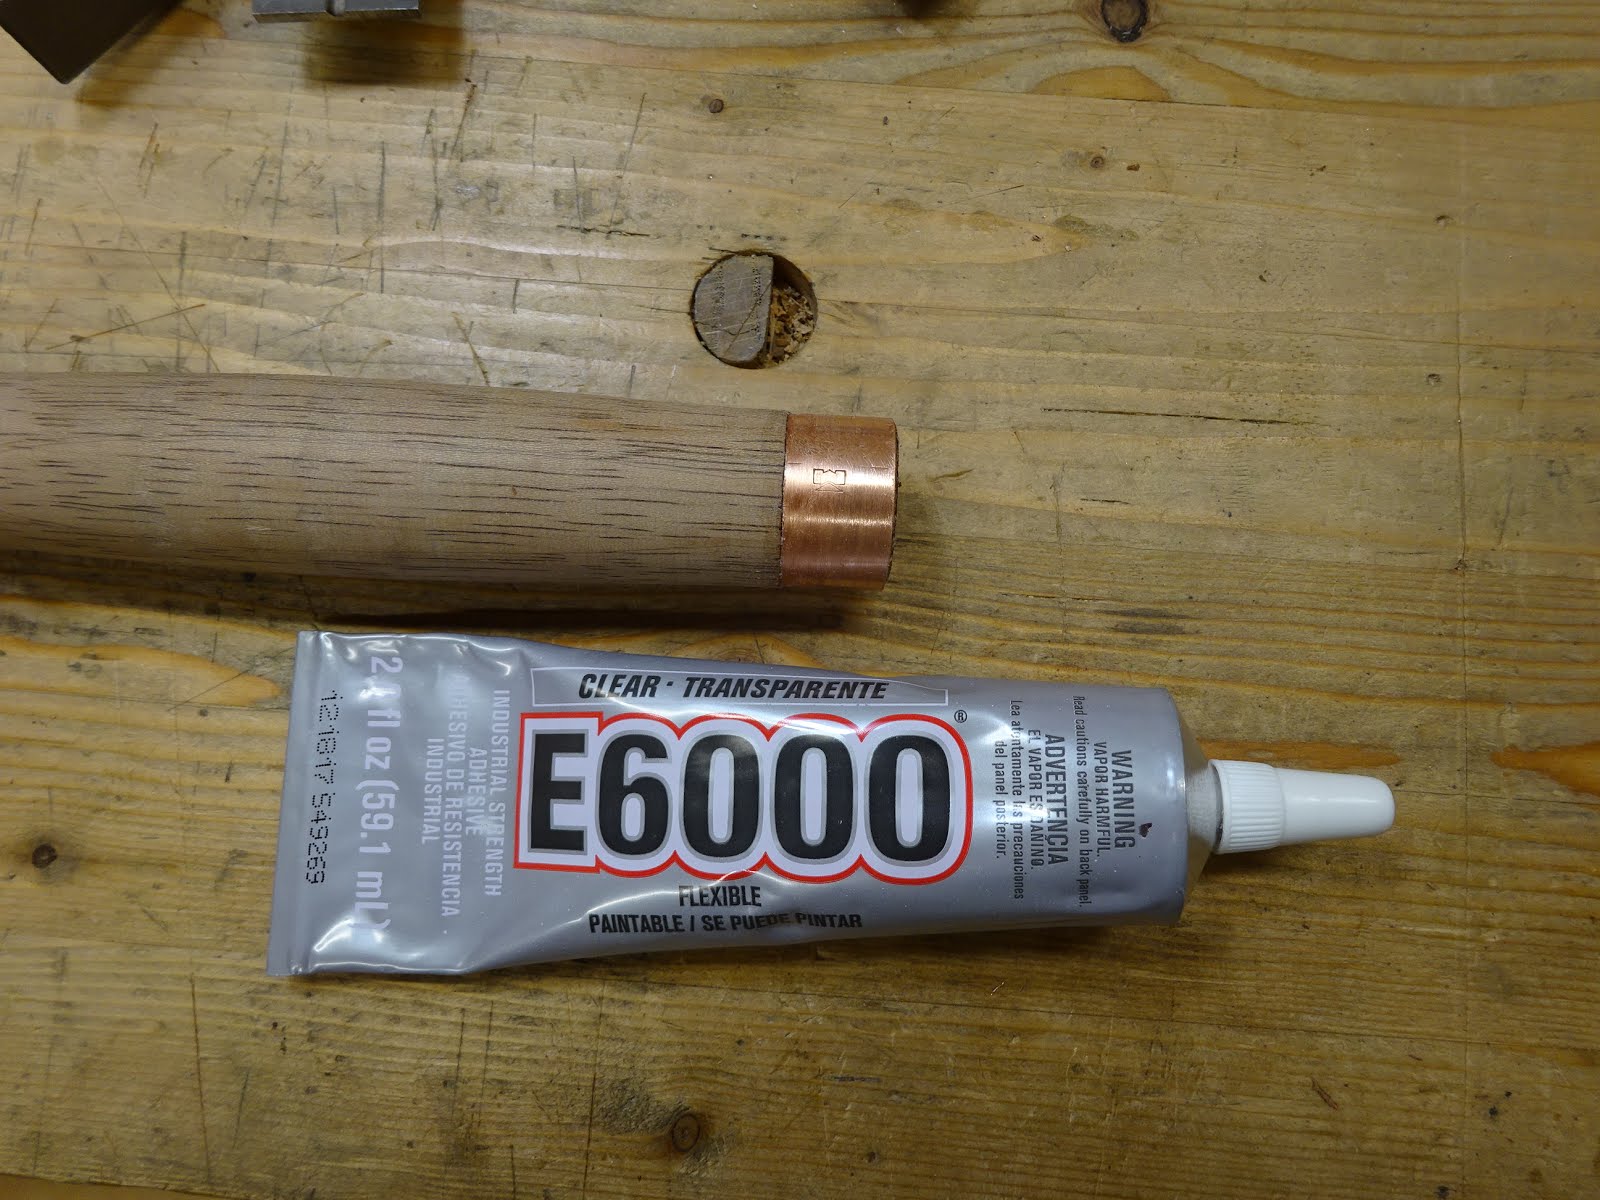
My ferrule was a piece of a copper plumbing connector cut to 5/8" long.  I made the ferrule area on the lathe just a tiny bit too small, so had to use some glue to affix the ferrule.
Ferrule attached
With the ferrule attached, I whacked the handle home and I now have a new gouge handle.
Thar' she blows!
This was literally the first or second piece of wood that I had ever turned, so it's not perfect.  And putting a few coats of BLO on it seemed to highlight some not-so-pretty area.  But I'm pretty happy about it anyway.

I love putting old, neglected tools back to work - can't wait to use it.

Friday, December 14, 2018

Tool Gloat, Sort Of

A few weeks ago I went to a tool show in Ripon, CA, put on by PAST Tool Collectors.  PAST used to stand for "Preserving Arts and Skills of the Trades" and was originally associated with EAIA, the Early American Industries Association.  Anyway, my intent was to limit my purchases to a couple of old plane irons for two planes that I plan to build (hopefully soon).  But at the end of the tool meet, there was an auction that included about 50 "lots" (boxes) of tools.  I had scoped out the boxes beforehand and didn't see anything that I thought I needed.  But I wanted to stay for the auction anyway.  As it turned out, I got "shamed" into bidding on a box and $10 later this box came home with me.
My $10 haul
Anybody who reads my blather knows I'm not a tool collector.  I just don't have the space to collect stuff, not to mention I think collecting is a disservice to usable tools and to those who might use them but can't because somebody else has them on a display shelf.

Anyway, here's what's in the box.

Stanley Defiance #1214 hand drill
Unknown plastic handle and chuck from a missing brace
Stanley #923-10 IN-Y 10 inch sweep brace
Stanley Handyman #H1250 10 inch sweep brace
Dunlap 10 inch sweep brace
W. A. Ives 13/16" auger bit
Hand saw handle (no maker name, just Warranted Superior medallion), including 4 saw bolts
Chisel, unknown maker, a little over 1/2" (may only be useful as a paint can opener)
Buck Brothers gouge, 5/16" radius curvature at cutting edge (I don't know the "sweep" numbering)

I already have two braces and a couple hand drills, and I don't need more.  But the gouge is another story.  I've got two larger gouges and this smaller one will come in very handy.  And it's a Buck Brothers, so I'd bet the steel is very good.  I'm gong to replace the handle and it should be a great user tool.

I've cleaned up most of these tools now and I'm thinking about giving most of them away.  Time will tell.

Friday, January 12, 2018

Sharpen an Incannel Gouge - The Cheating Way

Bob Rosaieski often talks about the use of incannel gouges.  In November at a tool show I found two of them for sale and picked them up fairly cheap.
The two new (to me) incannel gouges ($30 for both)
Smaller one is approx. 7/8" wide, larger is 1 1/4" wide.  Don't know the "sweep"
but the smaller has diameter approx. 15/16", larger approx 1 3/4"
Smaller one is a Buck Brothers
Larger is Marples
I thought for a long time about how to sharpen them with the equipment I have, which mostly sharpens flat blades.  The following pics are from sharpening the Buck Bros. gouge.

I started by using the hand-crank grinder to create a flat one the end, removing any chips or unevenness.
End-on view, showing the flat created at the edge
Got it reasonably straight across - I don't think you want a curve on these gouges
Clamped the gouge in the vise at a 25° angle
A year or two ago I bought a cheap Dremel tool at a garage sale and hadn't used it for anything yet.  Here was my chance.
Grinding wheel, smaller fine grinding and polishing accessories
Holding the Dremel parallel to the bench gives me a 25° grind,
I followed up with the fine grinding and polishing
To polish the back, I used my diamond "stones", rocking the gouge as I traversed the stone.
Started at front of stone with far side of gouge contacting stone ...
... and as I pushed the gouge across the stone, I rocked it back so the near side was contacting the stone
After some work on the strop, I got a beautiful smooth back
Then I got back to the bevel, stropping on a piece of leather charged with honing compound, draped over a dowel rod.
Stropping the bevel
There was one issue with this method.  I sharpened the larger gouge first and when grinding the bevel, I just went side to side without changing the angle of presentation of the Dremel to the bevel.  Because of the curve of the gouge, this results in a smaller angle of sharpening at the sides and steeper at the center.  Notice in the picture below the uneven bevel on the larger gouge.
Note the curve at the base of the bevel on the large gouge
I don't have a picture of the smaller gouge's completed bevel.  When I ground it, I angled the Dremel towards the center of the gouge when working the outsides of the bevel.

I'd rather be doing this stuff freehand, but for now I have two sharp incannel gouges.  I wasn't sure about how and when I'd use these gouges, but I already found them handy when cleaning up an inside curve on a recent project.