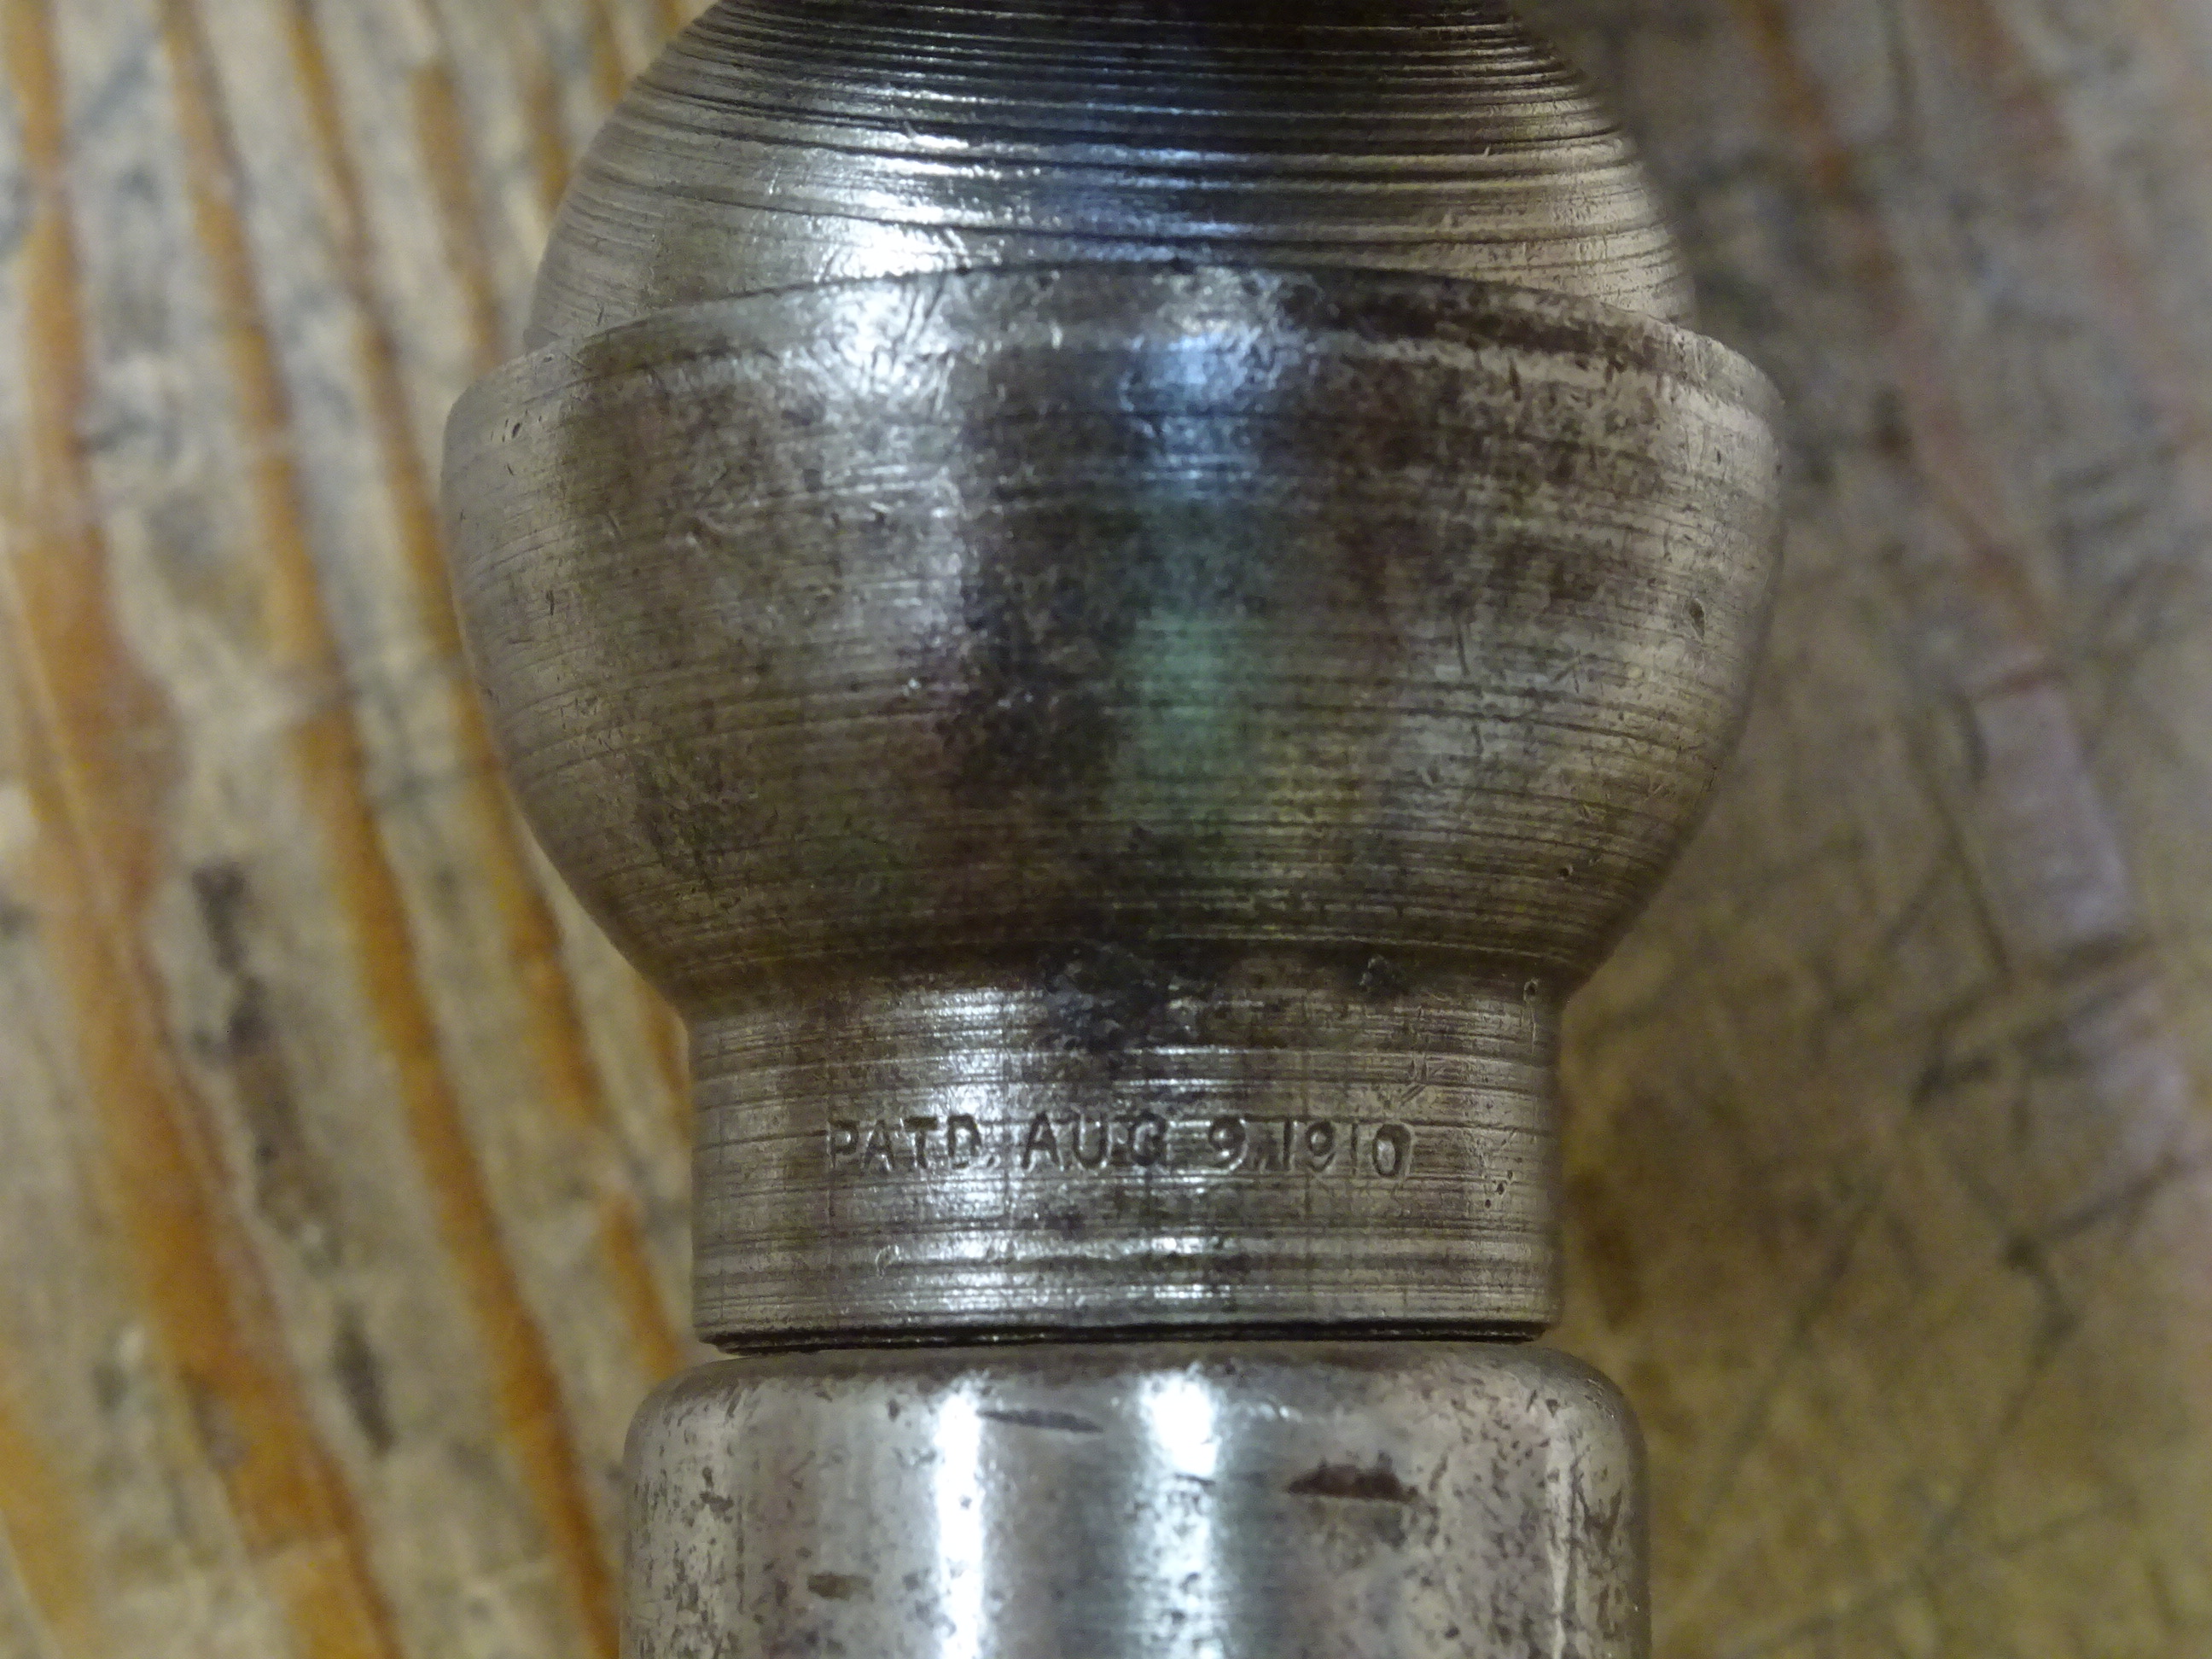
My drawknife is nothing special. I bought it about 5-6 years ago off Etsy. But the steel seems fine, the handles are firmly attached and it's comfortable to use.
 |
| Unknown maker 8" drawknife |
 |
| The bevel side is fairly heavily pitted. Fortunately the back side is in better shape. |
There are some drawknife sharpening videos on the internet. Curtis Buchanan has one here and Mike Dunbar shows a different method (with a different sharpening philosophy) here. Although I've sharpened my drawknife and used it (a little bit), I've never gotten it truly sharp. But a couple weeks ago I took an online class about drawknives with Elia Bizzarri. During the class, I learned a few things that really helped. When I got out to the shop to try out the new method, I was able to get the knife sharper than I had ever gotten it before.
The real trick for me was to create a hollow grind (definitely not Mike Dunbar's preferred method). But don't stop at hollow grinding the bevel; you've got to hollow the back slightly so it is easier to flatten it right up to the edge. Of course, I'm doing this with a hand-crank grinder and that creates challenges of its own.
 |
| The grinding setup |
The grinder is attached to a board that is clamped into the end vise. A block of wood, with a smaller piece of wood on top of it that is set back 1/4" from the front of the larger block, is clamped to the benchtop. That small piece of wood creates a little ledge across which the drawknife slides. The distance of that ledge from the wheel determines where on the knife the grinding wheel will hit. The block of wood is at an angle to the wheel - if it was perpendicular to the wheel, the grinder's handle would hit the right side of the knife every revolution.
 |
| Here's a birds-eye view of same |
Because I'm using just the corner of the wheel to grind the metal away, I used the wheel dressing tool to create a little flat at the corner.
 |
| In this close-up shot, you can see the chamfer on the wheel's edge |
Because the part of the wheel doing the work was so small, it needed frequent dressing as I ground the knife. Grinding the bevel went fine, but was slow because I was very careful to creep up to the leading edge.
 |
| Holding the handle, I tried to keep the knife in the same line as I moved it across the wheel. |
 |
| The bevel evenly ground. It's deeper at the right because (for some unknown reason) the knife is thicker there. |
 |
| A close-up. Could this knife be laminated? |
Grinding the back was similar, but had to be done in steps because there is a broader surface that must be taken down.
 |
| Red marker to guide the way (ignore the prior grinding marks from a hack attempt long ago) |
 |
| First quarter of the knife's depth done with care. Pen points to where I still need to grind. |
 |
| After two more rounds, moving further towards the back each time |
Now it's on to the diamond paddles. You can see them lying on the bench in the pictures of the grinding setup above. These things really come in handy and are the right tool for this job. The hollow grind on the bevel gives two reference surfaces to rest the paddle on. It's a matter of rubbing back and forth to abrade away a little metal at the front and rear edges of the hollow grind. But be careful! A little slip and you could slice your finger to ribbons.
 |
| You can see the front and rear edges of the hollow grind getting shiny at left end |
The grip of the knife is important here. In the picture above, one handle is firmly on the benchtop and the other end is held in my hand. The tool's edge is pointing away from me - this is important for safety. Another grip that I really like is shown below. Hold the far handle and pull the near handle into the chest for a nice stable knife. This allows me to hone the hollow grind easily. Again, be careful! The wrist can get a little close to the cutting edge, so pay attention.
 |
| Holding the knife handle between hand and chest ... |
 |
| ... allows good control when honing with a diamond paddle |
I used the fine and super-fine paddles, on both bevel side and back side, switching back and forth until the burr was ready to fall off. Then went to the strop. This was also interesting - you've got to find a way to hold the strop so the drawknife's handles don't get in the way when stropping.
 |
| Sliding the knife left to right as I pull back towards myself |
I used about 20-30 strokes on the bevel side and a few on the back side. I typically use a thumb-nail to test sharpness of my edge tools. This method of sharpening has by far given me the best edge that I've obtained on the drawknife.
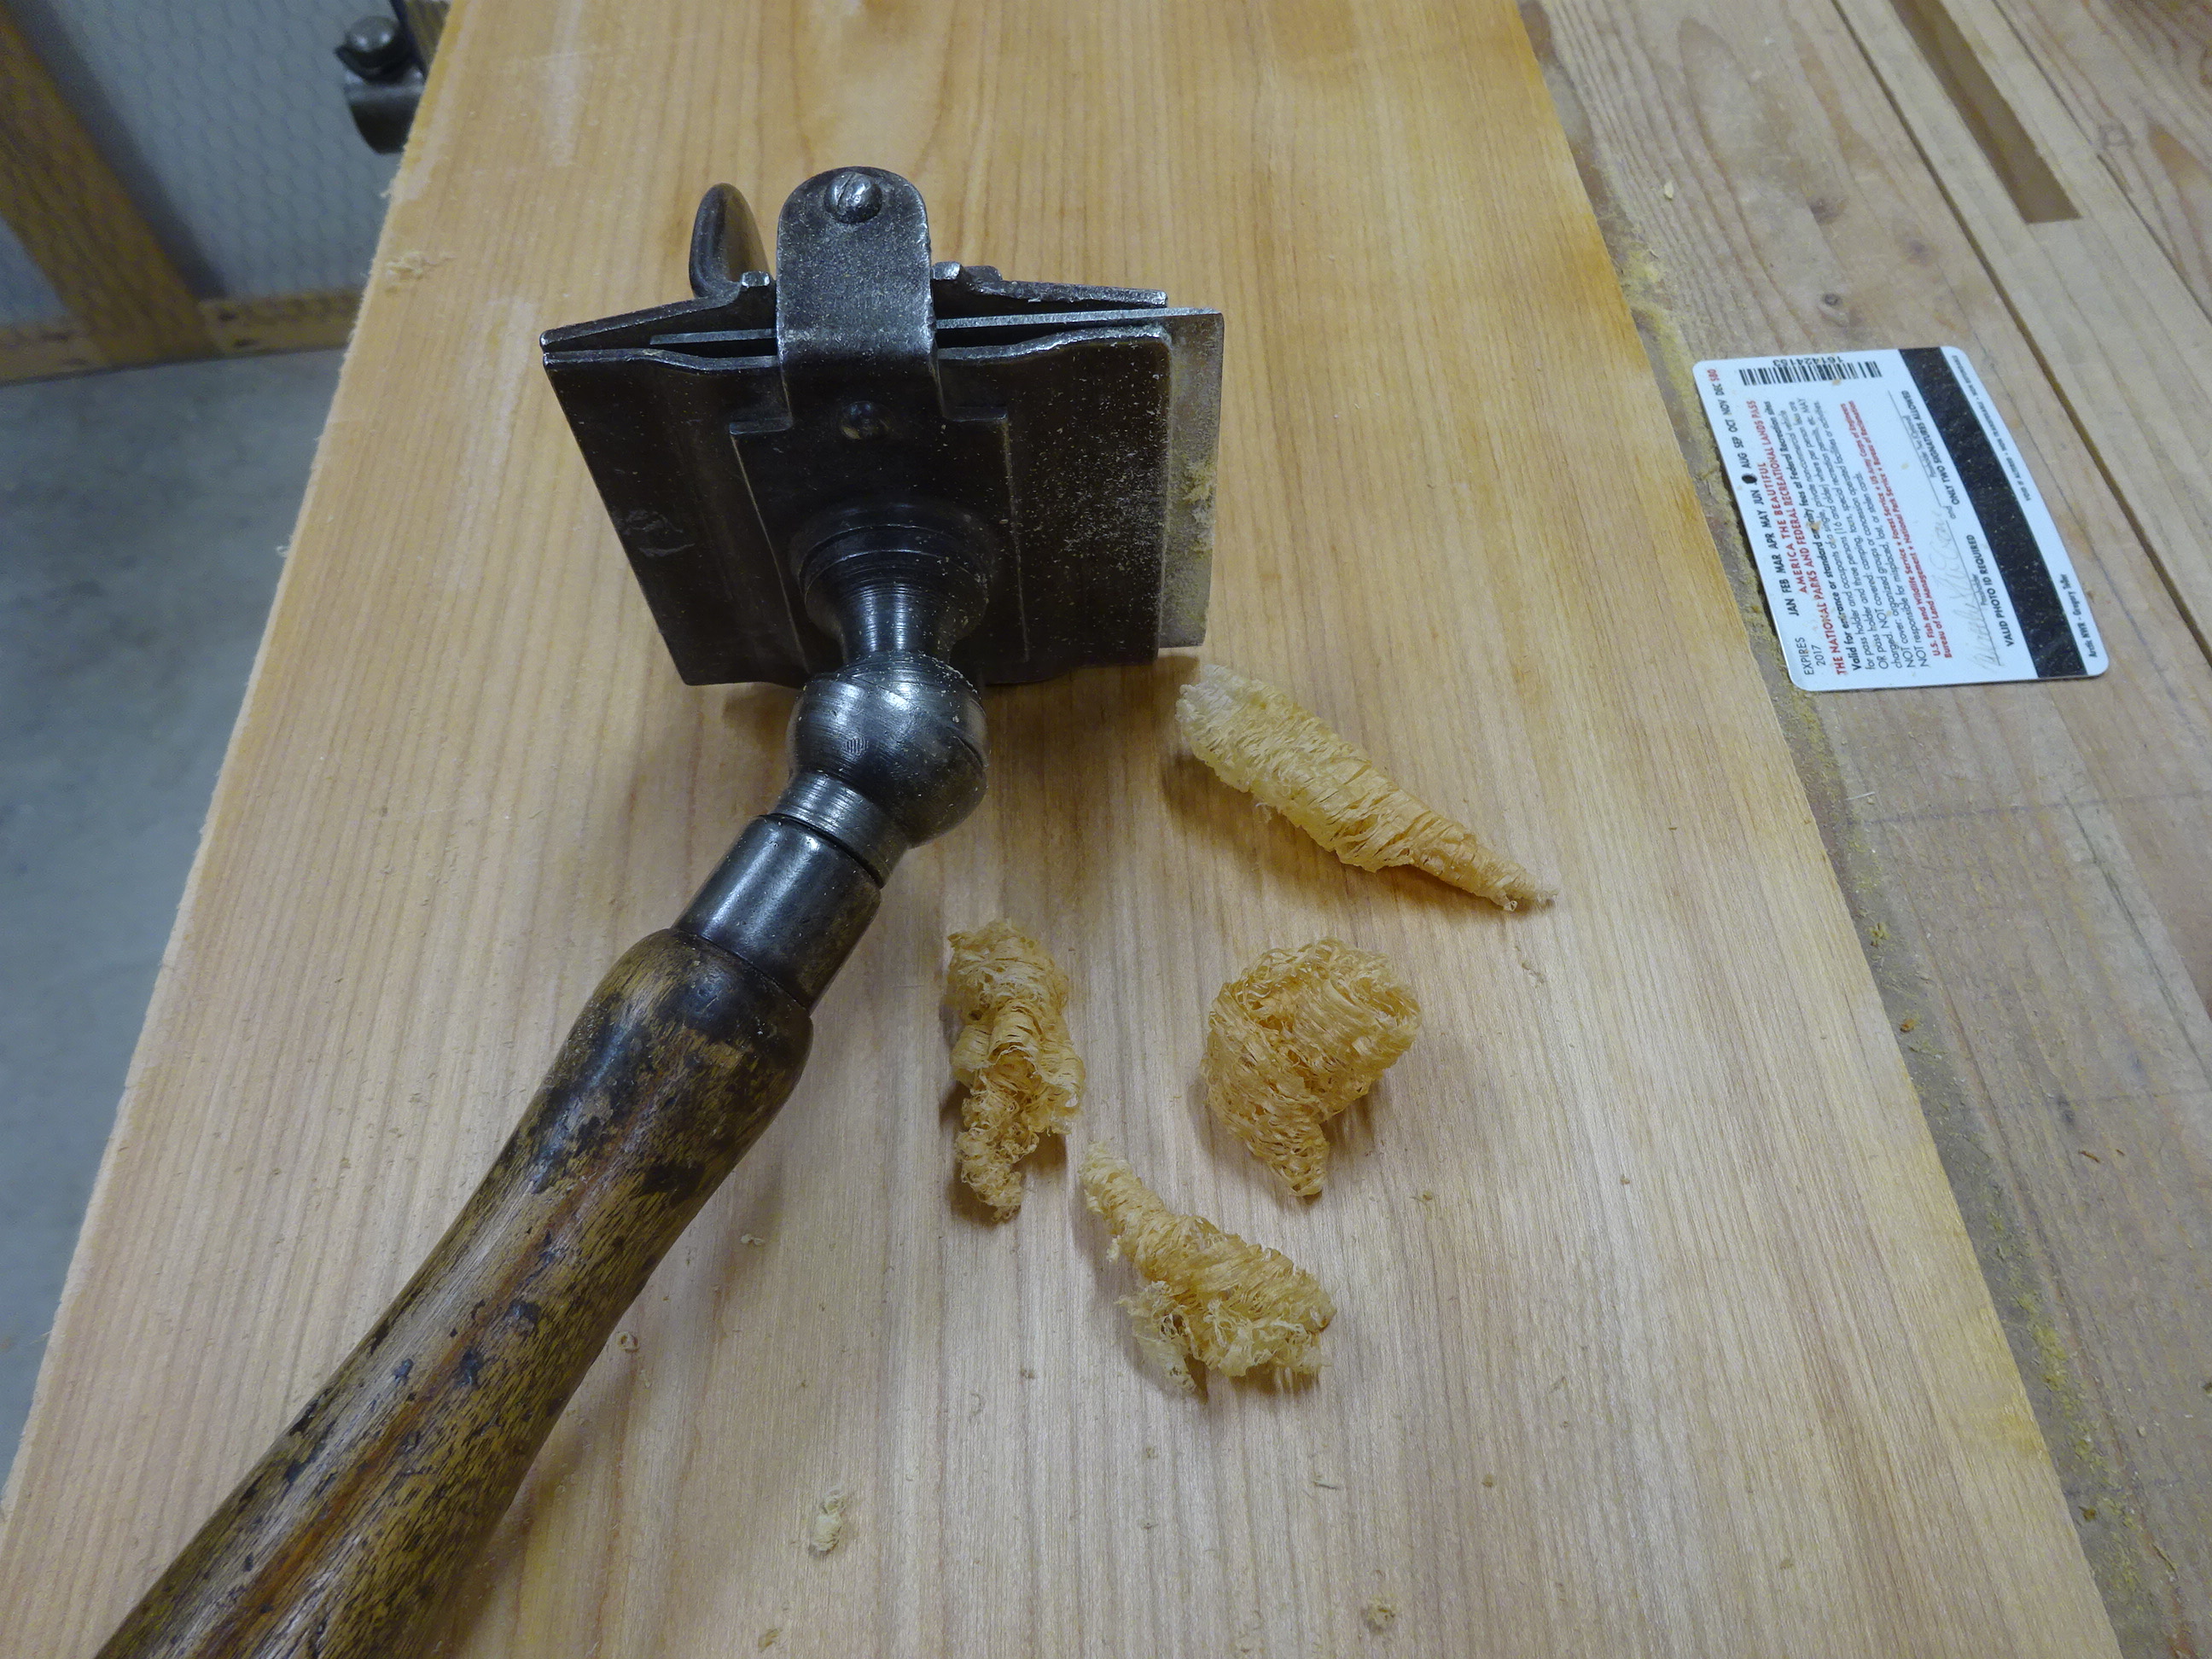
That's all well and good - the proof for me was in the cutting. I just finished a 2/3rds scale "democratic" chair (one of Curtis Buchanan's designs). And I don't have access to green wood! But the drawknife cut the (presumably) kiln dried red alder nicely. I'll post about the chair next time.