Showing posts with label Green woodwork. Show all posts

Friday, August 18, 2023

Democratic Armchair, Part 5

Last post I had dry-fitted the undercarriage and completed shaping the seat.  When I went to glue up the legs and seat, I found some stretcher tenons (cylindrical) were a bit too small.  Not sure if they continued to shrink or what, but I had to glue on some shavings to make them fit better.

The clamping method for gluing shavings to the tenon

A patched tenon

The undercarriage and seat glued up ...

... but there was a problem.

This crack goes all the way back to the rear leg

Apparently I was a bit too aggressive when pounding this together.  Gotta watch out for those tapered conical mortises and tenons - by definition they are a wedge.  I forced some glue into the crack from both top and bottom and clamped it.  So far it's holding fine.  If I think I need to, I could add a bow-tie inlay across the crack on the seat bottom.

After cleaning up the squeeze-out, can't even notice the crack

The next task was getting the posts, crest rail and spindles glued up.  I didn't get any pictures of boring the holes in the crest rail or in the seat, but that went well and the glue-up wasn't too stressful.  The joints are wedged with white oak.

Gluing up the chair back

A post and it's wedge sticking out the bottom of the seat

After the glue dried, the protruding wedged joints were domed with a gouge or chisel

The last real challenge was fitting the arms.  Much earlier I had shaped the arm supports and bored and tapered holes in the seat for the arm supports.  In Curtis' video series on these chairs, he made a side chair with no arms, so I was left to my own devices to figure out how to install the arms.

There were two things needed to happen.  First, bore a hole in the post for the back of the arm to fit into. At the correct angle.  And second, bore and taper a hole in the arms to fit on the arm supports.  At the proper angle.

The second task should have been straight forward, given that the resultant and sightline angles were given on the plan.  But things don't always go as planned.  Fortunately I made a test arm first to iron out the details.

First things first: boring the hole in the post.

In this pic, my thumb is touching the post.  The arm support is at lower right.
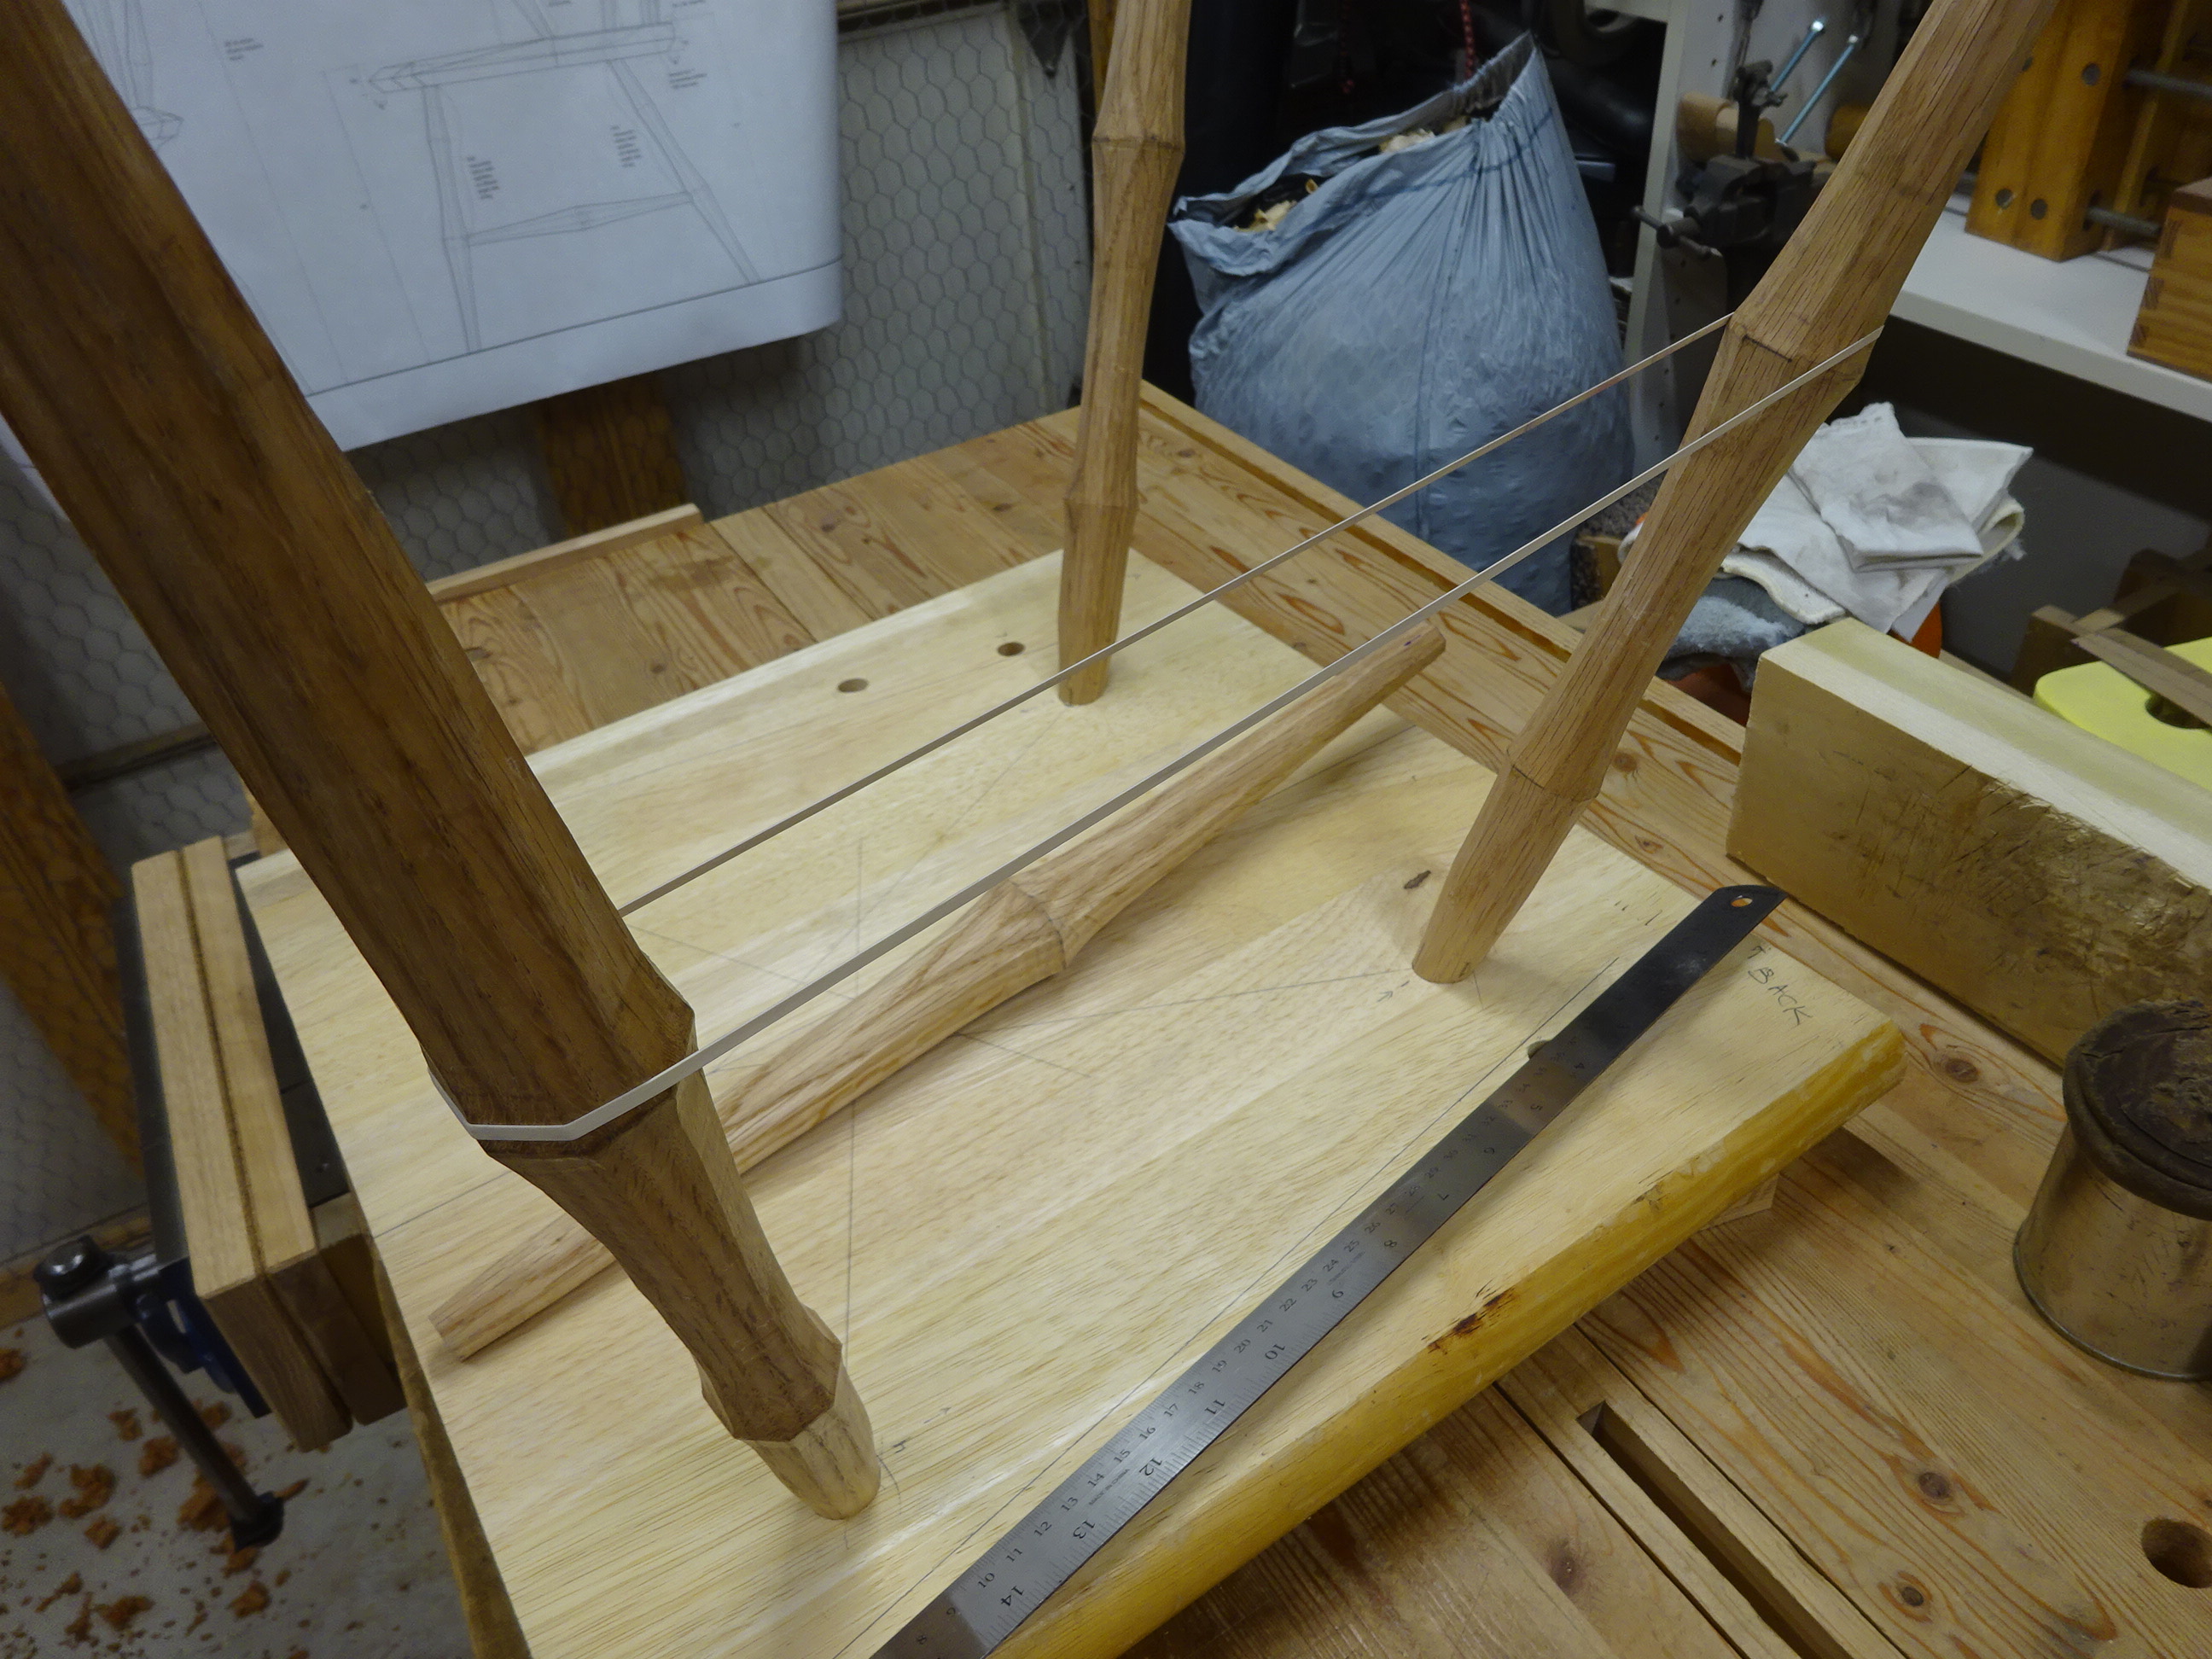
To get the "left-right" angle, stretching a rubber band between the two centers of the
post and arm support and lining up a ruler on the seat to draw a line parallel to the rubber band
(it was actually a little different from that - something more accurate)

To get the "up-down" angle for boring the post, getting a distance from the seat to
where the middle of the arm will be on the arm support ...

... then using that same distance to locate the boring bit (where the arm support would be)

Another picture of that setup

This worked well for boring the short hole in the post for the stub tenon.  Then I bored the rest of the way through the post with a smaller bit (at that same angle).

Boring and tapering the hole in the arm was key to success.  if the tapered hole is not at the right angle, the arm's tenon will not line up with the hole bored in the post.  To get this right, I'd need to taper the hole in the arm only slightly, check the angle on the chair, taper some more, check again and repeat until the proper depth of taper was achieved while making sure the arm's stub tenon pointed at the hole in the post.

Before boring the hole in the post, checking where to start the arm's tenon

And also seeing if the arm is at the right angle to fit into the post.
Here, the back of the arm is just a little too high - the post hole will be centered on the bulge

It took another step of adjusting the taper in the hole in the arm to get it right.  But it came out right.  Well, almost - for some reason the top of the arm shown above is not quite flat: it slants to the outside a bit.  I don't notice it when sitting in the chair, so it's not a worry.

One detail of the arm attachment is that a hole is drilled into the back of the arm through the stub tenon.  Remember that the hole bored in the post was done in two steps: first a shallow hole for the stub tenon, then a narrower hole all the way through.  The through hole allowed me to drill back through the post through the stub tenon and into the back of the arm.  A dowel (loose tenon) is glued in from the back to lock the arm to the post.

Here's one of the arm assemblies gluing up.
Note the wedges at top and bottom of arm support and also at back of post.

And ......... we're done!

Glamour shot - finally complete

Well, the last instruction on the plans says to sit in the chair.
Who am I to argue?

And just to give credit where credit is due, I added a note where I signed the piece (underside of seat on the bevel).

Thanks, Curtis

Currently, I'm not planning to add any kind of finish to the chair.  I could change my mind on that later, but for now I like it how it is.

Thursday, August 10, 2023

Democratic Armchair, Part 4

I got sidetracked for a few days being sicker than a dog (are dogs sick?).  Not sure what hit me, but it hit hard.  And I rarely get sick.  I'm hoping I'll be better by this coming weekend for the Summer PAST tool collectors meet in Half Moon Bay.

Since the last post, I've completed the joinery for the legs and undercarriage, as well as for the posts, crest rail and spindles.  Not glued up yet, but ready for glue after a few more tasks.

Fitting the post conical tenons to their mortises

Found some misalignment - not surprising since both posts were bent.
Had to ream the holes a bit more to compensate,
 but unfortunately that set them a little too deep in the seat
and the locations for fitting the arms are now a little too low and not equal.  C'est la vie!

On to the undercarriage.

Using rubber bands to scribe a parallel line on the seat for mortise hole angle.
Bored the holes using the line as a guide.

Turned the tenons using a makeshift bungee lathe.
(These stretchers were a tad too long for my regular bungee lathe.)

This picture shows the bench chaos and how many different tools I used here.
Bungee lathe at left, shave pony at right, clamps, hammers, drawknife, spokeshave, ...

Undercarriage dry-fit, with other parts temporarily in place.
Starting to look like a chair.

Then I bored the holes in the posts for the crest rail, and also in 
the crest rail and seat for the spindles.  All spindles were slightly bent,
and the crest rail didn't have quite the curvature on the plan, so I adjusted the angles.

With that stuff done, I started shaping the bowl of the seat.  Oh man, I was crushed after that.  It took about 4 hours and I still hadn't smoothed it out.  Then the shaping of the edges took another 2-3 hours.  And I was crushed after that, too.  But well worth it - Curtis really worked out some good looking details for this chair.

Laid out the contours and drilled holes to desired depths

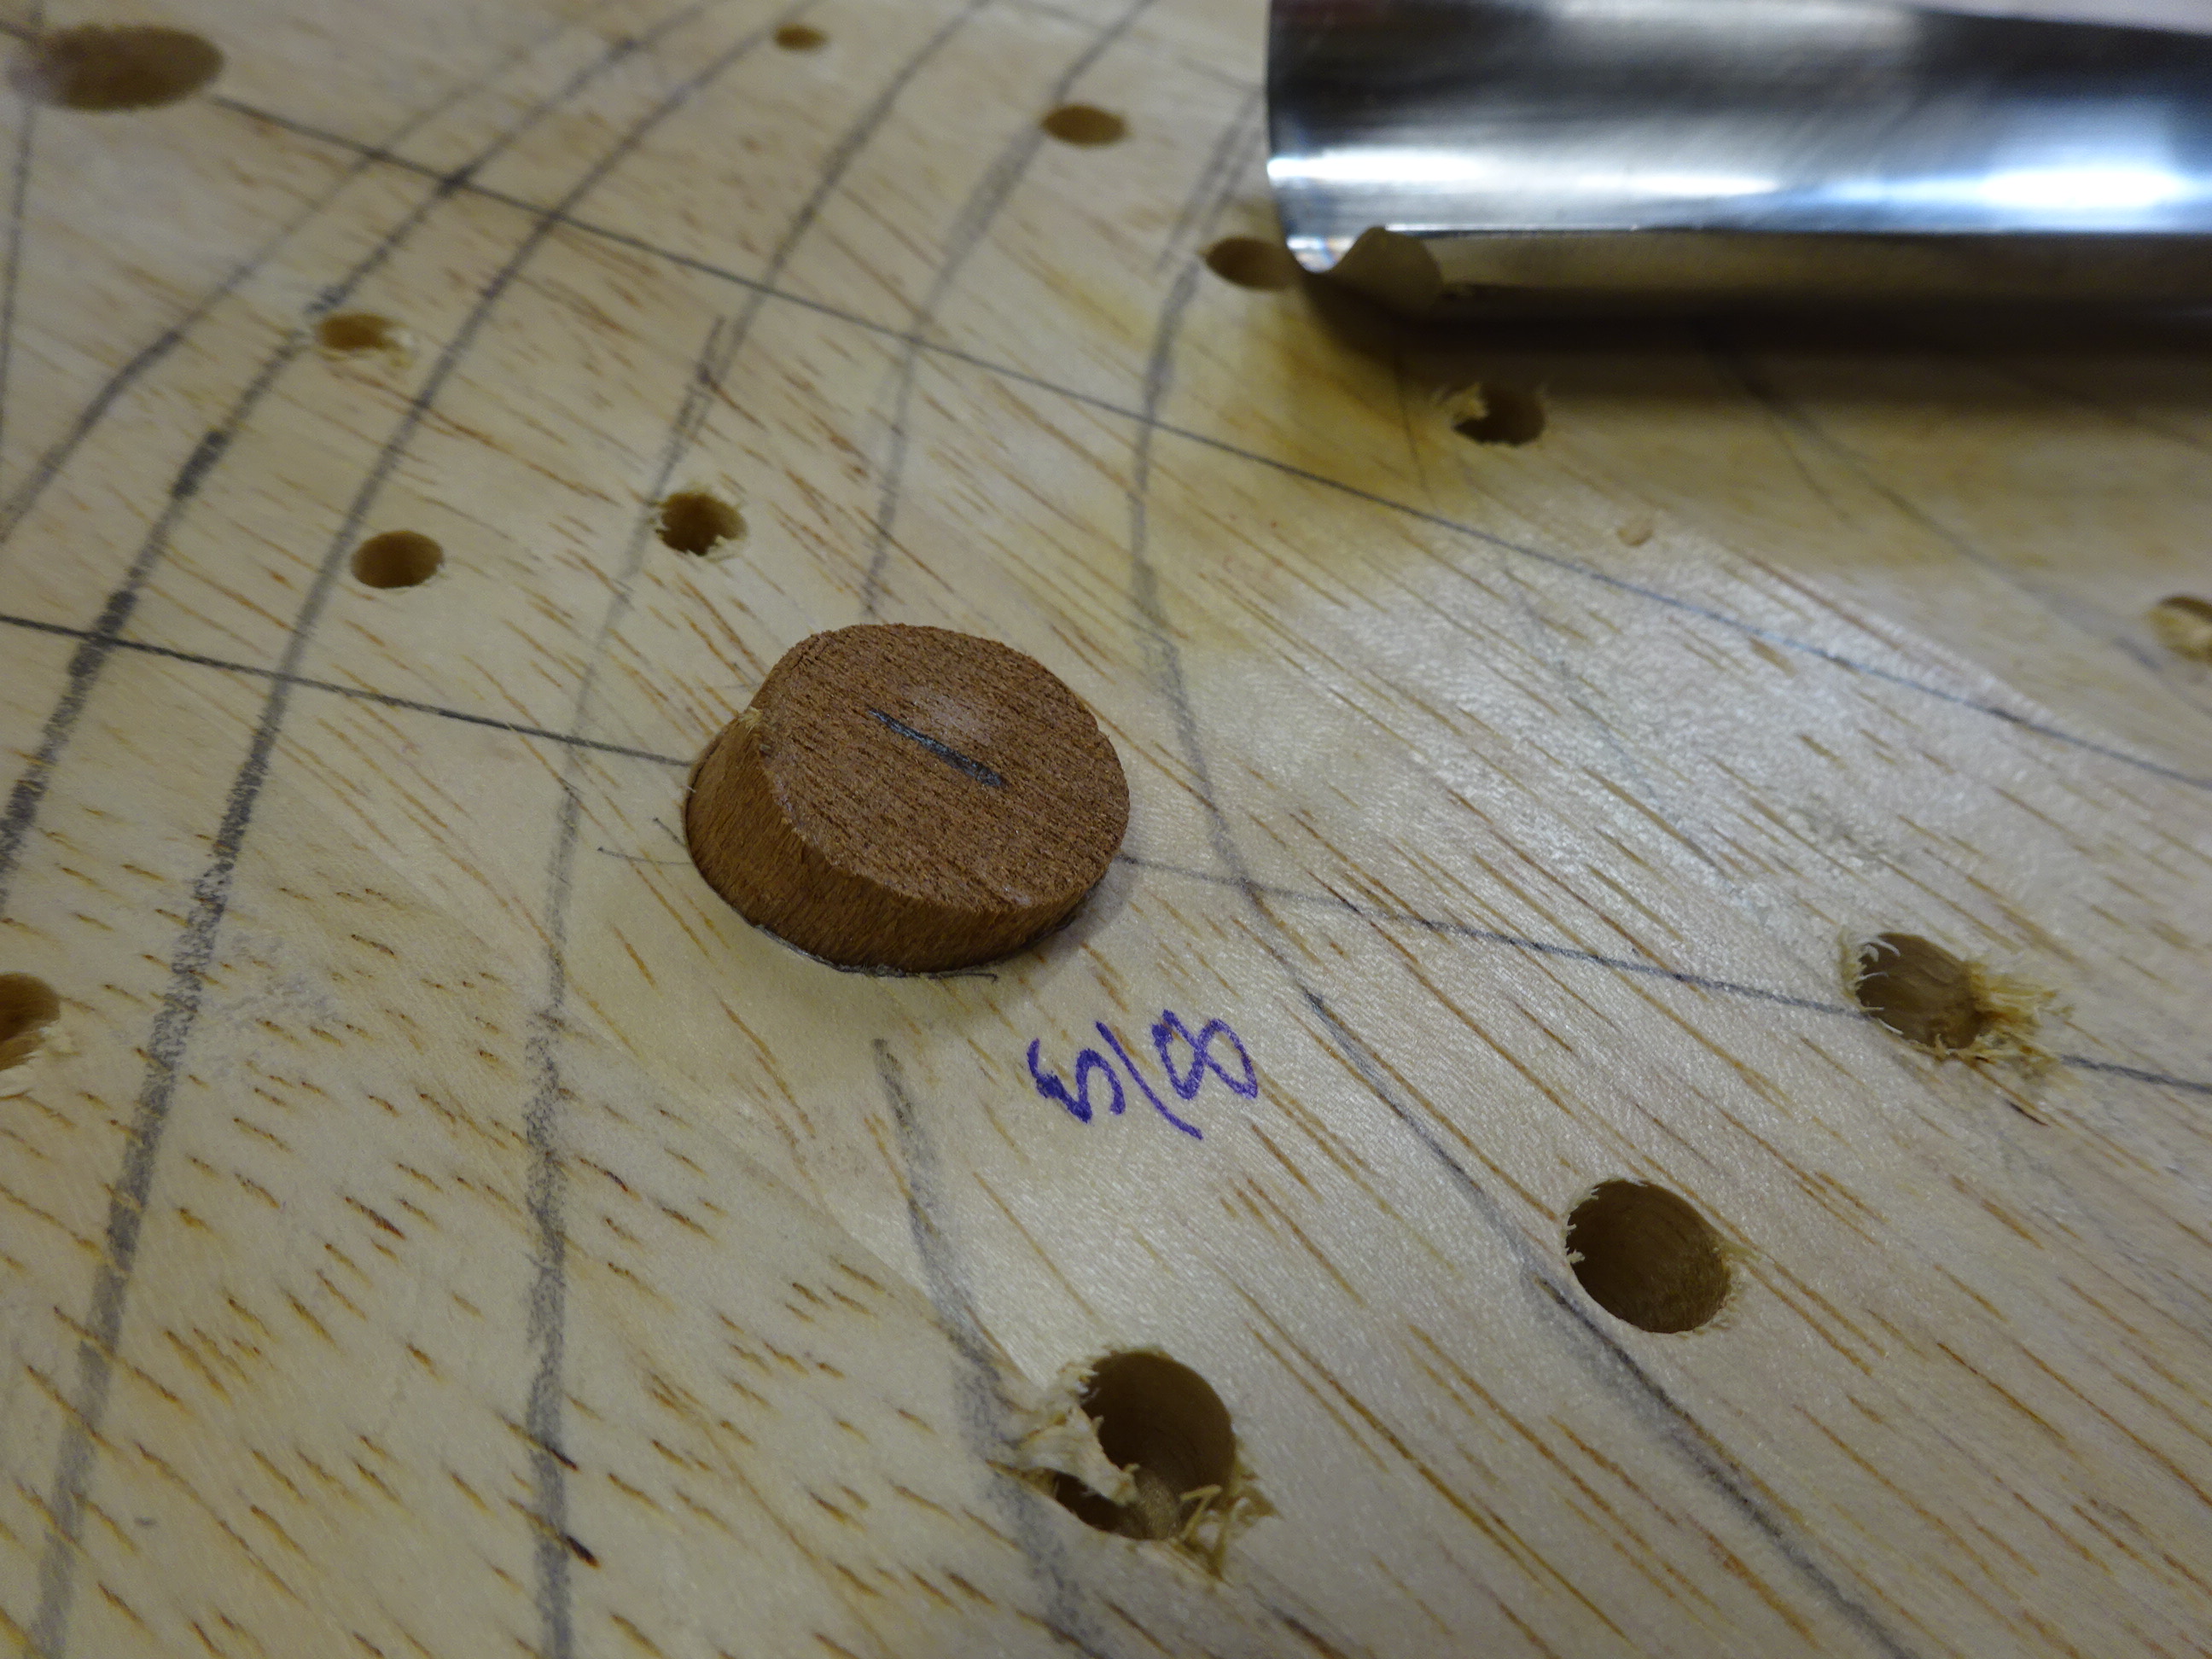
Plugged the leg mortises so that I wouldn't get any blow-out around the mortise rims

Used gouge and compass plane for most of the work

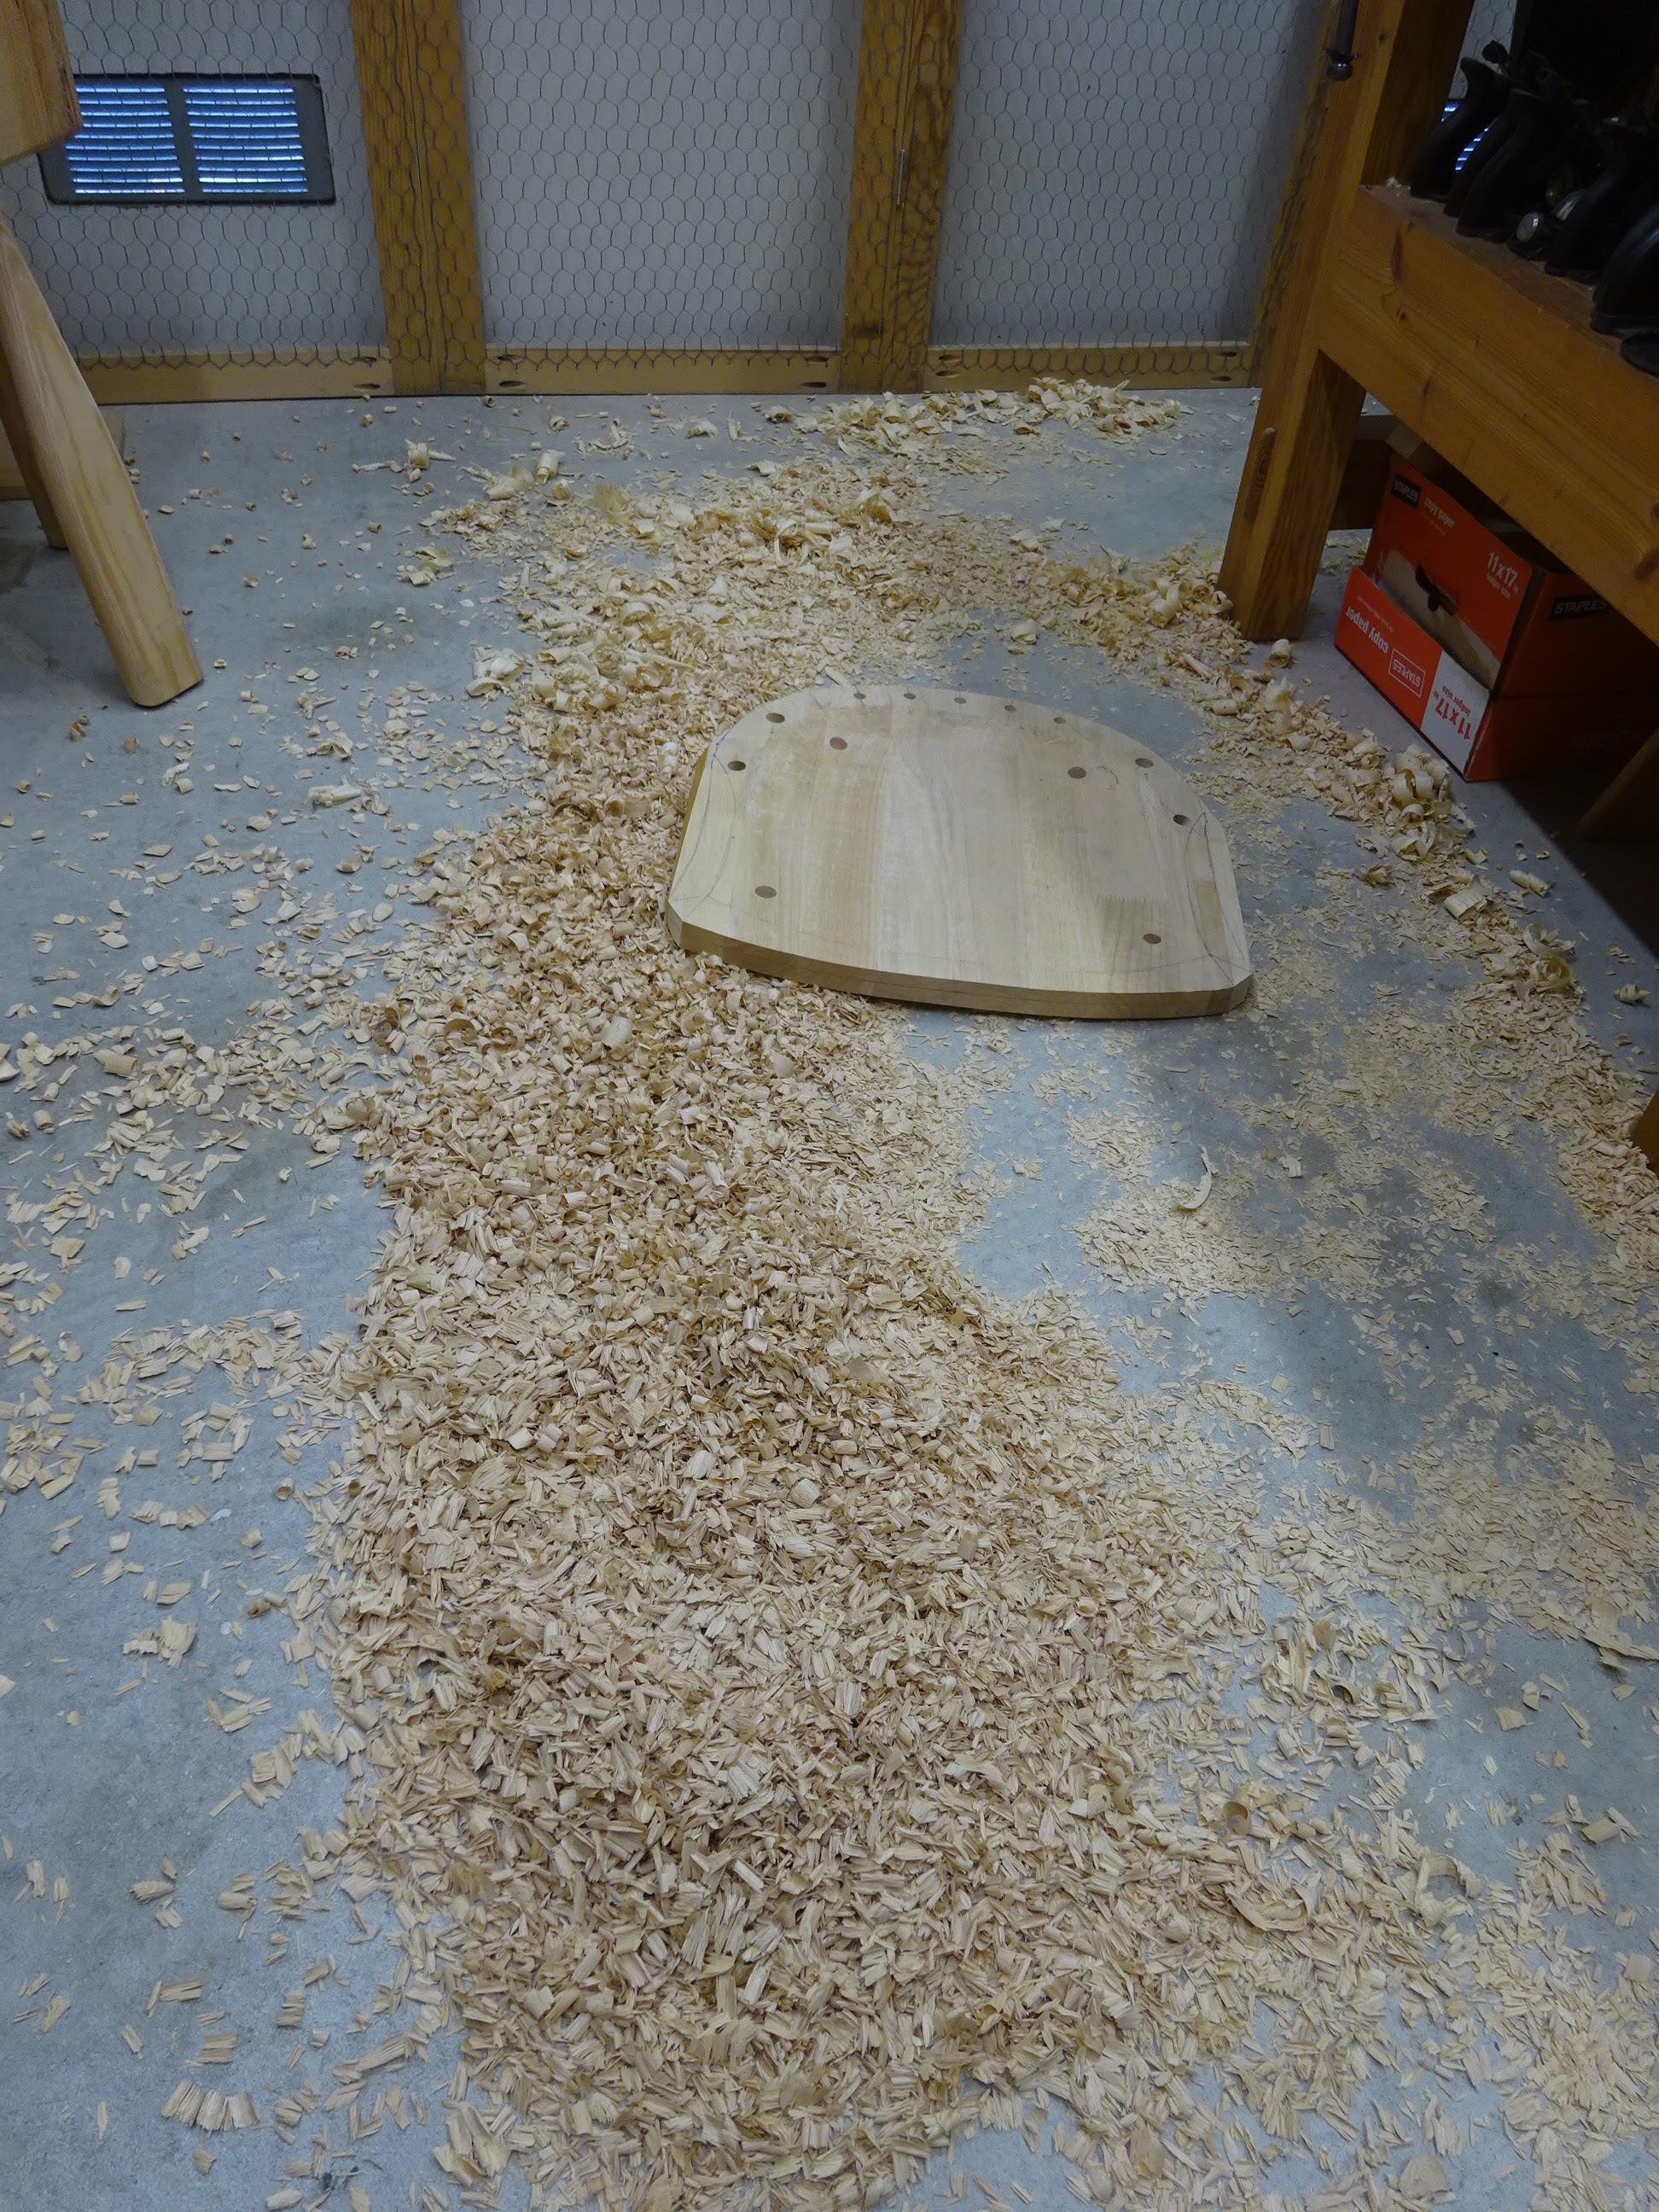
The shop floor was a big mess with all those small chips

Bowl carved.  Still more shaping to do in this pic.

Shaping the rest of the seat went OK, though it takes me 5-6 times as long as it does for Curtis.  Maybe if I had access to white pine like he uses is would be easier and quicker.  As it is, I'm using some unknown species of Asian hardwood that was once a tabletop.

Tomorrow I hope to get the undercarriage glued up and wedged.  Hopefully I'll also be able to work on the posts, crest rail and spindles.  The last thing will be connecting the arms.  That was not included in Curtis' video series about making a democratic chair, so I'll have to use the techniques learned so far to figure it out.

Thursday, July 27, 2023

Democratic Armchair, Part 3: Steam Bending

This week was mainly taken up with shaping the various parts - legs, posts, stretchers and spindles - and setting them in my hot car to dry out a bit.  But I also managed to experiment with wood bending.  I had an extra stick of wood about the right size for a crest rail and I soaked if for 5 days.  The drawknife was used to get the staightest grain possible from it before taking it to 3/4" octagonal.  Just for laughs, I tried bending the soaked piece by hand and found that I could bend it about an inch over the 25" length.  Then I set it in the soaking bath again overnight.

I made a bending form from some scrap redwood.  This has a radius of approximately 16 1/2"

Here, I'm gluing on a cleat so I can hold the form in the vise

Here it is fixed in the vise.  Note the notches for clamps.
The curved rabbet is just over 3/4" deep and just under 3/4" wide.

When it came time to heat the wood, I took the piece out of the soaking tube and wrapped it in a kitchen towel.  I soaked the towel with water and then wrapped the whole thing in aluminum foil, sealing it as well as I could.  Then I poked a few small holes for pressure release and stuck it in the oven.

The experimental piece in the oven - just barely fits diagonally

I set the oven for 220ºF and let it cook or 2 hours.  The piece was 3/4" octagonal and in a steam box it would need less time.  But I figured with the towel insulating the piece it might take more time.  After 2 hours, I was worried that it wasn't enough, so I raised the temperature to 250ºF and gave it another hour.  I never did see any steam escaping from the holes I poked in the foil.

When I took it out of the oven and unwrapped it, there was a fair amount of steam.  The piece was easy to handle with leather gardening gloves.  Then I tried it on the form and to my surprise, it bent fairly easily.  It still took a little muscle, but it was easy to get it in the form and clamped up.

And here it is clamped to the form

I'll see tomorrow if it holds the bend or how much spring-back there is.

OK, it's tomorrow.

Here it is sitting on the form with clamps removed

There was a little springback, but I'm completely thrilled with the result ...

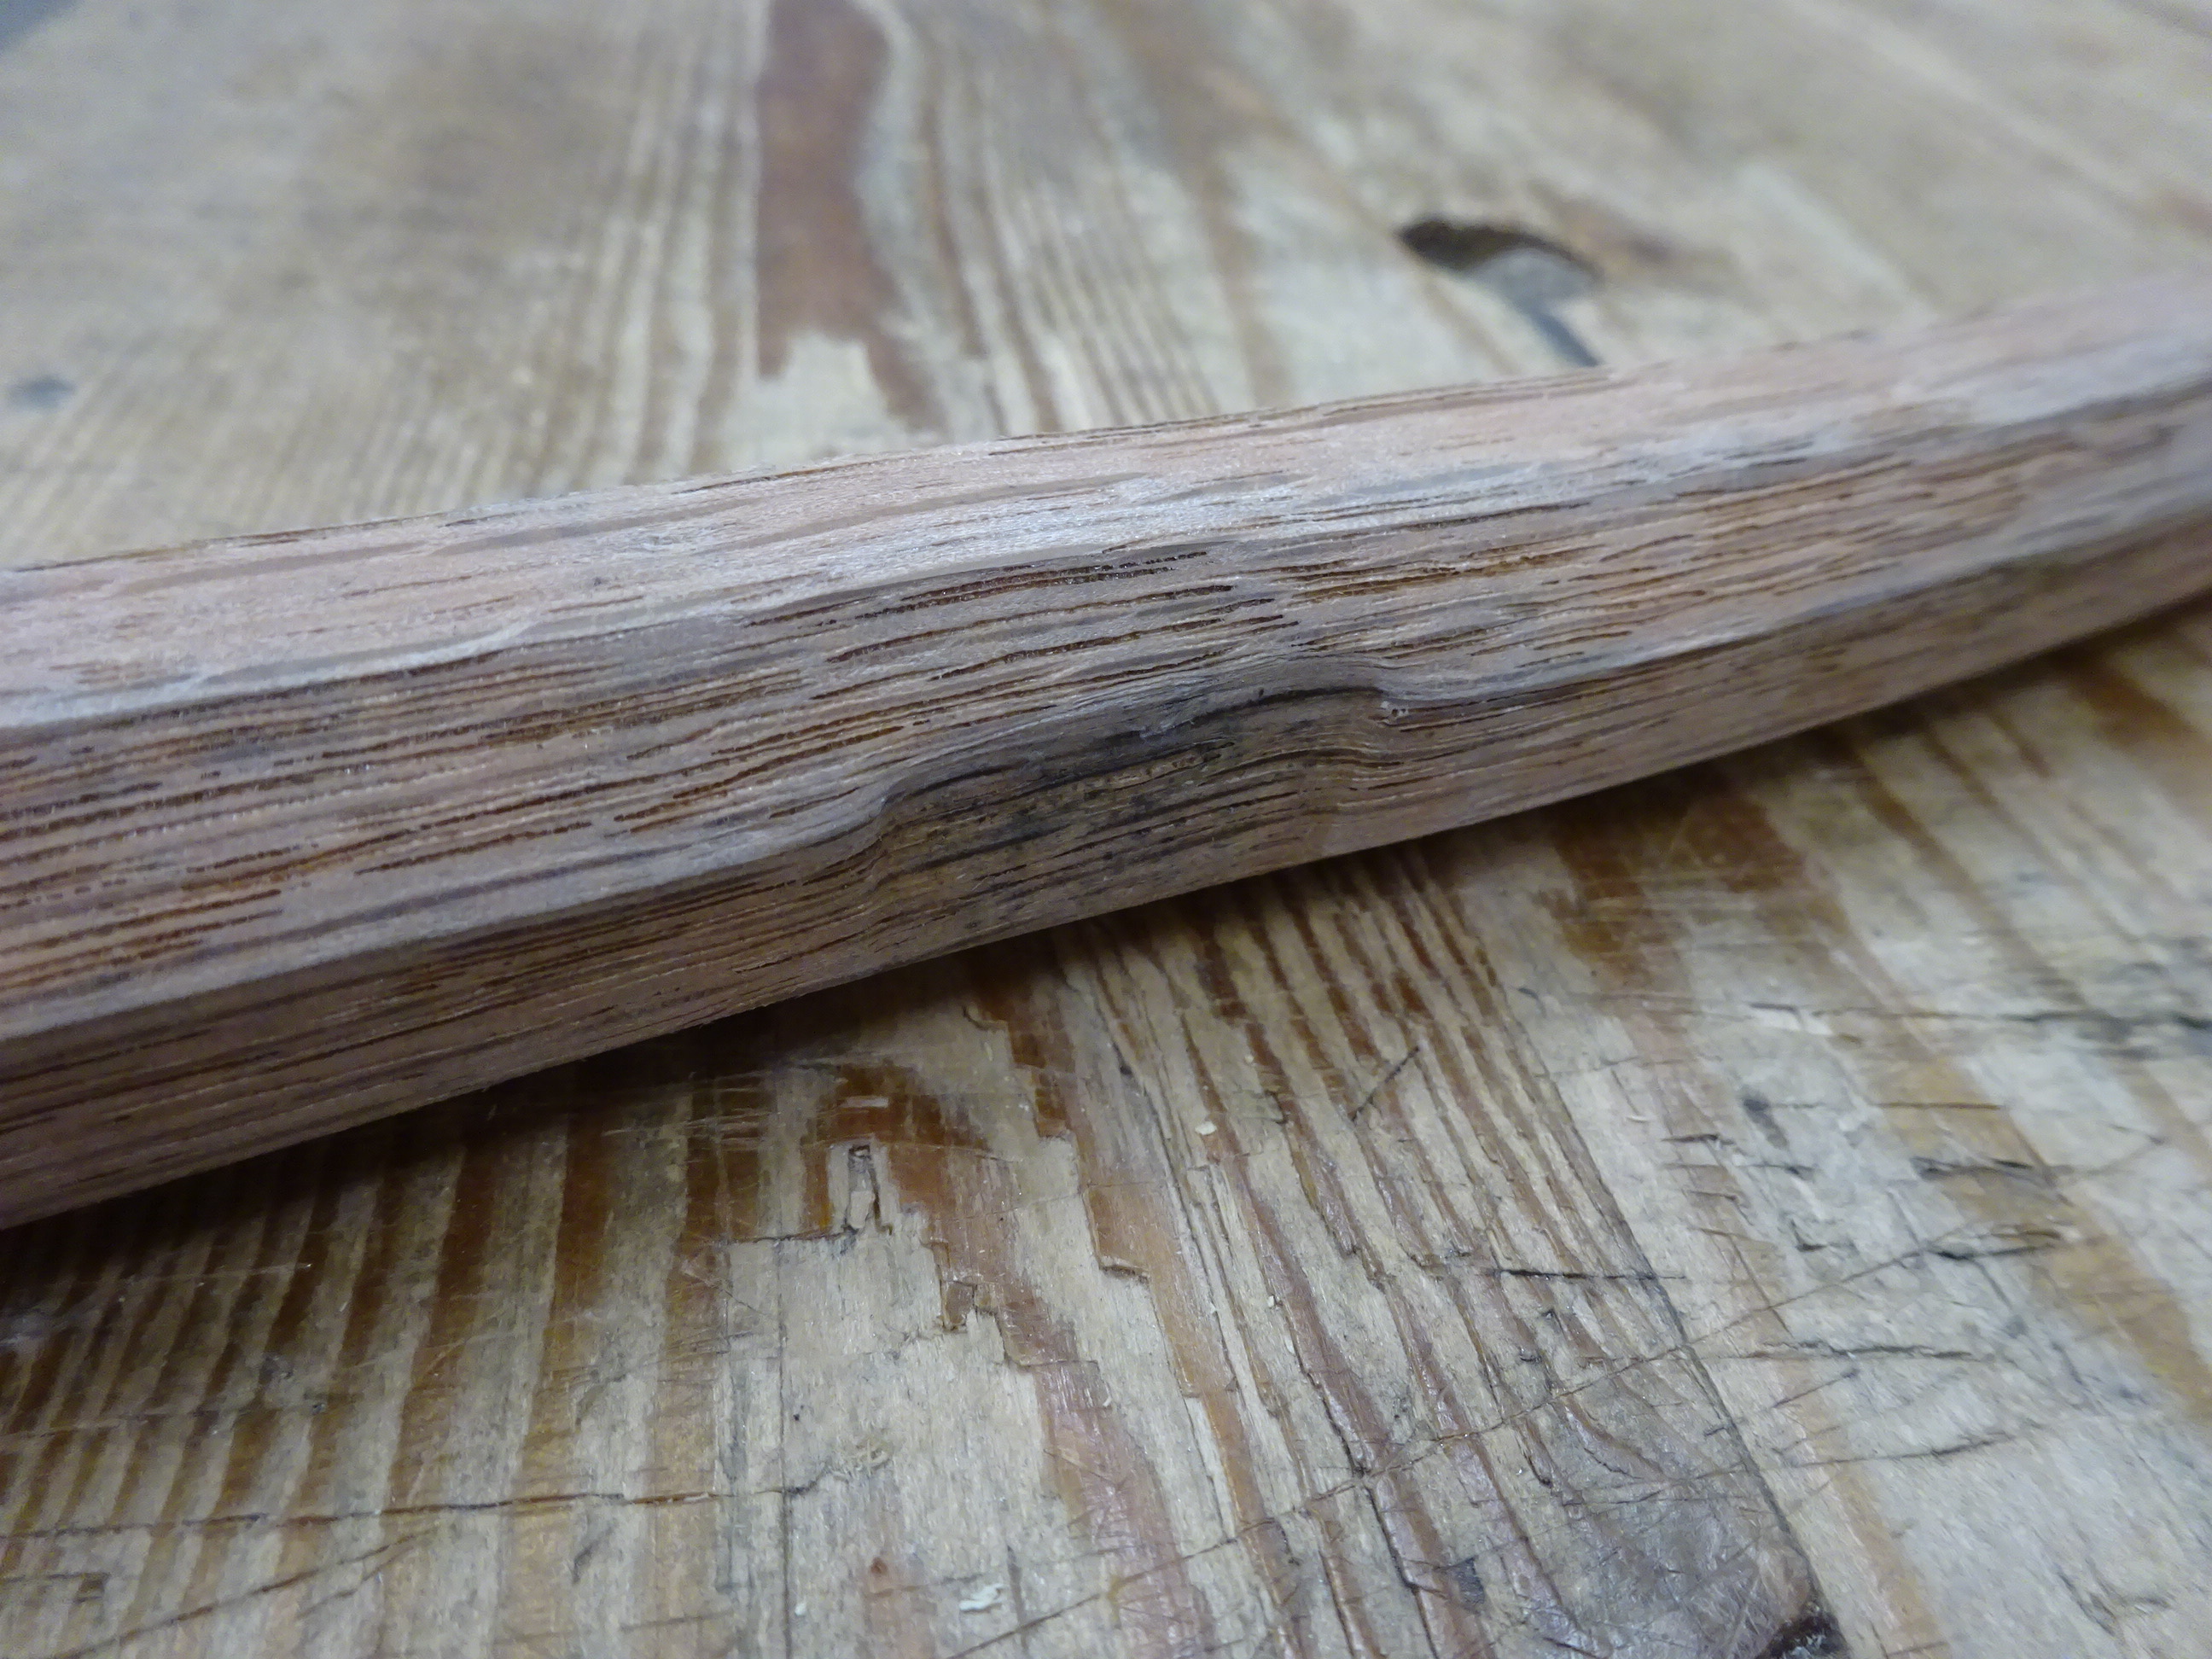
... even with these dents caused by the clamps

This was just an experimental piece.  If it turns out to be long enough, I might use it as the final crest rail.  This is partially because I mistakenly shaped the real crest rail into a spindle.  But for now, the bent rail is sitting on the dashboard of my car drying out.

Thursday, July 20, 2023

Democratic Armchair, Part 2

Last week I worked on the legs.  This time it's on to other parts.

To make the blanks for the posts, arm supports and stretchers, I used the same basic technique as for the leg blanks.  That is, split the board to find how the grain runs.  Then cut parallel to the split, wide enough for the needed workpiece.  Finally, look at the edge grain where the board was split and find where the workpiece would fit along the staightest grain.

Using a template to copy a side stretcher shape on a blank
whose grain was slanted

Notice in the above pic that the outline of the workpiece is drawn catty-cornered to the piece of wood.  I had to do this to follow the grain.  That was really limiting - if I didn't care about wasting a lot of wood (and if I had more wood), I'd split out a blank large enough to make it easier to get straight-grained pieces.

I made life easier in the shaping stage by sawing off a lot of the waste.  You can see a chunk that was sawn off in the above pic.

With the posts, there was a bit of a wrinkle.  The board didn't split straight.

Not what I was hoping for

Used a small hatchet and scrub plane to get them to rough dimension,
but they're still curved

I thought for a few days about what to do.  In the end I decided to just live with it and allow the posts to bend backwards in the chair.  I think the tops of the posts will be about 1-1.5" further back from where they should be.  I might adjust the angles at which they are mortised into the seat, and I think I can do that.  But curved workpieces present more complications - I use conical tenons in a conical mortise, and the tool I use to make the conical tenons works best when the pieces are straight.  I normally turn the workpiece into the cutter and if it's curved, I won't be able to get a consistent, symmetric, conical tenon.  This time I'll have to turn the cutter around the workpiece or maybe just cut the tenons freehand.

I soaked the workpieces in water for 3-5 days to soften the wood before shaping.  This worked great - what a joy it is to use the drawknife with wet wood.  When shaping, I'd draw the shape of the workpiece on the tangental faces so that I could shave to those lines on the radial faces first.  It's much easier cutting away material from the radial surfaces than the tangental.

Here, I've already shaved this radial face,
then re-drew the shape before I rotated the part to shave the tangental face.

Shaving the tangental face, angling at a corner to get down to the line
(I'm leaning to my right so I can see the lines)

After both sides were shaved to the lines, remove the midsection

I took the parts first to square cross-section, then octagonal

Here's the two posts completed with the pile of shavings

For making the parts octagonal, at first I drew lines to guide my drawknife work.  But I found that I could get close enough without marking.  This chair is a bit rustic, so the parts don't have to be perfectly octagonal.

When I posted last week about making the legs, I mentioned that the tube used to soak the parts could only fit one leg at a time.  Realizing that was going to be horribly inefficient, I got something a bit larger.  I really wanted to find something about 6" diameter, but had to settle for a 4" PVC pipe.  And this one is about 5 feet tall, whereas my first one was 3" diameter and about 2 feet tall.

The original 3" diameter pipe could fit one leg at a time for 3-5 days!
This pic was from last week.  One part soaking, three others waiting.

The new setup is much more efficient, but ...

... I have to add labels to remember which parts started soaking when!

After shaping, there are two challenges.  The first is drying the soaked and shaped parts. In a comment on last week's blog, Sylvain reminded me about a Follansbee post where he said he sometimes uses his car dashboard (presumably parked in the sun) as a drying "kiln".  I did that this week.  I don't have a scale to see when parts no longer lose weight, but they sure seem dryer after a few days in the hot car.

The second challenge is tougher: bending the crest rail.  I don't have a steambox and am not sure how to tackle this one.  The crest rail will be about 3/4" octagonal, so I don't think soaking it alone will be enough.  I need heat.  I've researched this a bit and found some creative solutions, but most involve things I don't have.  And I really like accomplishing things like this with what I've got on hand.  We'll see ...

Thursday, July 13, 2023

Democratic Armchair, Part 1

A couple years ago I bought the plans for this chair from Curtis Buchanan.  That year, I built a small, 2/3 scale chair (without arms) and it was great fun.  But I used kiln-dried red alder, without any attempt to follow the grain of the wood.  This time I'm using kiln-dried oak that I'll soak in water to soften it and make it workable with a drawknife - a technique I recently wrote about and learned from a Pete Galbert video.  Hopefully I can get the parts to follow the grain to make a very stong chair.

About 6-7 board-feet: that'll be $80 please ...
The grain on this face looked reasonable - not too heavy on the "cathedrals"

The edge grain looked fairly straight,
though Galbert warns not to trust a sawn edge

Cut off a 20" section to make the legs, but I
saw that the grain was in the direction of the ruler


So I started a split to the right of center ...

... and sure enough it split along the slanted grain.
At least the split was straight.

Here's the exposed edges of the split - fairly straight grain

I referenced off the split edges to mark where to saw out the leg blanks.  I might have split them off, but didn't want to risk the grain running away and getting parts that were too thin.

I split a second length of the board for two more legs and the split had a slight curve to it.  I ended up planing it flattish and dealt with the consequences later.  Spoiler: there was some tearout when shaping the legs.  With stright grained wood, there's little chance of tearout (except at the bottom of a cove cut).

The initial split for the other two leg blanks

Got quite a curve!

The newly exposed edge also showed suboptimal grain runout.  A sane person might scrap the piece and split another, but this wood ain't cheap, so I'll deal with it.

Pointing to a line I drew showing the edge grain runout

After the leg blanks were ready I soaked the first one for three days.  I only had room in the 3" ID PVC tube for one part at a time.  (I did something about that later because not only could I only put one leg blank in at a time, but it also wasn't long enough for the posts!)

Three leg blanks next to the tube

Look at that color right out of the water

And look how much it expanded - these were the same size before soaking.
The 1 1/2" wide blank grew about 3/32" - didn't expect so much.

Surprisingly, it gained almost as much in the radial plane

Shaving the soaked wood was unbelievable!  The wood peeled off nicely, especially in the radial plane.  The tangental plane (face of the original board) was a bit tougher.  But the trick is to shave the radial plane first so that you have less bulk to take off on the tangental plane.

The first peel - sweet!

What the floor looks like midway through shaping the leg

A shaped leg next to a leg blank

Still not sure what to do about drying the legs.  I don't have a makeshift kiln.  Curtis shows how to make a simple one in one of his videos.  I just need to get a couple things - box, heat source, etc.  But I'll need it to be disposable/recyclable because I just don't have room for more stuff.  Speaking of which, I could use a steam box to bend the crest rail.  But again, I don't have room to store it.  Arrgh!

Next tiem I'l get into the posts.  An interesting challenge for sure!