This post turned out quite long, so the words are kept to a minimum and pics tell the story.
Last time I wrote about the #29 transitional plane that I bought in an auction. I had to try to get this thing working well if I wanted to experience it. So here we go ...
 |
| As found |
 |
| Disassembled (screws are elsewhere in a vinegar bath) |
THE WOODEN PARTS:
 |
Sole has some checking
|
 |
| Owner initials on the top? |
Unfortunately I got rid of that bit of history when I planed the body true. Top, sole and sides were planed - as little as possible - to clean up the top, get the sole flat and the sides reasonably flat and square to the sole.
 |
| Used a #8 and a #4 to clean up the body |
 |
| Knob had some minor checks and many signs of age / use ... |
 |
... but I scraped off the old finish, then chucked in a drill and sanded
|
The shape of the tote was markedly different from that of my metal planes. In the picture below, I've placed the tote next to the tote from a Stanley #4 1/2. There's a large difference in the heights.
 |
Transitional #29 tote sitting on #4 1/2 tote
|
 |
Tote scraped and ready to fix
|
 |
Planed a flat where horn was broken off
|
 |
Good gluing surface
|
 |
Glued on some beech
|
 |
Sawed out the shape
|
 |
Refined with rasps and files
|
 |
Re-established the hole by drilling 1/4" hole from below
|
 |
Then enlarged the top of the hole to its original size with small gouges and rasps
|
Some of the wood at the tote's base had worn away and this allowed the tote to swivel a little bit in the depression where it resides. I added about 1/8" of new wood to the bottom of the tote. The extra wood lifts it up a little (there was plenty of vertical space to allow this) and makes it more stable.
 |
Planing the bottom flat - it was not even close to flat as found
|
 |
Gluing on 1/8" of beech
|
 |
Shaped the new bottom to match the tote
|
My hands are average size, but the tote was quite small for me and was uncomfortable at the pinky. So I used a rasp to remove some wood in that area to make it more comfortable.
 |
Shaped this location for comfort
|
When the woodworking was complete, I gave the wooden parts a thorough drenching in boiled linseed oil. That darkened up the knob quite a bit, but the new wood on the tote still stands out. But the highlight was the plane body. Look at this grain on that chunk of beech - it's gorgeous!
 |
Wet with oil, the rays on the plane's side really popped!
|
I gave the wood parts two coats of BLO, a day apart and let them dry for several days.
THE METAL PARTS:
The hardware came out looking great after a vinegar bath. Don't remember how long I kept them in the vinegar, but probably overnight. A wire brush in the drill completed the process.
 |
| The cleaned up hardware |
The depth adjuster knob was looking pretty ugly. A toothbrush and degreaser got rid of a lot of crud. Wire wheel did the rest. A tiny wire wheel in a dremel tool got the inside of the wheel where it revealed the unseen patent dates.
 |
| Wheel looking rough |
 |
Inside of wheel loaded with crud
|
 |
| Cleaned up. "Bailey's Patent, Aug 31, 1858, Aug 6, 1867" |
In preparation for cleaning up the frog, I removed the yoke by tapping out the pin. First time ever attempting this and it worked out fine.
 |
Frog in vise, pliers holding nail which is used as a punch to remove the pin
|
The frog, yoke, lever cap and casting were first cleaned up with a degreaser and brush. I scraped off as much of the japanning on these parts as I could, except for the "mottled" top surface of the lever cap.
 |
Removed japanning with blunted crappy chisel
|
 |
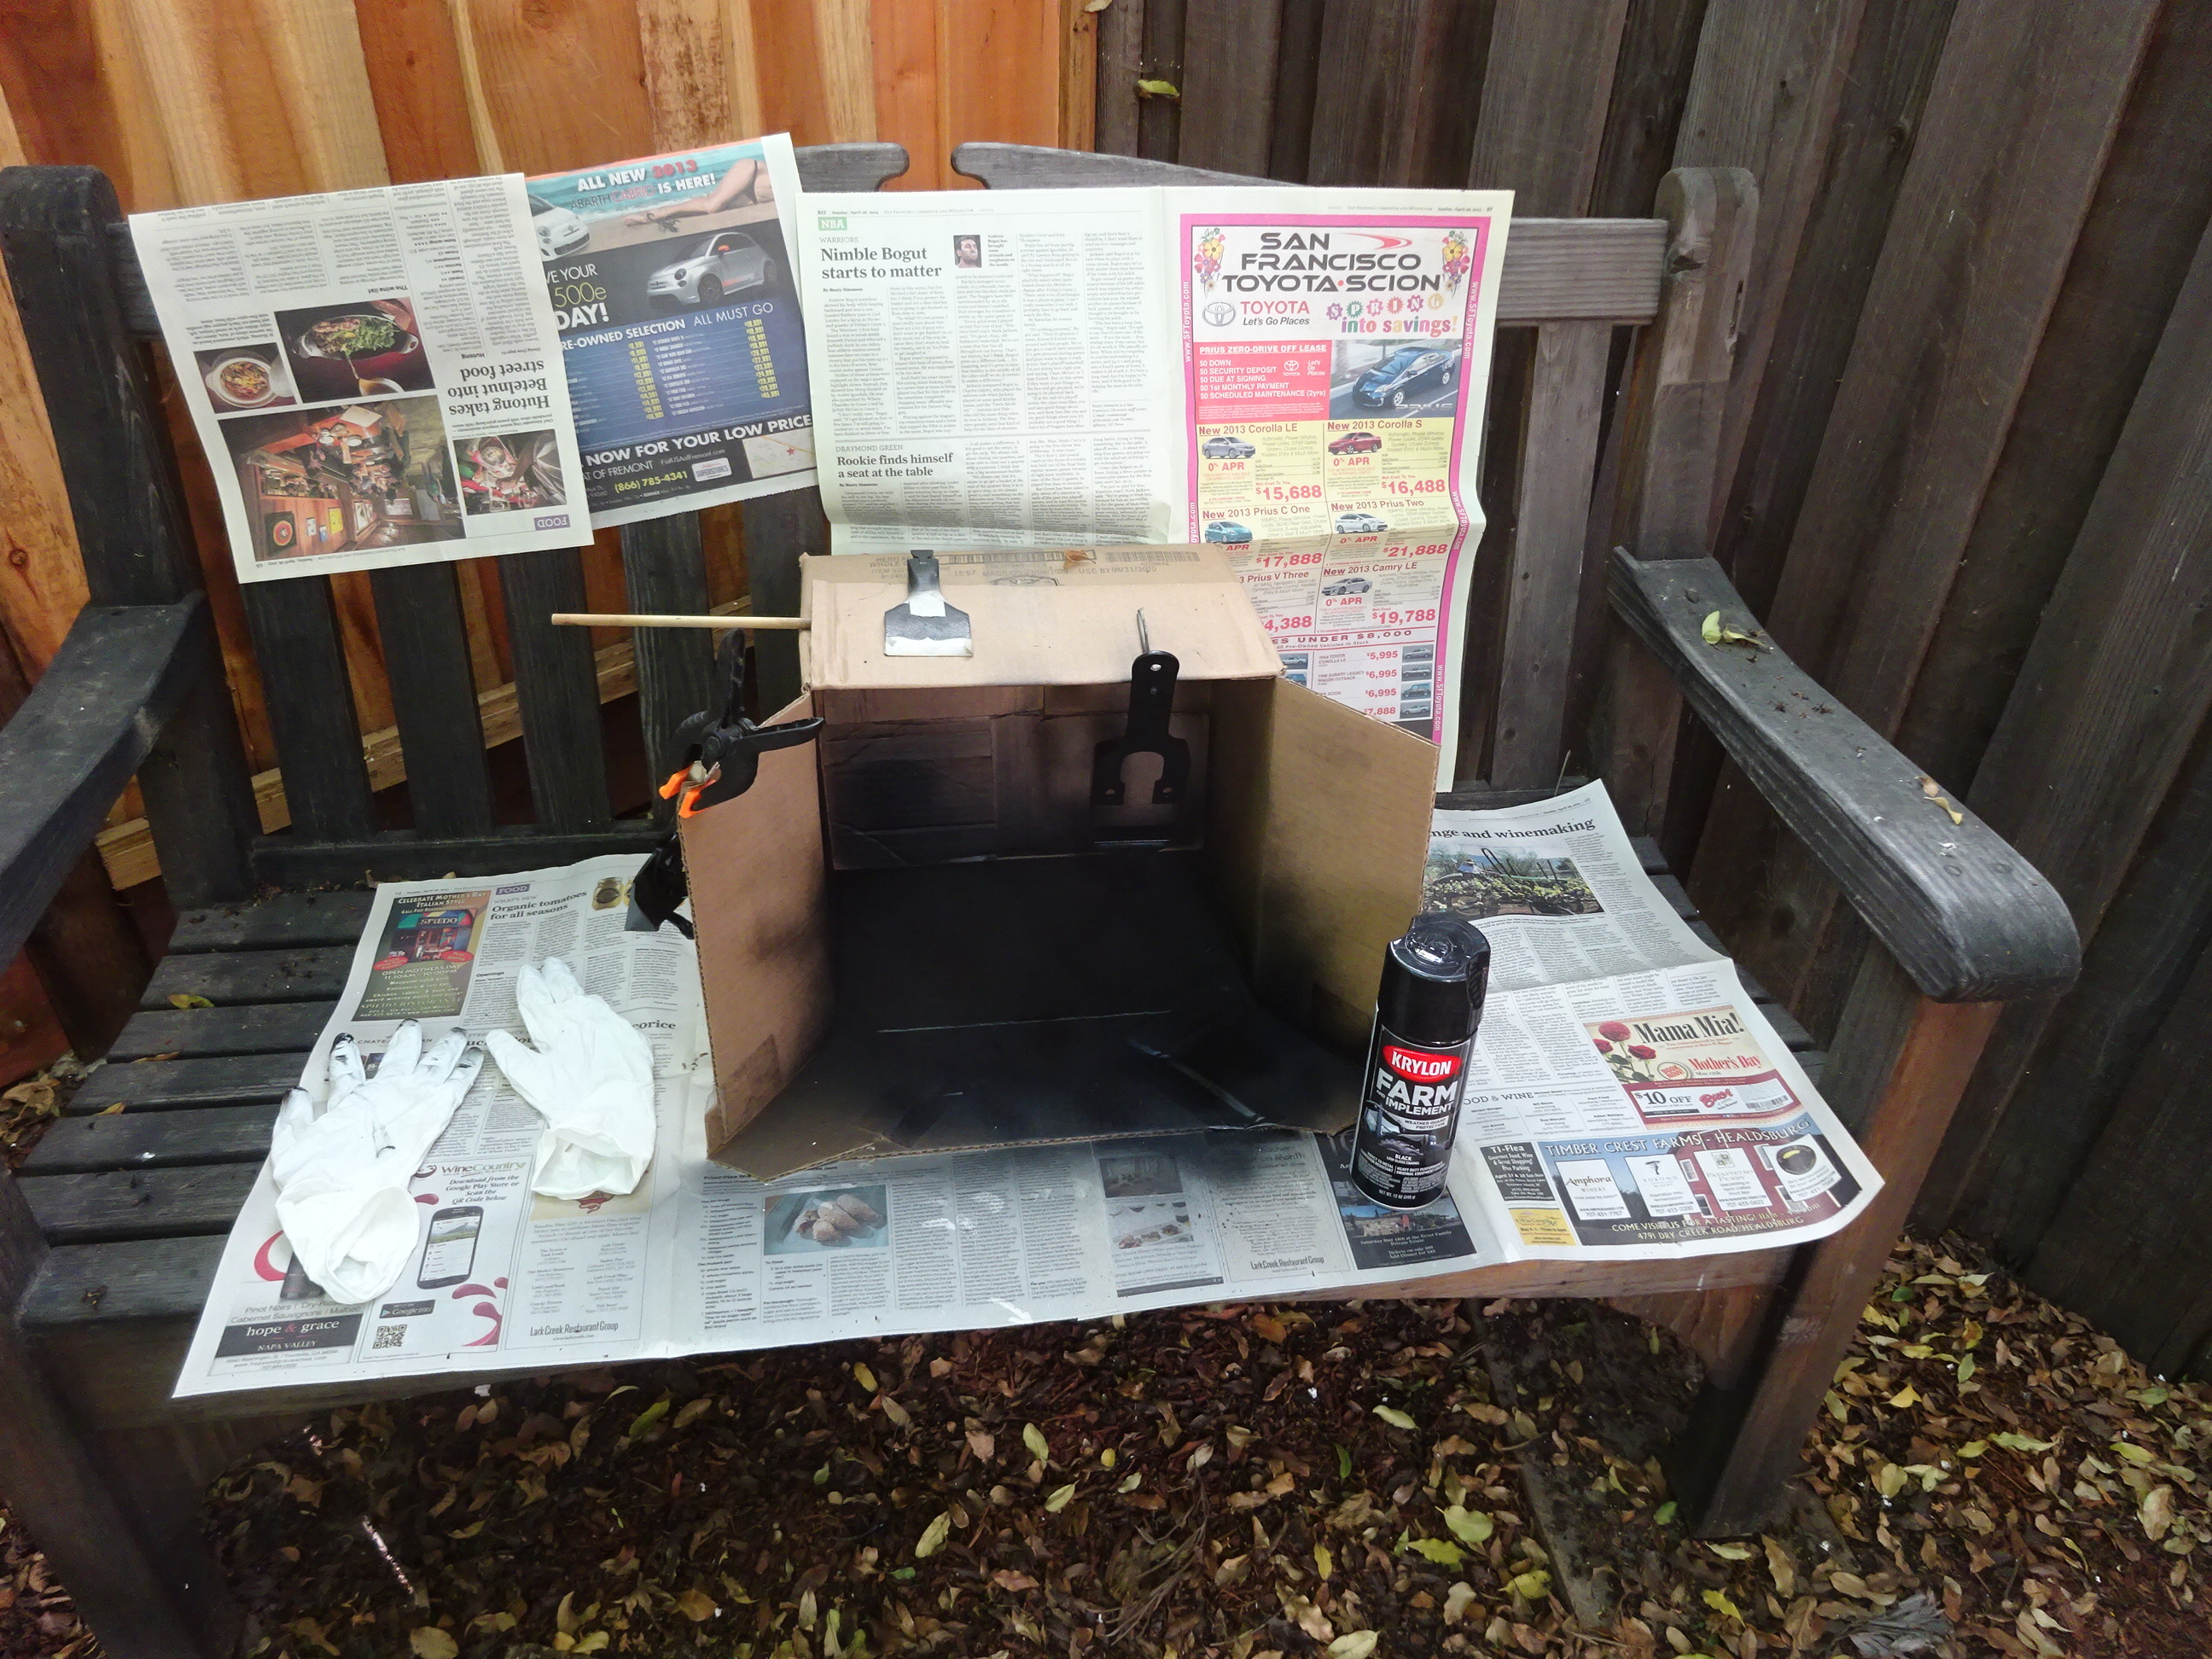
My makeshift spray booth
|
 |
Gave the parts about 6 coats of paint
|
 |
They came out looking great, though it is easily scratched
|
 |
The paint I used
|
 |
Replaced the yoke, making sure to tap the pin back in the way it came out
|
I didn't take pictures of rehabbing the iron and chip breaker, but I did the usual: flatten the iron's back (it had a HUGE belly and took a LONG dang time), sharpen it, get the front of the chip breaker to mate well with the iron.
 |
Back of iron showing corrosion and pitting to be removed
|
But it was all worth it when I reassembled the plane, set the iron and took my first shavings.
 |
Shhhnick! Oh man, that was sweet!
|
And here she is, all gussied up. So far, it seems like a real user. I've put a small camber on the iron and will use it as a try plane. It's a beauty! And it was practically free!
 |
| Glamour shot |


Good job on the tote repair. Do you have any pics of the sole after you made some shavings?
ReplyDeleteNo, sorry Ralph. But I'm sure it looks exactly the same as before making shavings. I didn't have to remove much to get it flat, so there are still some checking lines. Just looks like some nice beech.
DeleteBravo, good sensible rehab job.
ReplyDeleteDon't worry about the small hairlines cracks, they will open and close with humidity changes and not causes any issues. I they worry you, just put some liquid krazy glue in it.
Years ago I made an illustrated Type study version similar to the Bailey one I published. It only exist as a word doc i think??
I may dust it and re-create it like I did with the other, but don't hold your breath, its a big project competing with many...
Bob
Would love to see your type study if you ever get a chance to post it. In the mean time, like you said there are others online to get info from.
DeleteAlso if you noticed the frog being smaller and sitting on top of the wood, the cap iron does not have its slot at the same height as a regular Bailey plane to engage the yoke. If you try swapping the transitional blade assy for a regular Bailey, or vise versa, you will run into issues. Solution? Swap cap irons
ReplyDeleteBob
Yeah, I read somewhere that the blade assemblies are different between transitionals and metal planes. I didn't do a direct comparison, though.
Delete