A few years back, I made a thin cabinet for our bathroom that housed four rolls of TP. The cabinet hangs on a thin section of the wall in our potty room (a small separate room for the toilet). When the door is open, the cabinet is hidden behind the door. Anyway, the TP industry saw fit to sell only mega rolls - we can't get normal sized rolls anymore (grrr) - and they don't fit in the old cabinet. So ...
I thought I'd try to make this project with my homemade wooden planes. And it worked out pretty well, but I did forget one time and used a #4 on something. Old habits die hard. I do normally use the wooden jack a lot and the new scrub has proven to be great. But the try plane and smoother don't get as much use.
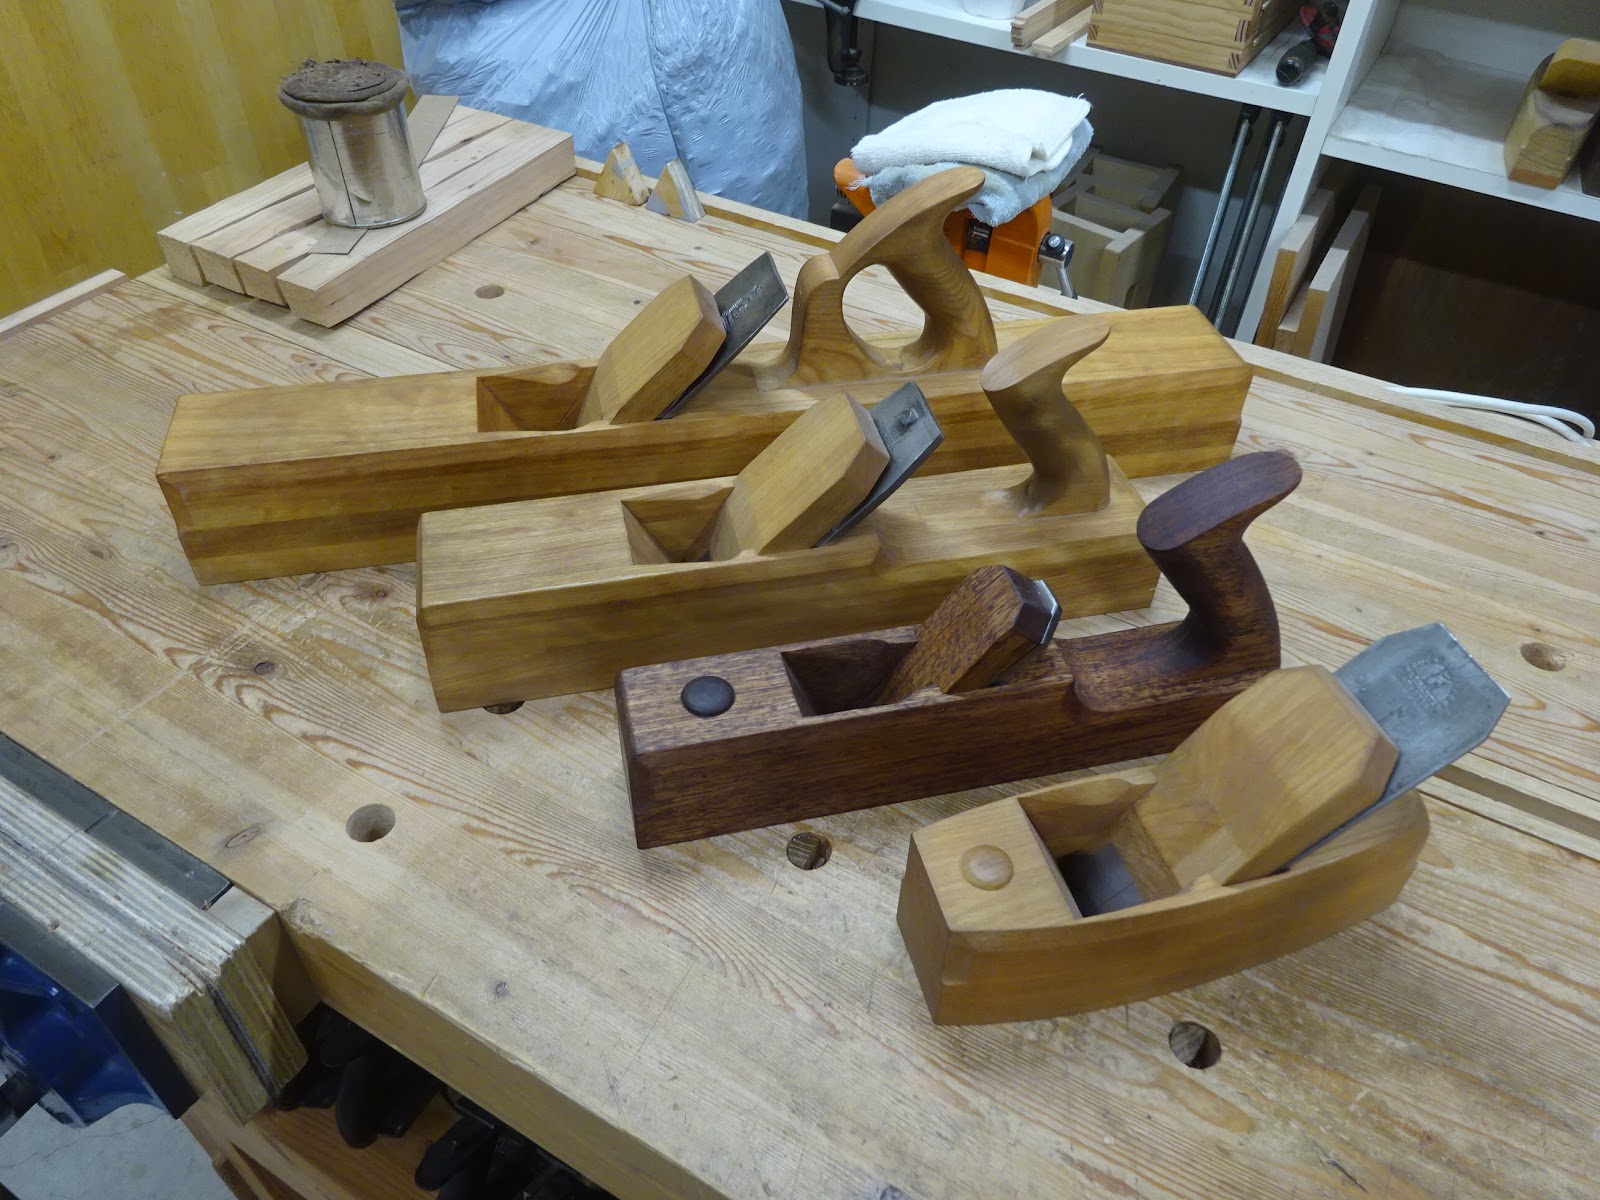 |
| Try, jack, scrub and smoothing planes |
The carcase was simple: two sides that fit into stopped dadoes in the top and bottom, and all parts get a small rabbet along the back inside edge to house a plywood back.
 |
| Top and bottom in foreground, two sides at rear |
 |
| Dry fit front view |
 |
| Dry fit with the back panel ready to go in place |
The top and bottom will get roundovers on front and side edges. There is room at the front to fit an overlay door and still have the top and bottom extend a half inch or so. The old cabinet has an inset door that can only open a little more than 90° and that reduces the access of the interior by the thickness of the door (1/2").
The carcase went together easily. But I wanted to do something different for the door. A few months ago I experimented with kumiko and I thought I'd try to incorporate some pattern in the door. This complicated the design and manufacture of the door by a factor of 100. But I noodled about it for a long time and made a couple prototypes and it finally worked out. Laying out the various cuts for the frame parts was the toughest part.
 |
| Here's something like I was thinking |
The door is made up of two stiles and three rails. Two kumiko "panels" fill the openings. I was limited in the widths of the stiles and rails by the size of kumiko that I am currently set up to make. To make it more complicated, I wanted to put a bead on the inside edge of each stile and rail to really outline and accentuate the kumiko.
 |
| Closeup of the left joint of the mid-rail to show the bead details |
The picture above doesn't show it (because I don't know how to do it in Sketchup), but the stiles and rails will be mitered together to have the beads flow all around the panel openings. And this complicates things even more.
Here is my first prototype joint.
 |
| Rail just butted up against the stile |
 |
| Using a 45° mitering jig to make the rail fit into the stile |
 |
| It takes a few tries to sneak up on the fit |
 |
| Nice, but not so good for a strong glue joint |
 |
| So I decided to add a lap joint |
 |
| But getting the length of the parts right was a challenge |
That's just one joint. The real challenge was getting the distance between stiles and the distance between rails just right so that the kumiko would fit in the opening properly. I think I'll leave that for another post. It was intense (for me, maybe not for people who do this more often), but it felt good to figure it out.


I can sort of relate to this. I recently made a cabinet to hold TP. I used the big rolls to set the interior dimensions. In the back of my mind I was thinking that I'd be upset if the industry then decided to change the dimensions.
ReplyDeleteHaha! Leave it to the "customer-centric" industry to change things up after we woodworkers have made things to fit certain sizes.
Delete