In my recent investigation into making wooden nuts and screws, I needed to bore some holes larger than my standard auger bits could handle. I ended up marking circles on front and back of wood blocks, sawing, drilling and/or chopping out the waste and paring to the lines with incannel gouges. This was way too slow and I wanted to look more into the expansive bits and why I've never gotten them to work for me.
Over the years I've acquired three expansive bits. One I bought at a tool meet (the Irwin No. 22) and the others I found at garage sales.
 |
| The expansive bits and their markings Top: Irwin | No. 2 | US of A Center: Clark Expansive | T&L Co. NY Bottom: Irwin - No. 22 - US of A |
I've had some trouble researching expansive bits. Aldren Watson's "Hand Tools" talks about them, but it doesn't give the type of detail on tuning them up that I needed. On YouTube, I found a channel (Old Sneelock's Workshop) that addresses it very well.
In this post, I'll write about how they're supposed to work. Let's look at the Irwin #2.
 |
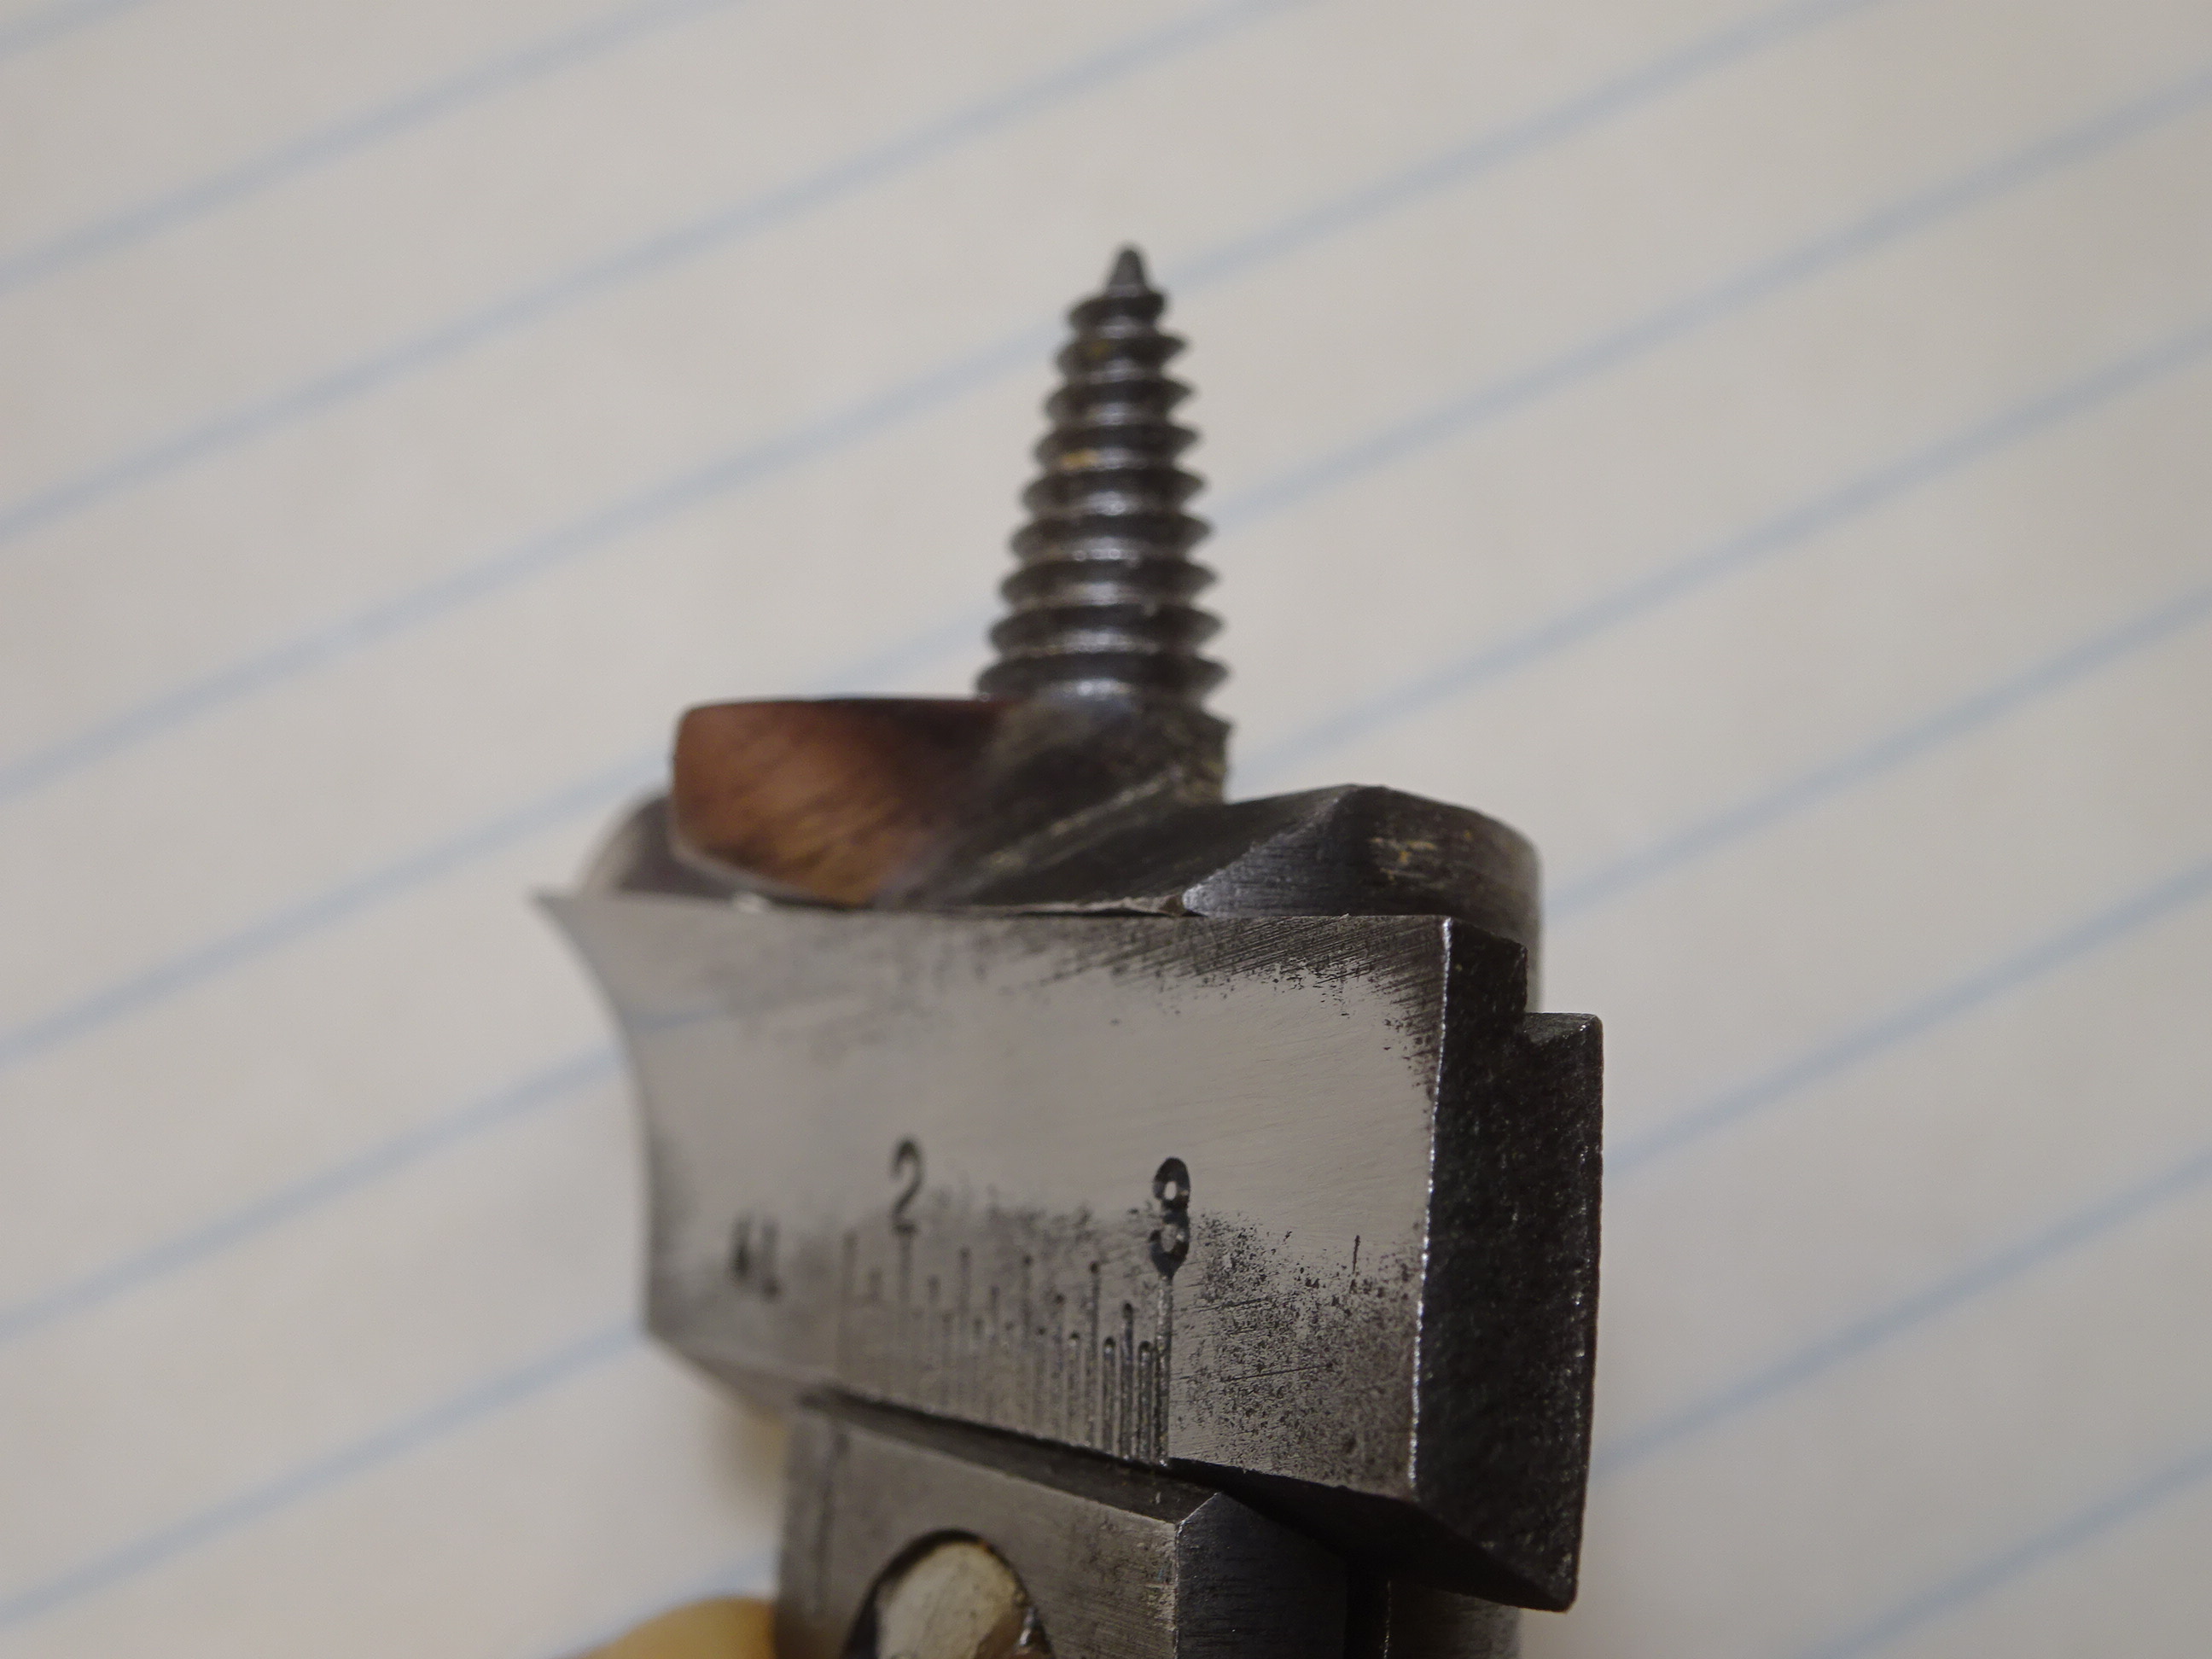
| The Irwin #2 with 4 key locations shown in order |
I have the bit on a piece of lined paper so you can see in what order the various parts of the bit contact the wood. When boring, the lead screw (1) starts us off and pulls the bit into the wood as it turns. The cutting spur (2) is next, scoring the circumference of the hole for a nice clean entry. As the bit goes in further, the radial cutter on the main body of the bit (3) starts cutting a smaller hole within the hole being bored. Finally, the radial cutter of the adjustable arm (4) cuts away the remaining waste.
Here's how the cutter arm is held in place. The lower edge of the arm is angled and it that is captured by a similar angle on the main body (yellow arrow). The upper aspect of the arm is captured by a dovetail lip (red arrow). When the screw (see above pic) is tightened, the adjustable arm is forced up into the dovetailed way and gets locked into whatever setting you've chosen.
 |
| How the adjustable cutter is held in place |
 |
| Note how the adjustable arm is forced tight against the main body (pointer) |
 |
| This angle shows no gap between adjustable arm and main body |
This is important and something I learned from Old Sneelock. If the cutter arm is not tight up against the main body, shavings will get caught in the gap and cause the bit to stop cutting. I believe this is the problem I've had with these bits. Fortunately on this Irwin #2, there is no gap.
Aside from that gap issue, for an expansive bit to work well, it needs to be sharp. That means all the cutting parts need to be sharp, not just the spur.
 |
| Using an auger bit file (with safe edges) on front, inside aspect of spur. I also used an extra fine diamond paddle and strop. |
 |
| The front cutting lip of the adjustable arm needs to be sharp |
 |
| This entails working the front curved portion on a shaped stone, or in my case, sandpaper on a dowel and later stropping |
 |
| But never remove metal from this (top) surface, as it might cause a gap between the adjustable arm and the main body. Only treat it lightly enough to remove any burr caused by honing the curved side. |
 |
| Sharpen the radial cutter of the main body the same as you would any auger bit |
After sharpening, I tried out this bit and it was cutting very nicely, but started getting harder to turn as I got about 1" down into a 2x4. I used the largest brace I have (12" sweep) and started using the ratcheting feature to get more power to finish the hole.
 |
| A couple of practice holes |
 |
| This hole started out at 1 7/8 diameter ... |
 |
| ... but on the exit side, was a bit more than 1 15/16" diameter |
Apparently the cutter slipped a little bit, so I'll have to look into that. But look at the side walls of the hole! They're pretty danged smooth!
I'm surprised I had this good a hole using the Irwin #2. Maybe it was the other bits that I've had problems with before. Certainly, getting it sharp makes a huge difference, but I think what makes the biggest difference for me was having no gap between the adjustable cutter and the main body where shavings can get caught.
Next posts I'll look into the other two bits and what I can do to get them in better working order.
I've got some expansive bits and never really used them as the first time I did it was a very tough go as the bit wouldn't cut after the initial start without moving it from side to side. I'll have to break them out and see what I can do with them now.
ReplyDeleteGreat idea. Make sure they're sharp. I've got two more blog posts coming about these bits, so maybe something there will help you.
DeleteGood job. Understanding how a peculiar bit cut, is key to sharpening it.
ReplyDeleteBob, still playing with augers.
In my limited experiences with them
ReplyDeleteNo matter how tight, the cutter has a tendancy to slip under pressure. There is a tremendous amount of pressure on that cutter wing.
Bob
Agreed. When I post about the Irwin #22, you'll see how much more easily that one can slip due to its design.
DeleteI own 2 irwin expansive bits and I have been amazed to use them.
ReplyDeleteI drilled holes in padouk wood that was very hard without much effort.
Just one thing, for big holes you need a big brace and instead of trying to turn it over and over it is better to use it like a wrench (well that is better for me 🙂)
Yeah, definitely need a bigger brace with these. And the ratcheting action came in handy. But when I did that (like Bob indicated above), it put so much pressure on the bit that it shifted on me a little.
DeleteWhat people fail to do is sharpen the inner radial cutter on the 22 makes all the difference. I lead screw stops or jams, it is most likely culprit.
ReplyDeleteThanks for the comment, Jim. I know I sharpened that radial cutting lip on the #22 before testing it. But I just looked at my it again and there is a burr along the lip. Perhaps I'll look at it again.
Delete