Normally when I need to strike a line cross-grain I reference a square off an edge and knife a line. I rarely depend on the end of a board for a reference surface. However, for those infrequent times when I do, I can now use this cutting, or slitting gauge.
 |
New slitting gauge
|
Here's how it's made. First, a quick sketch to define what it will look like. The beam fits tightly in a mortise through the fence. The beam is tightened to the fence with a wedge that fits in another small mortise on the side of the first mortise. The blade is held by a small wedge in a mortise in the beam.
 |
The plan
|
 |
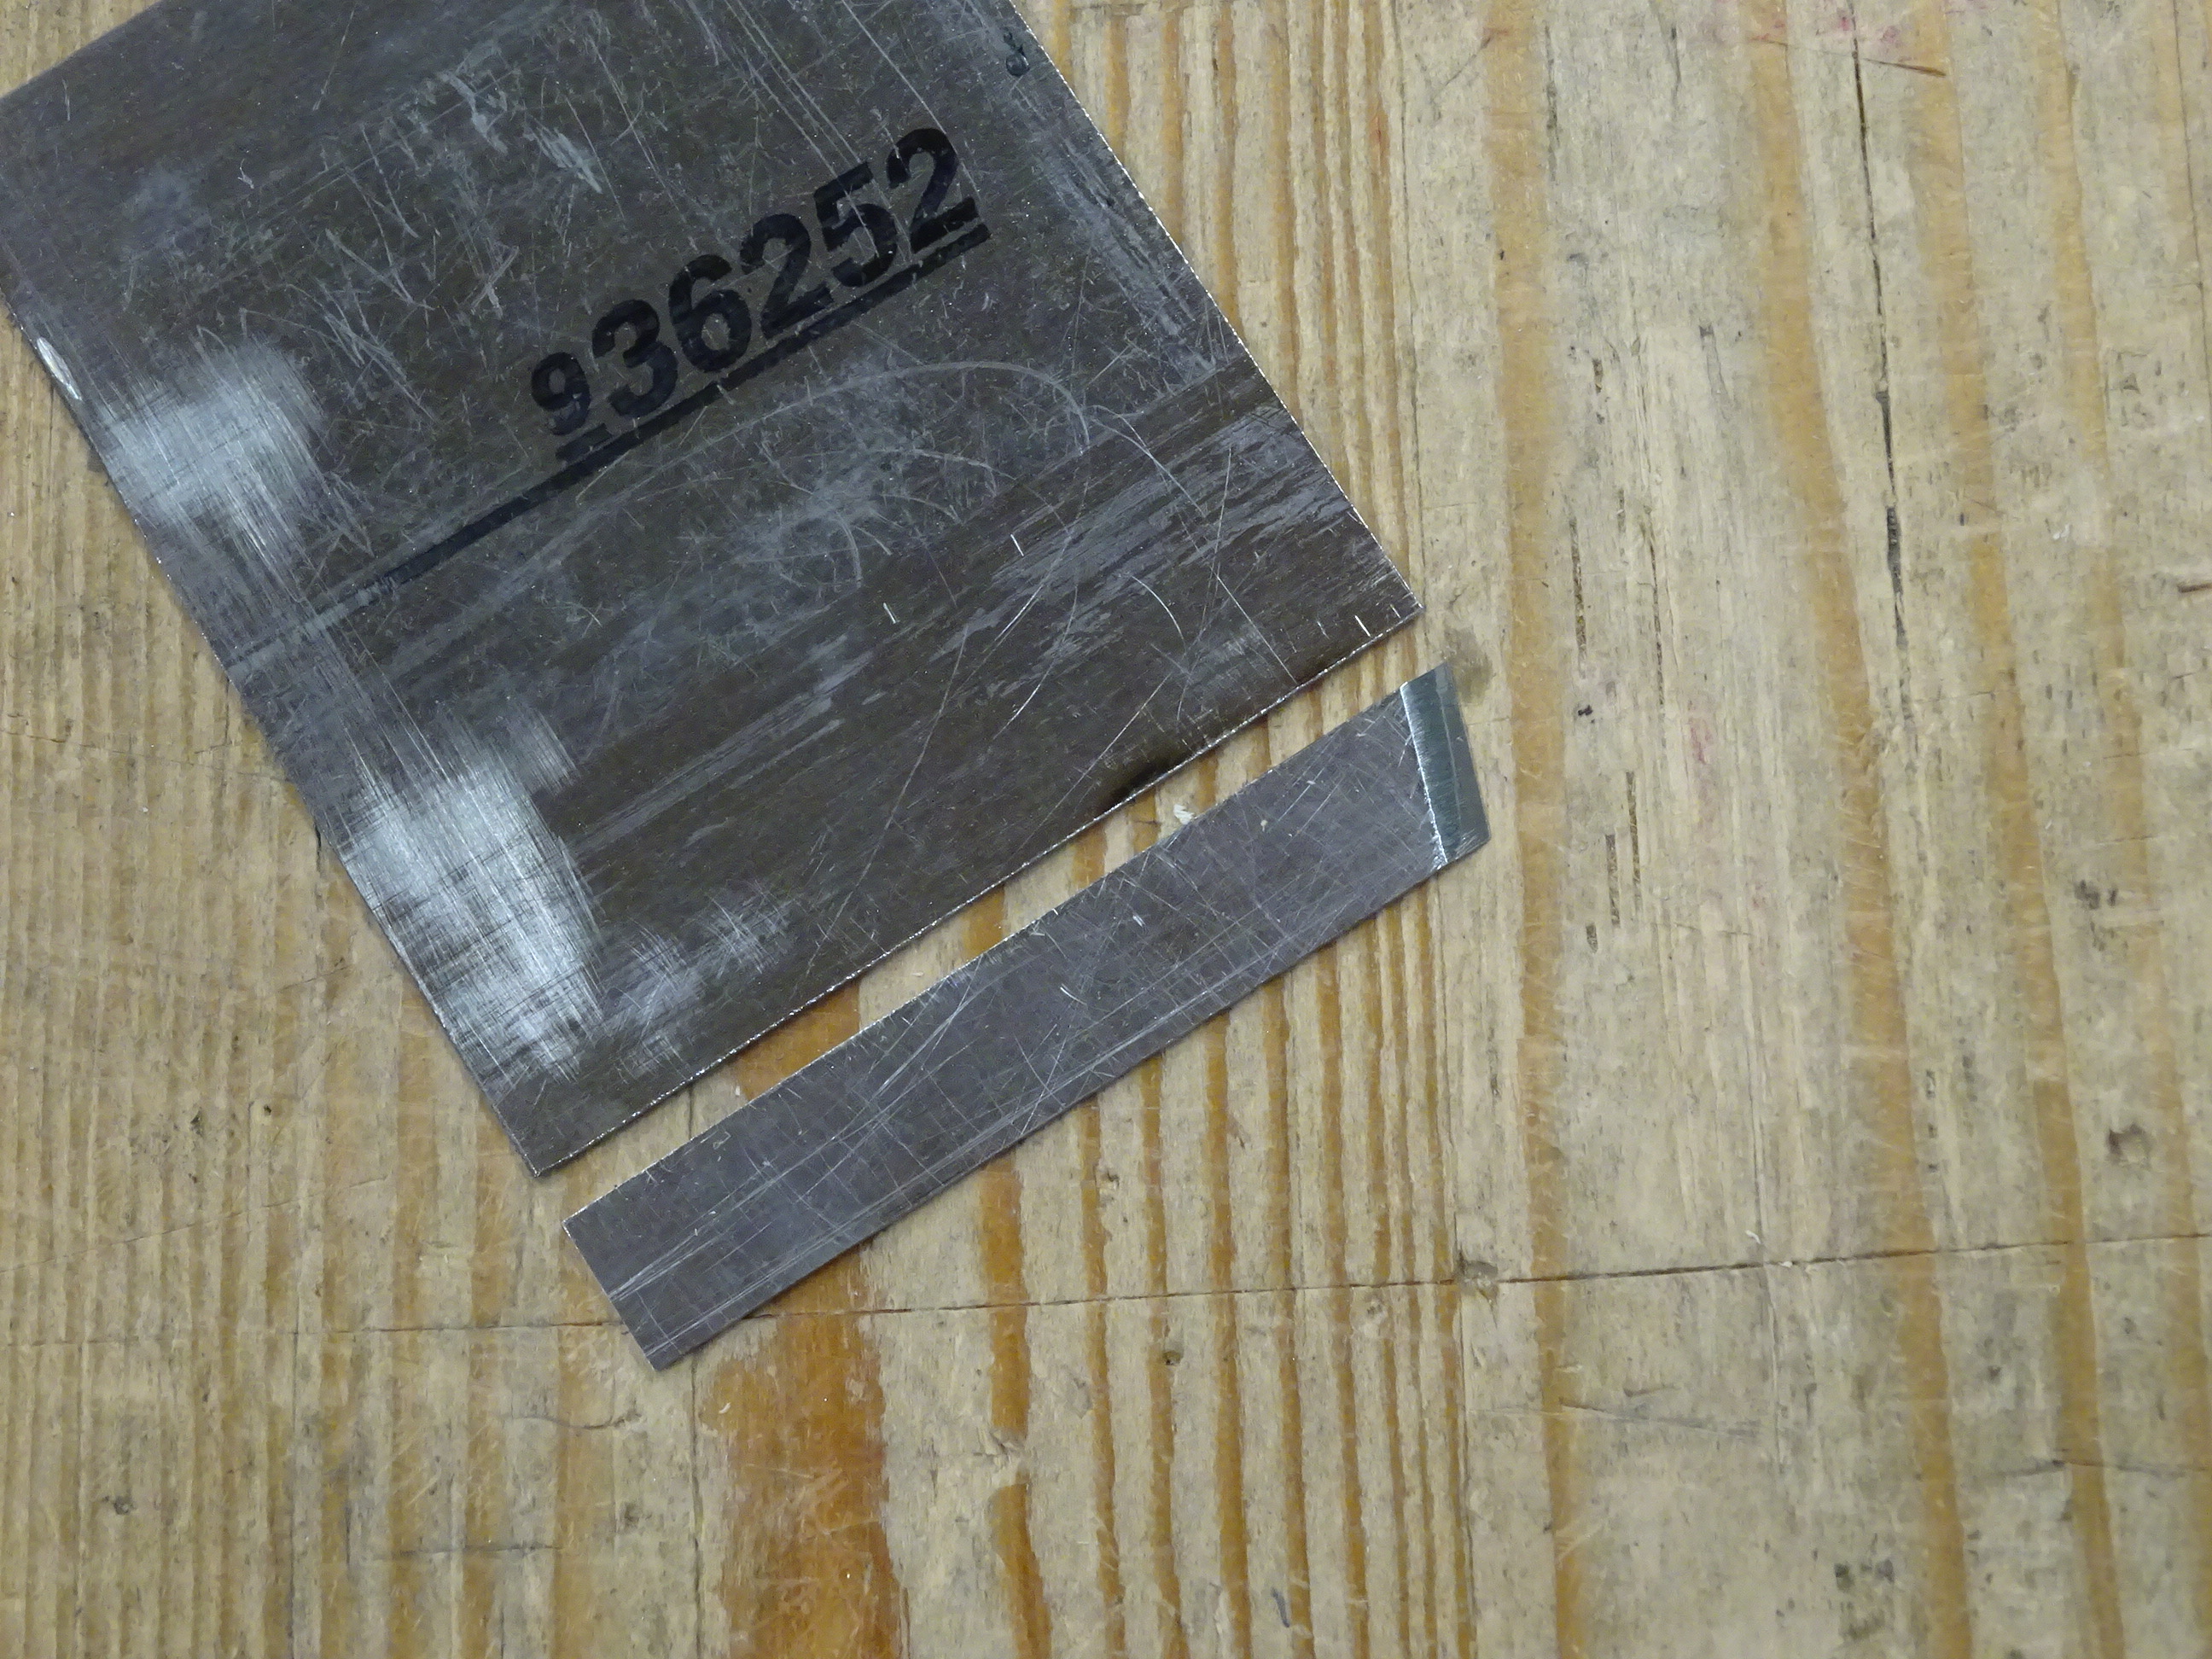
Started with scraps of maple and a piece of crappy old saw blade
|
 |
| Planed an overlong piece 13/16" square for the beam |
 |
Glued up three 1" thick pieces to get a blank about 2 13/16" x 4 1/8"
|
 |
Marked out a mortise about 1/32" less than 13/16" square on front and back
|
 |
Then bored out ...
|
 |
... and chiseled to the lines, paring the inside walls flat
|
You can see the small mortise for the wedge marked out at the side of the main mortise in the above pic.
 |
Chopped out the wedge mortise - 1/16" wider at the back than the front
|
 |
Planed the beam to fit the mortise
|
When making the wedge, I needed a way to get the side with the little "finial" (not sure if there's a better word for it) straight and square to its sides.
 |
Used the fence to reference a chisel on the flat surface to slice the wedge flat
|
 |
Then fitted the wedge in the mortise - tiny gap here ...
|
 |
And no gap at the back, so plane a little more off the back and refit
|
 |
Planed more from the bottom of the wedge to get a more even reveal front and back
|
 |
Made a 5/16" wide mortise in the beam, 3/8" long at top, 5/16" at bottom
and fit a small wedge to the hole |
 |
For the blade, cut a 5/16" wide piece from an old saw blade,
later hardened and tempered it, then sharpened |
 |
Put it together and realized I didn't have enough fence below the blade ...
|
 |
... so glued another 1/2" to the bottom before shaping
|
 |
And here's the fence shaped and the parts all fitted together
|
 |
Finished with two coats of shellac and certain surfaces got a coat of wax
|
 |
Iron shaped for a right-handed person to pull the tool
|
I have the blade's bevel facing the fence. If I need to place the bevel on the blade's outer face, the angle of the blade will reverse, so I'll use the gauge with a push stroke.
Another one off the list ...


Good work. You hit all the critical small details that make or break it. Should become a fine user.
ReplyDeleteBob
Thanks, Bob. Even a simple marking gauge has plenty of little details that make all the difference.
DeleteBINGO :-) Isn't fascinating how refined all the small details have been figured out through the years, even in the simplest looking WW tools... We are well advised to understand and not forget them. That can only come from making and using it.
DeleteOne small detail, which will becomes clear as you use it a lot, is the portion of the beam riding near or on the wood piece, should probably be rounded a bit for using in a trailing mode (my preferred method) If you look at antiques, you will often see the beam worn round from usage. How much? would depend a lot on how much cutter is exposed and how much you rotate gauge in your hand and how it touch or nearly touch the wood.
Enjoy your new gauge
Bob
I've noticed on many old gauges that both top AND bottom of the beam are rounded. Not certain why the top would be rounded, but the bottom certainly was for clearance while angling the gauge to trail the pin. I've thought about the complications of getting a good fit of such a beam into a matching mortise and have not ventured into that territory.
DeleteBoth sides of the beam at the bottom are often worn round, but often one side shows more wear. The easiest I could think of making both a round beam surface (only on bottom) and a hole in the head. Would be to use a bit of appropriate diameter and make a custom scraper blade, using it like a chair scraper. Keep the top of beam square it will lock solidly better.
DeleteBob, full of good ideas at times :-)
I made a large panel gauge (32"?) similar to yours. I have only used it once or twice in the past few years.
ReplyDeleteThose longer panel gauges come in handy on occasion. My new cutting gauge has its wedges modeled after the panel gauge I made a few years back.
DeleteNot sure if you'll get this comment as you know the issues posting that I've been having. It's a great marking gauge you made, one like it would set you back several hundreds of dollars.
ReplyDeleteHey, Salko! It's always satisfying to make your own tools and accessories. This one should work nicely.
DeleteYes, it's true it's very satisfying. I'm slowly getting back into the shop again.
DeleteYay it worked! I sent it using the google account option
ReplyDelete