The blog police were knocking at my door. Apparently in my post about the drawers I didn't include the obligatory picture of the drawers, each one pulled out a little more than the one above it, to show off the dovetails. So here it is.
 |
| Dovetail glamour shot |
The backs of the drawers are inset 2 1/2" from the back ends of the sides, enabling them to be "full extension". The weight of the drawer will be supported by those last 2 1/2" of drawer side resting on the runners (or kickers) above them.
 |
| Fully extended |
On to the finish. After I gave the outsides a couple coats of shellac to seal the wood, my wife painted. This side table will live in a spare bedroom / office that has a "coastal" theme and she chose the colors accordingly.
The first coat was of a thinned grey, applied with a foam brush, thin enough for the wood grain to show through - not a lot, but a little. After it was dry, it was sanded lightly with 320 grit paper.
 |
| First coat of paint |
 |
| Left side - you can still see the grain running vertically |
Two additional colors were added, using a technique called "dry brushing". She dipped a bristle brush in paint, dabbed the brush on a paper towel to remove most of the paint, and applied the remaining paint on the brush to the project in a fairly random pattern. These colors were added, not with total coverage, but fairly sparsely. First was a very light blue.
 |
| Light blue added |
After letting it dry and doing some light sanding, she added white using the same technique. That was followed up with some light sanding, but firm enough in a few spots to get almost to bare wood.
 |
| White added |
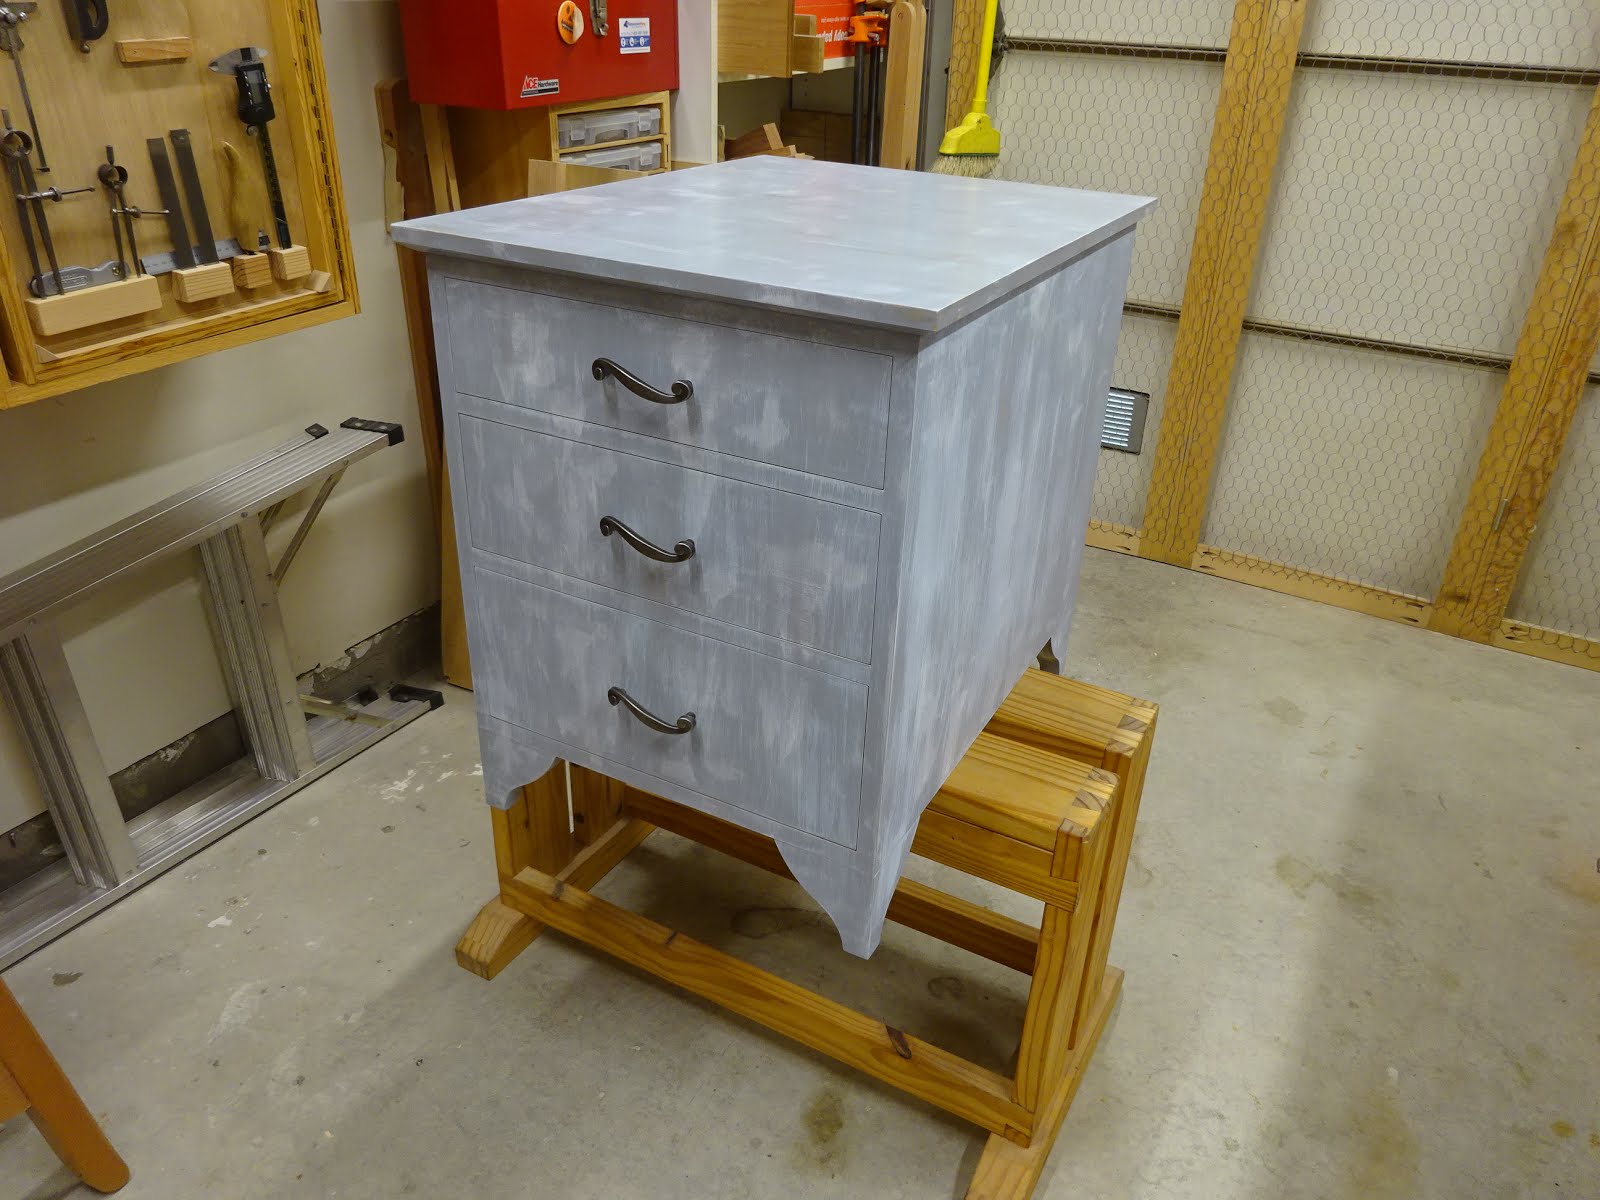
When she was done, I gave the top three coats of a water-based acrylic finish for protection. Then I put on the drawer pulls that she had picked out. The drawer pulls were also "wavy", furthering the coastal theme.
 |
| Pulls finally installed |
And here it is in its final location.
 |
| The table in its new home |
 |
| Ta da ... |
A great project, but so glad it's finally done. In the end, I'm very happy with the way it came out. It took long enough, but hey - it kept me off the streets!
I kept a log of the time spent on this project and here are a couple of statistics. These are approximations, as each day I wrote down a rough estimate of how much time was spent on different aspects of the project. I didn't include design and drawing, which probably took 5-10 hours. Or the painting and topcoat, which probably took a few hours.
Total time: 178 hours
Percent of that in stock prep: 32% (far less than I had thought)
Percent of that in layout/joinery: 46%
Percent of that in glue-ups: 4%
Percent of that in finishing: 3%
Percent of that in other aspects: 15% (Fitting drawers, shellac, foot prototyping and making)
I've got to get faster at this. Now it's time to get to some other things.


Nicely fit in your room but the paint hides all this great woodwork you made! Still it is very nice, congratulations!
ReplyDeleteIf it was up to me, it would not have been painted. But, you know, the customer is always right ...
Delete