The carcase having been
completed, I got to the drawers. I made a test drawer first, to see how the runner system would work and to work out some other details. The drawer sides and back are 13/32" thick pine, the fronts are 1/2" mahogany from a salvaged table undercarriage and the bottoms are some 3/16" maple-veneered plywood.
 |
| The test drawer with oak front |
As you can see in the picture, the sides are half-blind dovetailed into the front. There is also a rabbet on the bottom inside edge of the drawer front that will conceal the plywood bottom.
 |
Showing how the drawer front will hide the plywood bottom.
Also note the groove in the side that will slide on runners in the carcase. |
 |
| The drawer pulls will be 1/8" thick pieces of maple, mortised into the top edge of the drawer front |
 |
| Another view of the pull |
 |
| Ten of the drawers will also have a divider housed in dadoes in the front and back of the drawer |
One thing I love is being able to use some of my older and favorite tools. I cut the drawer side grooves with the
Ohio Tool Co. plough plane that I rehabbed a couple years ago.
 |
| Ploughing the groove with the old screw-arm plough plane |
After the bottoms were glued on, I was able to use an old
vom Cleff & Co. German-style plane to clean them up. With a wide open mouth, this plane worked much better than my Stanley metal planes with tight mouths that clogged on the plywood.
 |
| Cleaning up the glued-on bottom |
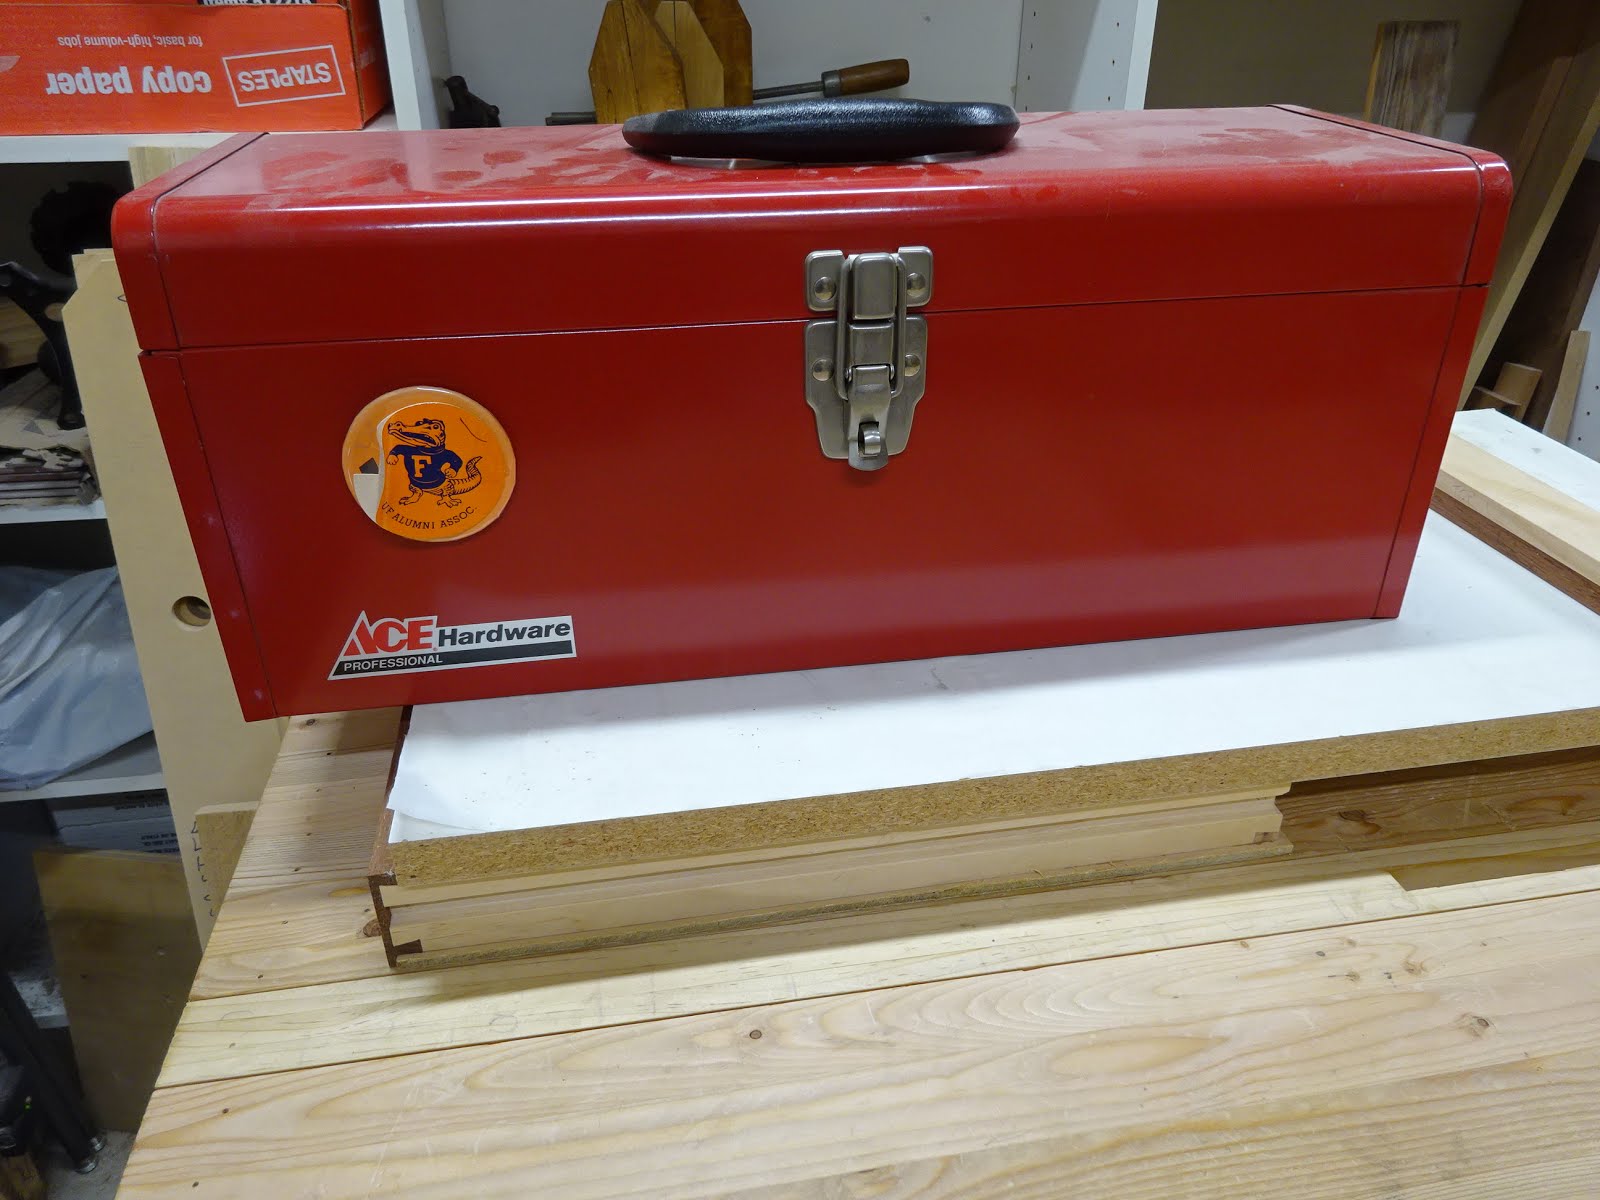
Speaking of gluing on the bottoms, here was my method of clamping.
 |
| An MDF shelf and a toolbox to add weight for clamping pressure |
The drawer construction took a long time at first, but moved along better when I did similar operations on all drawers before moving to the next operation on all drawers (a "batch" operation).
 |
First test-fit of all drawers in their spaces -
Note the gap between the bottom drawers and the next drawer up |
Apparently I miscalculated something and had a large gap between drawers 5 and 6 on each side. I fixed that by gluing a small piece to the top edges of the bottom drawer fronts.
 |
| The fix was almost invisible |
Gluing up the carcase was OK - a little nerve-wracking, but it went well and the joints were very tight.
 |
| Carcase glue-up - note the special cauls that add pressure directly to every other tail |
For a finish, I coated the case with a couple coats of shellac. Any wear surfaces also got shellac and then wax.
 |
| Shellac drying - oh, man look at those nice dovetails |
 |
Drawer fronts with shellac and drying.
The bottom drawers also got shellac on their undersides because they slide on the case bottom |
 |
| And here she is ... |
The back is a piece of 1/8" plywood fitted into rabbets and screwed in place.
 |
And here's the obligatory shot of the drawers progressively opened showing the half-blind dovetails
Some of you might have noticed that I grooved the bottom drawer sides when I didn't need to ... |
 |
| And here it is in its new home |
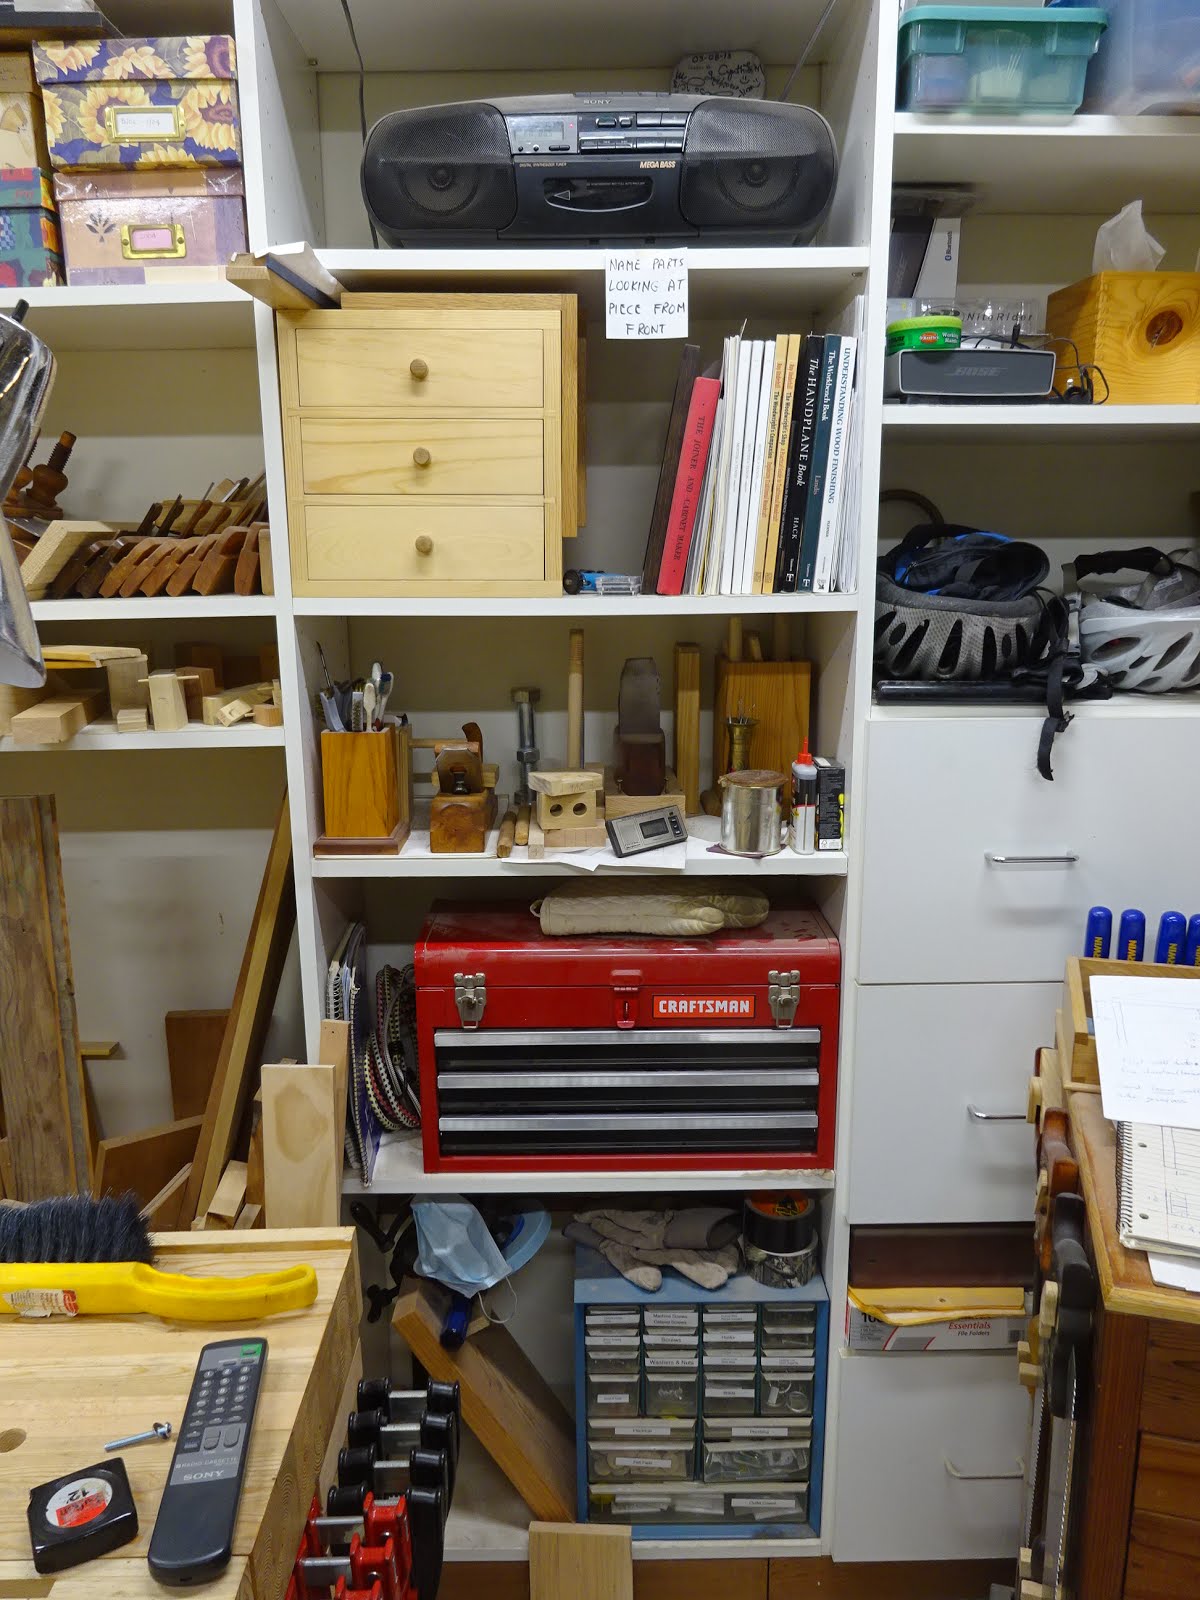
This area of the shop went from this ... to this.
 |
| As it was ... |
 |
| To as it is now. |
One thing I didn't mention - I made the drawer fronts overwidth by about 1/16" so that I could plane the top edges down to get an even space between all drawers. This turned out to be a great idea, as the spacing was anything but consistent.
This project was a LOT of work. Hopefully the benefits will outweigh the work required. But even if it doesn't, I have one more project under my belt that will lead me in the direction of more complicated pieces.


Wow, im impressed, good job. You are right, each projects built on the last one.
ReplyDeleteBob
Thanks, Bob. I've been reading Zack Dillinger's "With Saw, Plane and Chisel", so maybe one of the projects in that book will be my next. Well, maybe not quite ready for that. But I've got a couple honey-do's to get to ...
DeleteLooks great, I just did something similar, but not as nice as yours. And I haven't made all of the drawers yet. Your dovetails look great.
ReplyDeleteThanks a lot, Jeff. The pine is so forgiving when making dovetails. Even so, I have been getting better at them. I think only one joint was looser than I wanted - most were nice and snug. Let us know how your drawers turn out.
Delete