This will be mostly a pictorial essay.
A few months ago at an estate sale, I picked up what appeared to be some kind of homemade plane blade and I thought that I'd make a plane body for it. Eventually I decided on a scrub plane.
 |
| 1 1/2" wide and just under 7/32" thick |
The iron had been thicker and shaped somewhat like a banana, but I worked on it with a hand-cranked grinder, a Dremel tool and diamond stones to get it reasonably flat. The other day I drew up a plan and found some scrap wood for the plane body. The available wood determined the overall length of the plane.
 |
| A rough plan - some numbers changed after this pic was taken |
This plane body will be made with a two-piece construction. The shaping of the throat is done on each half and the two are glued together - you just have to be very precise about the glue-up so that the bed surfaces line up right.
 |
This unknown species wood came from a table that was being thrown out.
It's very dense and heavy. Each piece is 1 1/16" thick. |
 |
| The two pieces mated and the top initial layout done |
After transferring the lines to the inside faces, I cut the recess for the wedge and iron using a 90° block and a small saw.
 |
| Cutting the deeper recess ... |
 |
| ... and leveling the bottom with a router |
 |
| Didn't get the sawing perfect, so using a chisel with the 90° block to clean up |
 |
| Repeat with the breast line (front of throat), but not as deep |
 |
| ... and the two halves look like this |
 |
| And when they're mated, it's starting to look like something |
There's more material to be removed in the throat and it's more saw and chisel work.
 |
This saw cut is as deep as the wedge/iron recess at top of throat,
but drops to zero depth at bottom |
 |
| After chiseling out the extra material it looks like this |
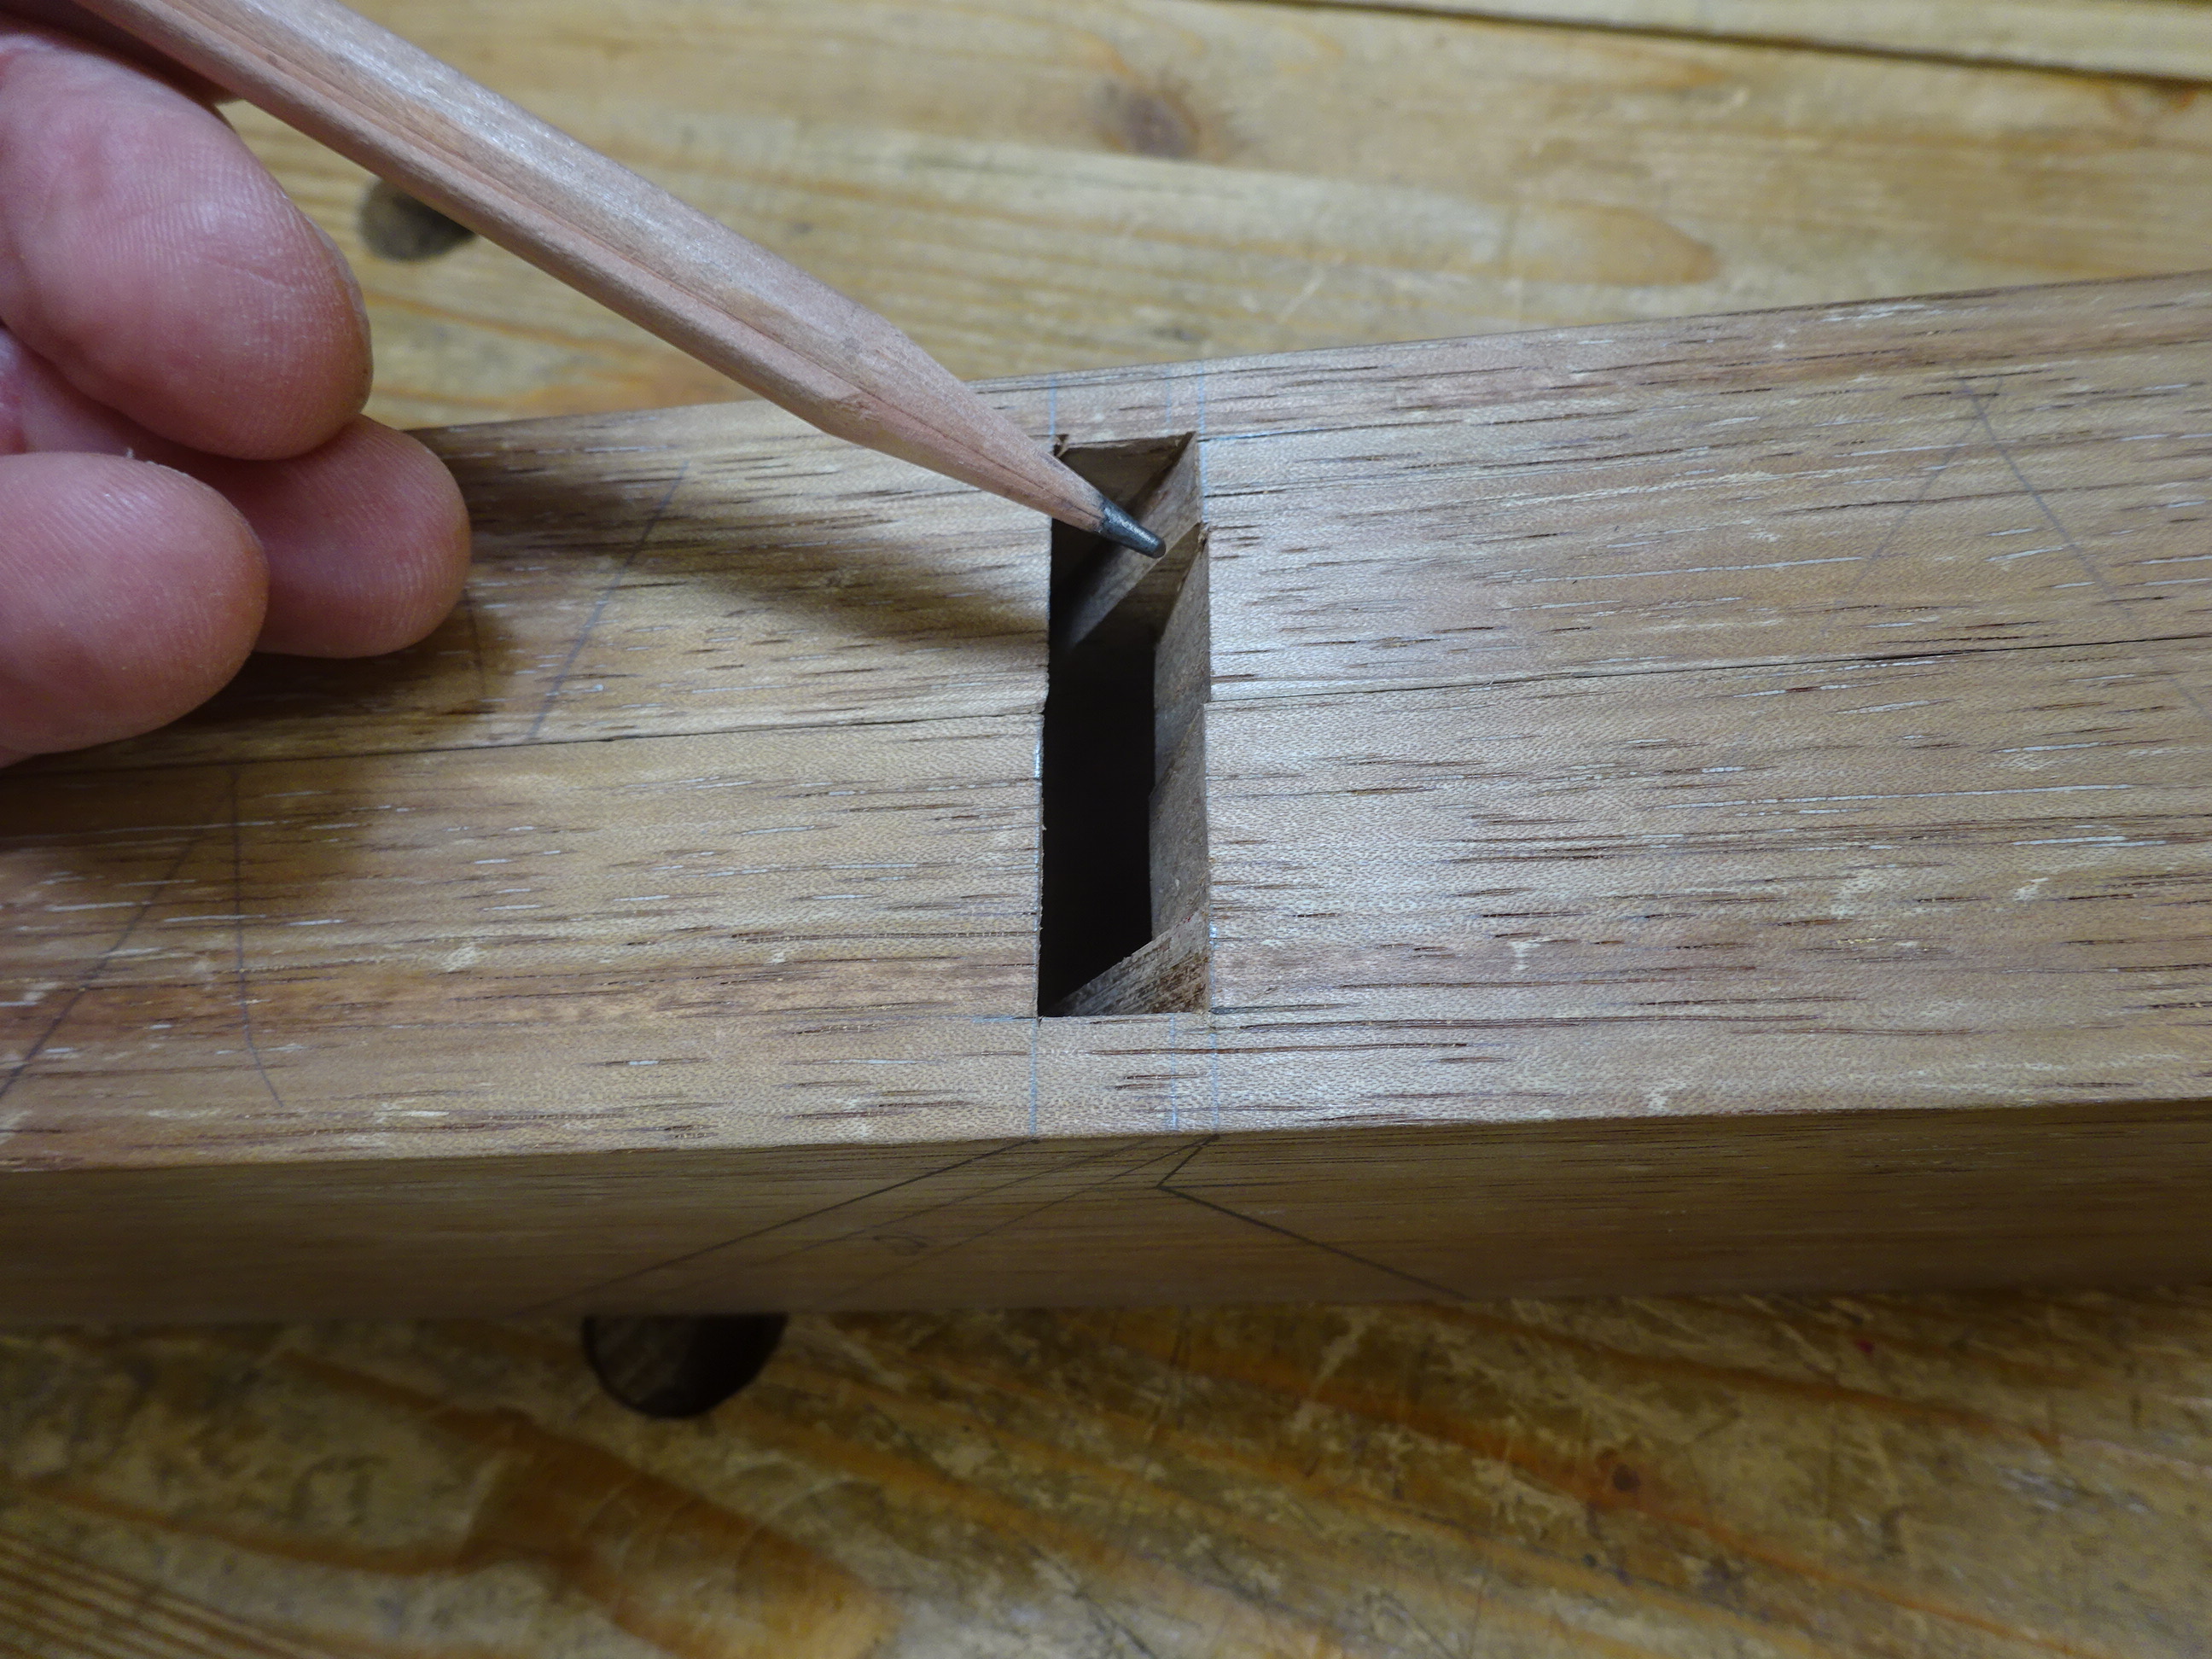
There's a little piece at the bottom of the wedge abutment that needs to be relieved and this was done with a chisel.
 |
| Pointing to bottom of abutment - that needs to be angled towards the cheek |
 |
| Here it is after angling those two triangles |
 |
| This view shows that bit a little better |
Two more things before glue-up. First, add the "eyes" that make if more comfortable for fingers to pull shavings from the throat. Second, make sure the iron fits OK.
 |
| These are the "eyes" |
 |
This was more side-to-side room than I wanted, so I planed about 1/32" off
an inside face of one of the body halves. |
 |
| Glue-up: extra clamps were used to try to keep the two pieces' bed surfaces aligned |
Next time I'll write about the iron, the tote, and (hopefully) finishing up the plane.


interesting 2 parts construction for the plane body
ReplyDeleteBob