In my last post, I wrote about this post and rung chair.
 |
| Front view of the chair |
I discussed the overall design, the joinery and some problems. Here, I wanted to show a few more details. Some of this is forensic work, looking at tool marks and other oddities.
Before I forget, I wanted to address a question about the screws that were used to hold the top seat-back rail to the legs. I don't suspect this chair is over one hundred years old (probably a lot less), so screw manufacturing was well along. But they do seem more blunt on the end than current screws. And I found it interesting that the screw slot was fairly far off-center on one of them.
 |
| Screws that affix top seat-back rail to tops of legs |
 |
| Notice how far off-center the slot is for the screw on the left |
I mentioned previously about the mortises in the back legs that house the seat rail tenons. I cut one of the legs open to get a better look inside.
 |
| Right rear leg at seat rail joint |
 |
| Joint cut open |
 |
One mortise cut completely through the other -
does this weaken the joint? I would think so. |
One thing you can also see here is that the bottoms of the mortises are rounded. Here's another picture showing this. Possibly a spoon bit was used to bore out these mortises.
 |
| The round-bottomed mortise of a front-leg-to-lower-side-rail joint |
Many of the round m&t joints were loose and it appeared that someone had once tried to fix them. Note the added 1/8" wooden pins inserted in the next pictures.
 |
| When I took this side-stretcher-to-back-leg joint apart, I found the wooden pin |
 |
Here's another one before taking it apart. Most of the 12
undercarriage joints had been fixed in this manner. |
 |
Apparently, with the joint in place, a hole was drilled,
then a pin was glued into the hole |
Another interesting thing about the undercarriage tenons was that they appeared very rough - not turned to size, but rather shaved with a knife or drawknife. Why would you not turn the tenons to the right size, if the rest of the stretcher is turned? I'm certain the tenons were turned as there was a large "dimple" on the ends where a turning center was used.
 |
| You can see the facets on this tenon |
Here are some details about the mortises that house the 3 3/8" wide upper slat in the seat back. The mortises were nice and straight, but look how rough they were on the inside. No attempt was made to have smooth walls. But I guess for the slats that will be captured by the frame of the seat back, the tenons don't necessarily need to be glued in tightly.
 |
| A nice straight 3 3/8" long mortise in the left leg for the upper slat |
 |
| Look how rough the interior wall is |
 |
And the mortise in the right leg had to go through a nasty knot,
leaving the inside a total mess |
 |
| The knot that the maker had to contend with |
Here are some more observations about tool marks and rough cuts.
 |
You can still see the width layout line (at the 11-13 inch marks on the ruler),
though the maker did not try to plane to the line. |
 |
On the side seat rails, the outside edges were eased with very coarse rasp
to allow the caning to bend around easier |
 |
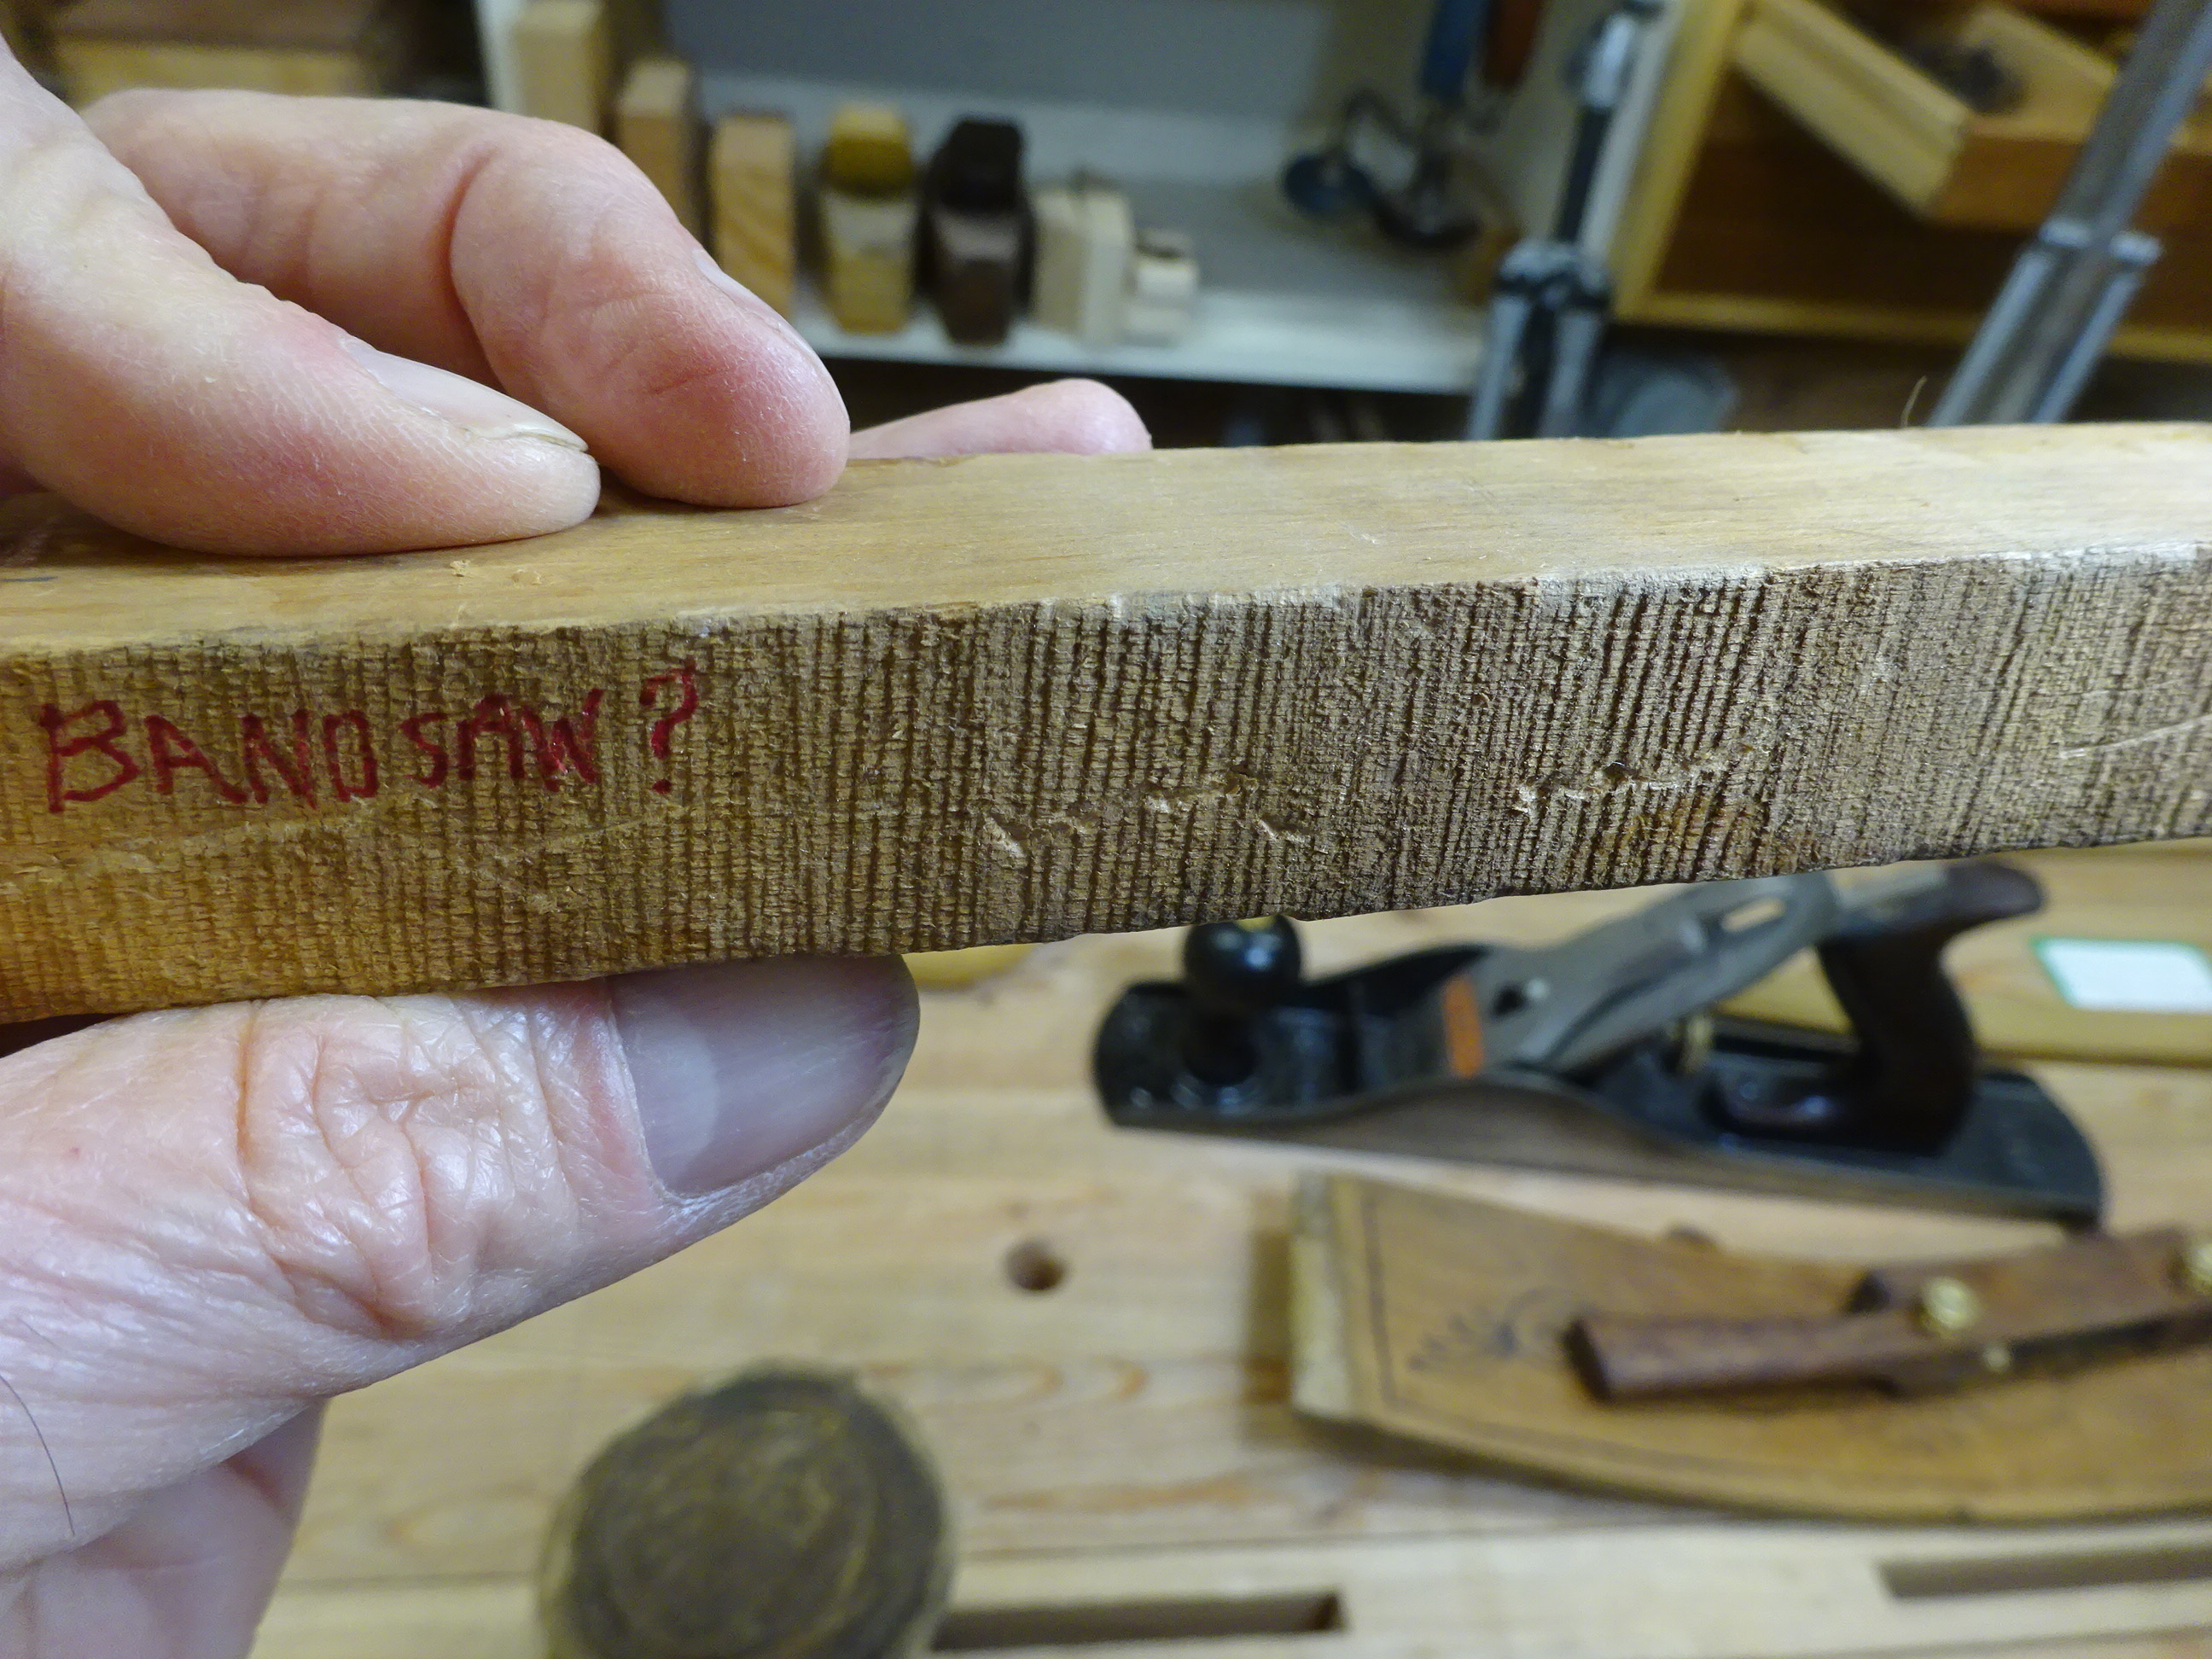
I think this is the back edge of the front seat rail.
Were these marks made by a bandsaw? |
Here are a few pics of the floral pattern drawn on the upper seat slat. Interesting how this was fairly rough - clearly done by hand.
 |
| The upper seat slat |
 |
| The central flower |
 |
| The side pattern |
One last thing about the caning. I'm certain that someone who canes chair seats would know this immediately, but it looks to me like the side-to-side caning was done before the front-to-back.
 |
| Seat frame members |
On the seat front rail, it looks like there was a strip of cane laid down from left end to right end before any front-to-back caning was added. The side rails show caning elements wrapped around the rails every other wrap. That is, each cane was wrapped fully around the seat rail before the next loop was wrapped around the whole seat frame. I've seen some videos about caning, but I'd like to know more about it.
My final comment is about the workmanship. It is clear that the maker did not waste time on surfaces that wouldn't be seen or that don't matter to the function of the chair. This is a big lesson to learn from people who had to make a living from their work. I, as a amateur, tend to make my pieces too perfectly when "good enough" will do just fine.


Blunt screws.
ReplyDeleteModern screws are cylindrical while old ones were more or less conical
I guess one would use a gimlet for the pilot hole.
Sylvain
I measured the gullets in these screws and found them to be the same except for the first two threads a little smaller. So more cylindrical in shape with a conical end.
DeleteConical thread was invented around 1842, the slot location really scream I am hand cut. Guessing your screws are late 1800s to early 1900.
ReplyDeleteHave a look at this document http://www.wag-aic.org/Am_Wood_Screws.pdf
Bob
Holy mackerel, that's a lot of information about early screws. When I look closer, I can see wire drawing marks on the screw shanks. The gullets are quite even, so no doubt they are mechanically formed. The top of the head is not hand filed, as far as I can tell. Can't make out any marks through the corrosion.
DeleteI cannot discerns any machining marks on the screw head because of the rusty condition. I would then derust them chemically to avoid erasing faint machining marks. The presence of circular or parallel marks will help narrow it down.
ReplyDeleteHave fun :-)
Bob
See above
DeleteAs for the bandsaw cutting surface? The clue is in the up and down lines, their spacing and angles. The spacing looks evenly, so seems to indicate a power driven tool, but the angle seems to tilt on the RHS. Not sure if they are still straight up/down or the camera distorted it, but to the right it seems to be leaning more. If so, cannot be a bandsaw. Bandsaws first appeared in late 1800s. If cut by hands, that guy as a steady stroke, lots of experiences...
ReplyDeleteBob
I think that apparent tilt on the RHS is just due to camera angle. These lines were pretty much straight up and down. Fairly certain this was bandsawn. Maybe a very dull blade, or one that had a tooth or two that were set way too much.
DeleteThe overlapped tenons inside the mortise would had help them interlock adding pulling out resistances. So I think that was the correct way to do it? I am not a chairmaker, but they seems to have it done properly??
ReplyDeleteDefinitively craftsman made not commercial production.
Bob
Yeah, I've heard of that before, but it just doesn't seem right that the first tenon gets cut clean through. Perhaps if the side rail tenon was smaller, leaving more of the rear rail tenon intact. I've been thinking about what I might do, and I have to think that moving the tenons to different heights would make more sense. But doing that al keeping the rails at the same height for caning is the problem.
DeleteThe rough surfaces show's have strange but repeating surface. My best guess would be from a poorly adjusted square head jointer, probably steam powered, which would also give more credence to the bandsaw used. If so, it was a well equipped workshop. But still hand made chair. My best guess so far would be to dated it to 1900 plus or minus 20 years
ReplyDeleteBob
I think those repeating surfaces you see might be from the strips of caning that covered these seat rails. Even so, I'm in agreement with your time approximation.
DeleteOK last one about screw threads. The actual angle of the threads and shape will also give you an indication of its provenance (English, American, Metric etc) and when first introduced. See https://www.boltscience.com/pages/screw2.htm
ReplyDeleteBob, learning a few more things
Good stuff, Bob. Thanks for all the comments and the thought you put into them.
Delete