The table will eventually look like this:
 |
| Sketchup mockup |
The top slats for this table will be supported by a center round piece as well as by a ring that rests on the base.
 |
| View from below showing the ring that supports the top slats |
|
Today's post will be about making these two support pieces and will be mostly pictorial. Lots o' pics!
 |
| Started with a full scale drawing of the ring - 23 1/2" outer diameter |
 |
| Detail view on one component of the 8-piece ring |
Originally I thought I might use splines to connect the parts, but I went with integral tenons on one end and mortises on the other end of each piece.
 |
| Took dimensions from the drawing, squared up some pieces and marked where things will go |
 |
| After a couple successful test pieces, ganged up the rest and marked edges together |
 |
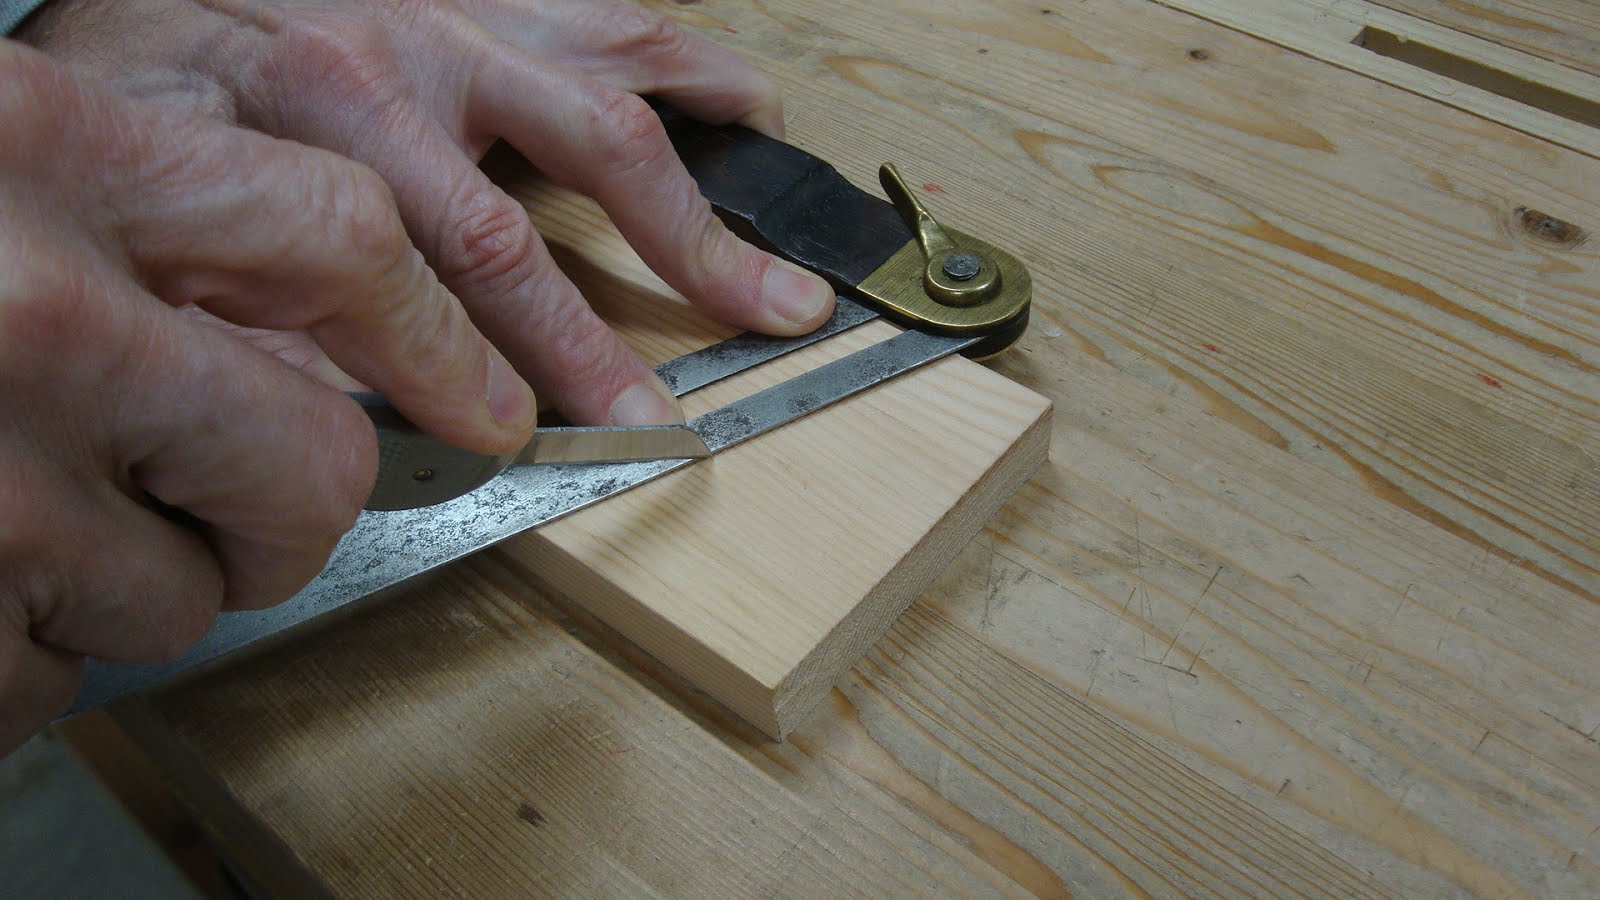
| Transferred angles to faces and then to other edge |
 |
| Marked to make absolutely certain of no mistakes |
Making the tenons
 |
| Sawed off the waste end |
 |
| Marked the tenon extents using a router plane as marking gauge |
 |
| Sawed the shoulder, which was 3/4" from the end |
 |
| Split off as much as I could safely do |
 |
| Pared close to the line |
 |
| Then used the router with unchanged setting to get exactly to the lines |
 |
| Cleaned up the shoulders with a sharp chisel |
 |
| Rinse and repeat for the rest of the pieces |
Making the mortises
 |
| First, removed the waste |
 |
| Then carefully squared the end |
 |
| That's what Daddy likes! This is important for a good joint. |
 |
| Before going further, numbered the joints (even though they were fairly interchangeable) |
 |
Made a knife nick on the corner 3/4" from end to mark the depth of the mortise,
transferred nick marks to other corner with bevel gauge and squared lines onto the edges in mortise area |
 |
| Used same router setting as before to mark the mortise |
 |
| Sawed close to the lines |
 |
| Left the lines |
 |
After chiseling out the waste, pared closer to the lines.
Tested the fit of the tenon, and pared more until the fit was right |
Fitting them together
After all eight pieces were done, I tested the fit by assembling two sections of four pieces each.
 |
| Two half-rings dry-assembled with tight joint lines |
Then carefully fit the halves together to see what kind of adjustments would need to be made.
 |
| Left side: gap on the inside |
 |
| Right side: gap on the inside |
This meant I needed to shave a little off every piece and it's easiest to do that on the mortise end. I freehanded the cut on a shooting board, taking a bit off the outside half of each mortise end.
 |
| Probably should have made a special shooting board for this, but this worked |
 |
| Got a nice fit after only one iteration of this |
With the parts dry fit, I marked out the circles and then did the shaping.
 |
| Marked the outer circle with large homemade compass |
 |
| Didn't get pics of the shaping, but it went off easily |
 |
| After shaping, the joints looked like this on the outside ... |
 |
| ... and this on the inside. I glued in small off-cuts from the tenons to fill these gaps. |
 |
Glued up using a ratchet strap, which pulled the joints together nicely.
Clamps and holdfasts kept the ring from twisting while the glue set. |
And there it is.
 |
| Not perfectly round, but it doesn't need to be. |
As for the circle part in the center of the sub-top, that also went well.
 |
| 6" x 6" x 5/8" thick blank, squared and marked |
 |
| Sawed the bulk of waste off |
 |
Then used chisel, spokeshave and file to complete the shaping and smoothing. Came out nice.
I also made a 4" round piece from redwood that will be the center of the top. |
Next time: Making the top slats and bringing it all together.


Impressive bit of handwork.
ReplyDeleteThanks, Ralph. And a fun exercise, too.
Deleteis it just me or you arer taking on, more and more challenging projects ? :-)
ReplyDeleteKeep up the good work.
Bob
Thanks Bob. I thought this project would be easy, but there are always little details that make it more complicated.
Delete