It feels good to get back on the proverbial horse. It seems like I haven't completed a woodworking project for a few months. Maybe because it's been that long.
My wife needed something for her desk that could hide a bunch of wires, store a couple of small items, and generally clean up the area.
 |
| A bit of a mess |
So I set about designing a small desktop organizer. The right side would be a large empty box to cover the wires, and I could work with the left side to give a little storage. After a few iterations, it looked like this.
 |
| Two drawers on left, paper organizer on top, empty box on right bottom, space above |
I made a cardboard model of this to see what it would look like and forgot to take a picture. But we could both see that it was way too bulky. The whole top section had to go. So I worked on the design a bit more until I came up with this.
 |
Two compartments on left, two false drawers on right, one platform on top
with raised edges to keep stuff from rolling off the sides and back |
From the rear view, you can see some details. The carcass is mainly joined with dadoes. But the two bottom rails are dovetailed (non-through dovetails) into the sides. All parts are from 1/2" red oak stock from the home center.
 |
| Back details |
The top and the two bottom rails had to have the exact same shoulder lines, so they were clamped together in the vise and a knife line was marked near each end.
 |
| Bottom back rail, bottom front rail and top (top to bottom in this picture) clamped and knifed |
 |
| For the top, that knife line marked the shoulder that would fit over the stopped dado to be cut in the side |
 |
| For the bottom rails, the knife line marked the dovetail shoulders |
 |
| Dovetails cut and transferring shape to side |
 |
| Then carefully sawing inside the lines and chopping and paring until a good fit |
 |
| I'll take that |
 |
| Dado put into the right side to house the top |
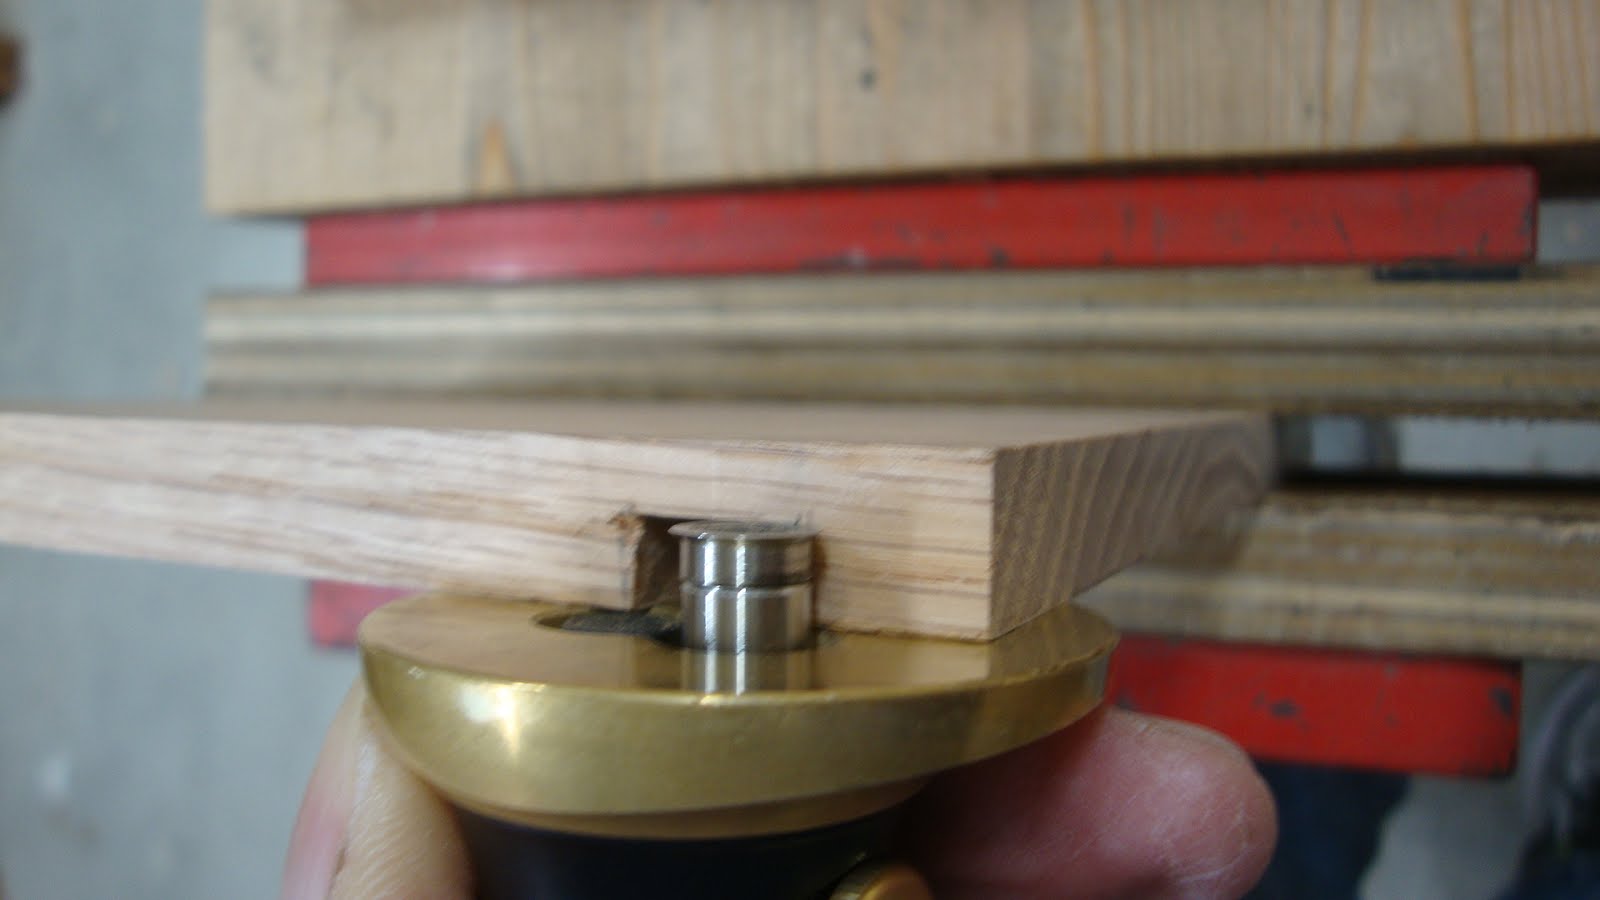
 |
| I used this measurement ... |
 |
| ... to get the depth of the dado |
With the box joinery done, I needed to add a vertical divider. To get the lines right, I clamped the front bottom rail and top together, ensuring their shoulder lines were perfectly aligned, then made a knife mark across both pieces to mark the left side of the dado.
 |
| Marking for the vertical divider |
After the dadoes were cut, the divider was carefully fitted.
 |
| Using the actual piece to mark extents of a dado and a shoulder |
There is a horizontal divider on the left side and one on the right side. Most dadoes were approximately 1/4" deep, but I had to make the dadoes in the vertical divider shallower because there would be a dado on both sides.
 |
| Marking for the depth of dado on the vertical divider using the horizontal divider |
For the dadoes in the left side and the vertical divider that would house the horizontal divider , I couldn't think of a way to mark accurately for the dado location, so I used a sliding square. It's always best to mark parts together to get exact locations, but because the vertical divider was dadoed into the bottom rail, I couldn't find a way. I thought about this a lot later and there was a way: I could have removed the vertical divider and mated its shoulders up with the left side and made a small knife nick on each piece.
 |
| Getting the dado location from left side to transfer to the vertical divider |
 |
| It's a bit tricky to get these right, but it came out good |
For the right side horizontal divider, I was originally going to house it in 1/2" x 1/2" mortises in the vertical divider and in the right side.
 |
| Original scheme for right side horizontal divider |
But I started thinking that during glue-up I might not be able to get the divider in the mortises. So I ended up extending the mortises to the back (so they became stopped dadoes) so that I could slide the divider in from the back.
 |
| Right side horizontal divider slid in from back |
After that I just needed to fit an arched piece for the "upstand" at the back of the top. Also, I fitted a piece in between the two bottom rails on the left side so the lower cubby would have a continuous bottom. Finally, I rabbeted the back edges of the left side and vertical divider to fit a back piece behind the cubbies. Oh yeah, later I would add false drawer fronts to the right side.
 |
| Dry fitted |
After surface planing all show surfaces, the glue-up went well. I had rehearsed it a couple of times.
To make it look better, the design included false drawers on the right side. The purpose of that side was only to hide the power strip and wires, but I didn't want to leave the front looking like a big, blank wall. So I made two drawer fronts that fit tightly into the openings. Then I made a 1/32" rebate all around the drawer fronts so that it would look more natural.
 |
| False drawer fronts in place |
I probably could have glued them directly to the carcase, but I didn't want to deal with any glue getting where it shouldn't be. So I decided to use glue blocks from behind. And because there was no easy way to clamp the glue blocks, I made my initial foray into hide glue and "rubbed" the glue blocks in place. Worked like a charm.
 |
| Glue blocks setting up |
For a finish, I wanted to try to match the color of her desk. Just shellac or BLO didn't darken the color enough, so I tried a few different stains I had on hand.
 |
| The middle one was the winner |
 |
| Stain applied, and drying on the finishing bench / washing machine |
After letting the stain dry, I applied three coats of shellac, sanding each coat after it had dried. Finally a coat of paste wax was applied and buffed out with a cloth and a shoeshine brush.
And here she is in place on the wife's desk. Not sure I like the paper management system on top, but it's better than it was before. One more honey-do project off the list.
 |
| The final piece in situ |
Lots of dadoes in this piece. It really makes you think hard about how best to mark them out to get all joints to close up tight in the end.
Comments and critiques are welcome.


Nice work! Also a nice solution to a problem that a lot of us face. Well done!
ReplyDeleteThanks, Greg. I've gotta find a better solution for my own desk, too. Ha!
DeleteI liked the first one better but #2 looks real good on the desk. I wish I could match projects color wise like you did.
ReplyDeleteI got lucky on the color. I have three different "American Walnut" or "Dark Walnut" or "Walnut" stains and I thinned one of them with mineral spirits to get a reasonable color match.
DeleteLooks good, Matt!
ReplyDeleteHey, Derek - good to hear from you buddy. Thanks for the comment. Hope you've been up to some good woodworking lately.
DeleteNice job. I too like the look of No 1, look like something I may do on some future date. Honey, please add that to my Honey Do list please :-)
ReplyDeleteI could certainly used something like that around my computer. Mine would have to be a bit bigger to store tools for when I'm researching them while drafting blogs :-)
Bob, who often has a big mess around the computer when drafting blogs
Hi Bob. I guess we could all use more organization around our desks and computers. I love those old desks with roll fronts that have lots of compartments for things. I've thought about making something like that for my desk, but that's a thought for the future.
Delete