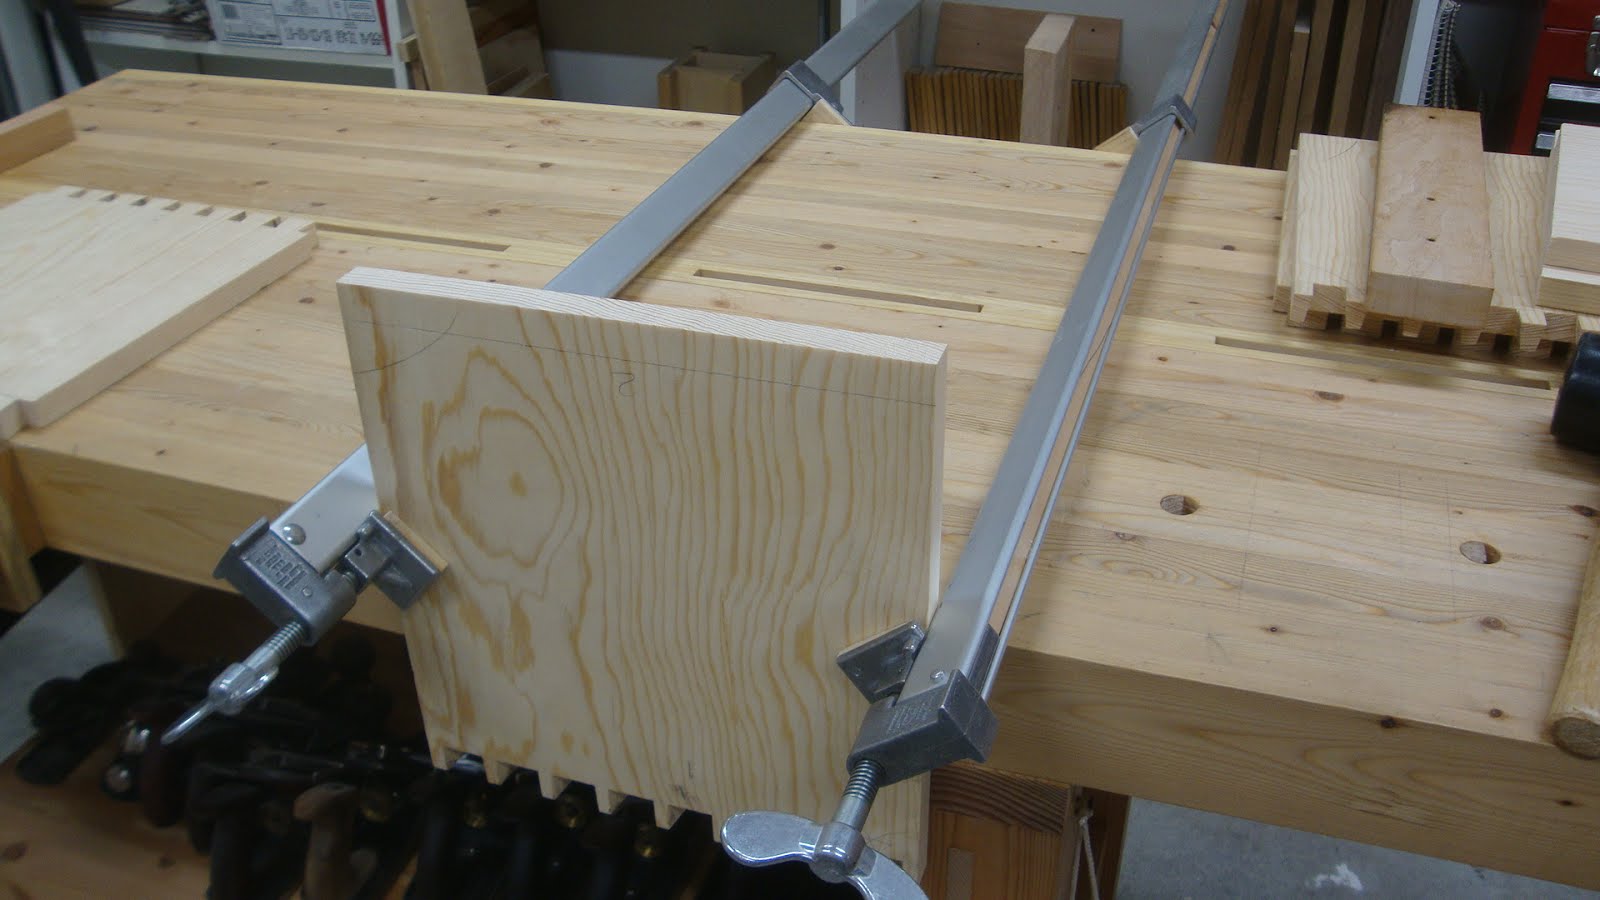
The layout of the pins if fairly straight forward, so this will be a short post. I'm using the front of my benchtop to clamp the pin board. I'm sure there are better solutions for this, but I don't have one right now.
 |
| Pin board clamped to bench top |
Often times people will use a hand plane on its side to set the height of the board above the benchtop, then move the plane back and use it to support the tail board while marking the pin board. But since I have to clamp out some cup on this board I needed to raise it a bit higher. I used this scrap board.
 |
| Pin board at height of a scrap piece |
You can see in the next pic that I've clamped straight boards to the pin and tail boards to flatten them out a little. In the picture I've moved the scrap board (from above pic) back so the tail board can rest on it. I'm using a toolbox to add weight so the setup won't move.
 |
| Ready to lay out the pins |
When the tail board is positioned correctly, the knife is used to mark the tail locations.
 |
| Knifing the lines |
Then a square is used to make the vertical lines on the face. First, just the lines that angle to the right are squared. Holding the square in the left hand, it's easier to get these lines correct (due to the knife's bevel).
 |
| Squaring the lines onto the face |
Then I go back the other way, holding the square in the right hand. I'm not nearly as coordinated with my left hand, so marking these lines lefty was challenging. But the knife lines meet up better with the top lines.
 |
| Marking the left side of each tail outline |
And here's the final look before cutting. I knifed lines on the other face also.
 |
| All lines marked and penciled in |
Next time: cutting the tail recesses, cleaning up the bottoms, and fitting the joints.


No comments:
Post a Comment