Alternate title "Dovetailing - stuff they don't tell you".
I posted a few days ago about cutting a stretch of eight dovetails on an 11 1/4" corner of a practice box. Today I got out to the shop to cut the dovetails for the second corner of the box and I wanted to focus on some details.
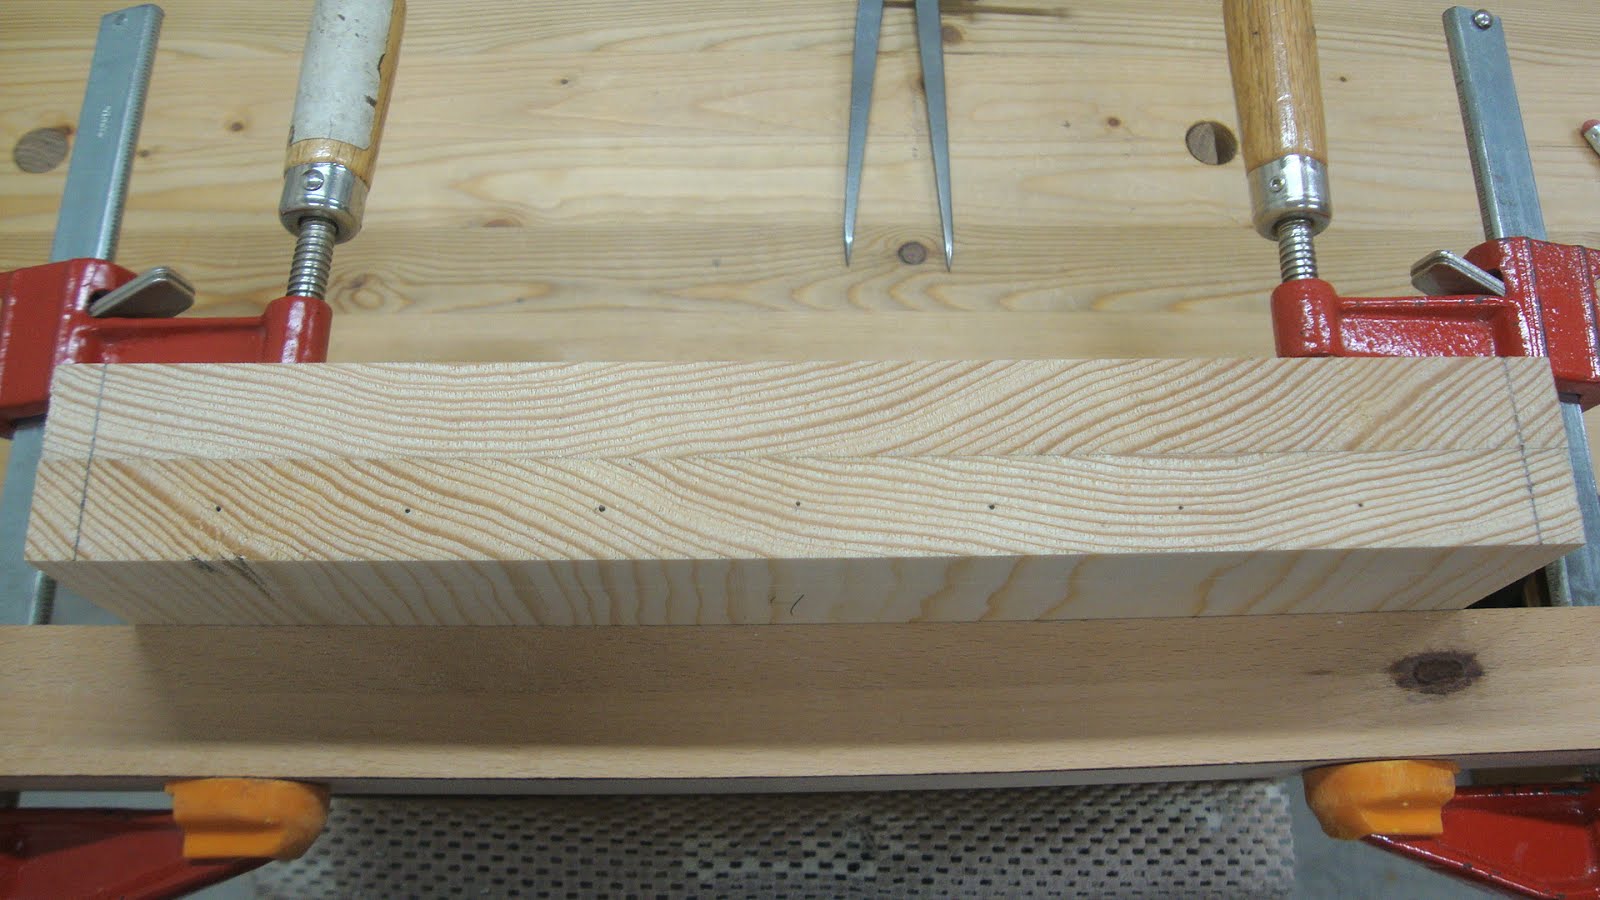
The first step was to mark out the baselines. Normally on a short run of DTs (with boards less then 4-5" wide) I would use a square and knife, referencing off a side of the board, but due to the 11 1/4" width of the board I used a marking gauge, referencing off the end grain edge. My boards are not flat or of consistent thickness, but I did square the ends and make parallel the two long grain edges. So I couldn't really use the pin board to mark out the baseline - I just approximated it. In normal practice with flat material of consistent thickness I would use the pin board to mark out the base line of the tail board and vise versa.
 |
| Marking the baseline |
At this point you've got to decide the number of tails and what spacing you want between them. OK, you should have made this decision earlier, but who's counting. This method of laying out gives the same width of the end pins and all middle pins. I wanted 8 DTs and 3/8" spacing between them. I started with a mark 3/8" from each end. As you can see, I've ganged two boards together and will mark and cut them together. The extra thickness for these cuts will help me cut straight and to the lines.
 |
| Marked the two end pins 3/8" from the end |
The first end:
 |
| Left end with first mark 3/8" from end |
There's a little trial and error in setting the caliper so that 8 steps will get me to the 3/8" mark on the other end. The caliper setting will be one dovetail width plus one pin width. So I set the caliper and start walking it down to the other side, but starting from the end - not from the first mark. Remember to swivel the caliper on the right point so that you don't lose the position of each point. Go lightly here as these caliper point locations will likely not be the final ones.
 |
| Starting at left end (not on the 3/8" mark) ... |
It took me a few tries to get the caliper spacing right, but I finally landed spot on to the far 3/8" line after 8 steps.
 |
| ... and ending at right 3/8" mark (not at the end) |
Having the right caliper setting, I then stepped them off again, this time deepening the caliper marks. These points mark the right side of each tail.
 |
| Point marks penciled in for visibility |
Then I repeated the process, starting from the right end and using the same setting on the caliper. These points will mark the left side of each tail.
 |
| Now marking from the right end |
After 8 steps, this is what I've got:
 |
| All points marked |
Then square the lines across the end grain. This is really easy to do accurately - you can put your pencil point in the point made by the caliper, then slide a square up to the pencil and mark the line.
 |
| All DTs marked on end grain |
From there I use a DT marker to mark the angled DT lines on the face of the board. My marker is of the type shown below - I'm using a 1:7 ratio, which gives an angle of about 8°.
 |
| My dovetail marker - made in oak |
Using this helper, I mark the lines on the face of the board down to the baseline. It's not always easy to get the end grain lines and the face grain lines to meet exactly at a point. That takes a little practice, but it's not absolutely necessary either. After starting the cut on the end grain you can use the face lines as reference to cut parallel to the lines.
 |
| Using the DT marker |
After marking all the tails, we get this. Remember to mark an "X" in the waste areas and
ALWAYS cut on the waste side of the line. Don't ask me how I know this, but it is
WAY too easy to cut on the wrong side of the lines if you don't mark the waste! At this point, It wouldn't be a project killer to cut on the wrong side of a line, but it would make the tails not all consistent. Some people like DTs like that. I like them to be the same and evenly spaced.
 |
| All dovetails and waste areas marked |
This is not really necessary, but I also marked on the other side of the ganged boards so I could see how accurately I've cut after sawing.
 |
| Marked the other side as well |
Next time: sawing to the lines, cutting out the waste and cleaning up the bottom.


Good write-up Matt.
ReplyDeleteI never bother measuring or stepping out my dovetails, not since watching Dovetail a drawer with Frank Claus. It was very liberating, besides I don't care for perfection in spacing or sizes, I like the slightly irregular spacing and pin sizes, its hand cut, does not look like machine cut.
To each his own :-) Not sure I understand why you could not use the pin board to mark up the other piece??
Bob
Bob, I didn't use the pin board to mark the baseline of the tailboard because of its inconsistent thickness. In one location it would have been a little over 3/4" and in another location a little under 3/4". So I decided to just get it close enough. I would have used the pin board if it was flat and consistent thickness.
DeleteAh ... marking the baseline, i thought you meant transferring the shape of the pins.
ReplyDeleteI always used my marking gauge for the baseline.
Nice write up!
ReplyDeleteHi Matt,
ReplyDeletegreat write up again. I'm still undecided whether I should use the gauge or the square for marking the base line. I am trying this and that but I have got no favor method actually.
Cheers,
Stefan
Stefan, most of the time I see Sellers do it, he's working on a board 3-4 inches wide and he uses a square referencing from the straight and square edge (the "face edge"). I don't remember how he did it with the large tool chest project. I think either method is OK as long as the end of the board is straight and square.
Delete