Thursday, December 21, 2017

Bistro Table, Part 5: Completion

To complete the undercarriage, I had to attach the central circle and the ring.
The central circle - at first I was going to screw this down, later realized it might
be nice to be able to remove the top, so this part is doweled to the frame without glue
Stained the ring (and the central circle)
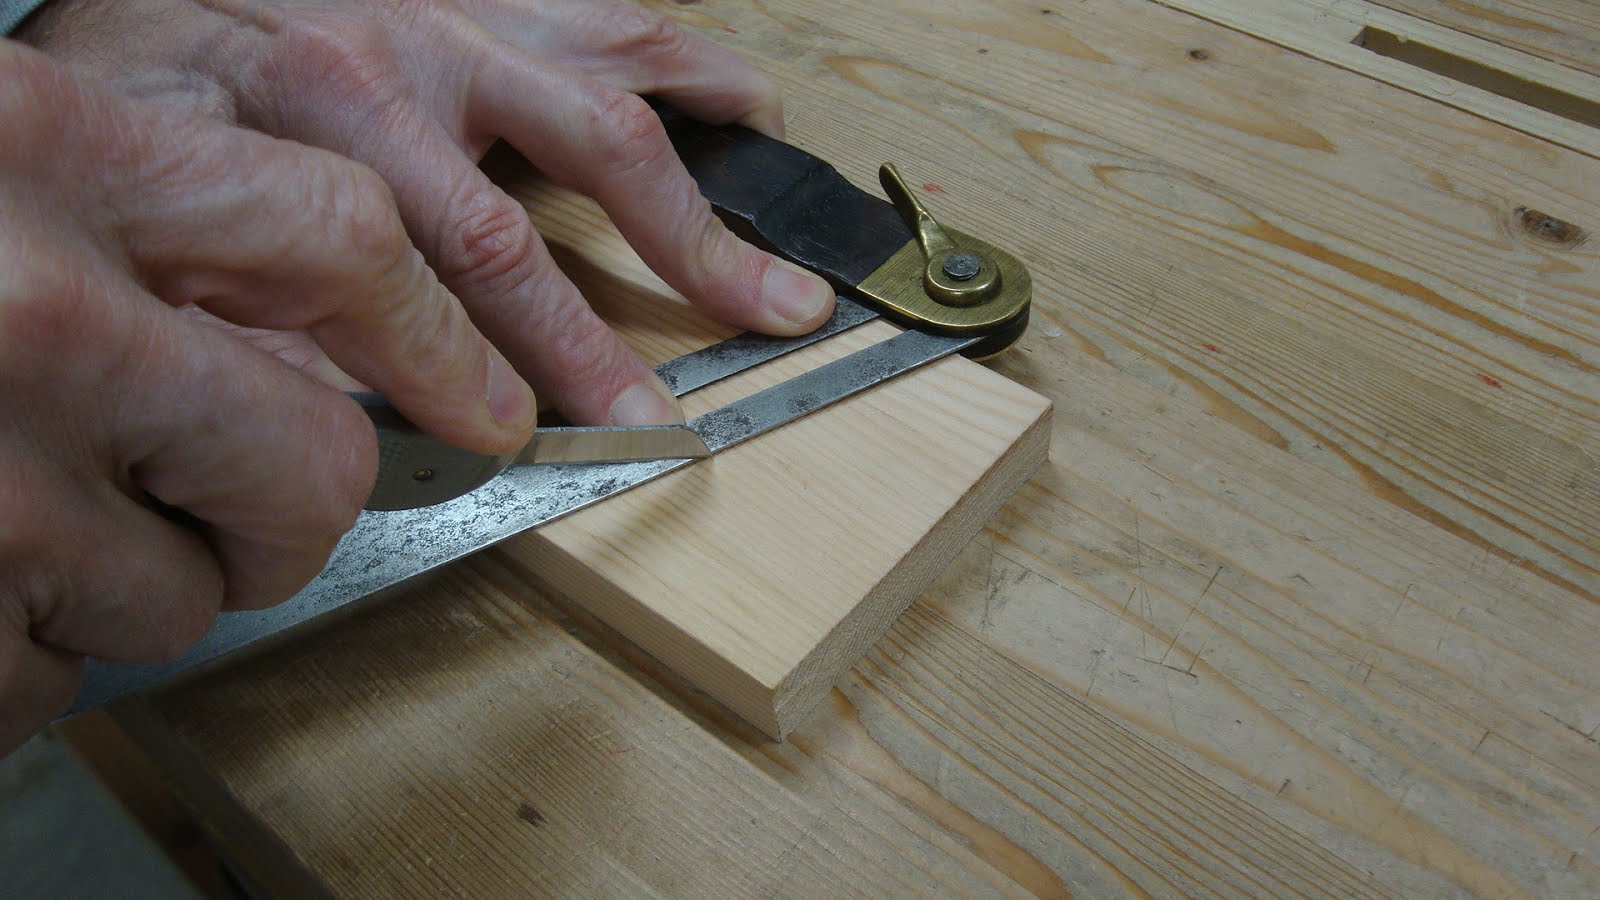
Also had beveled the underside to make it less noticeable on the finished table
I attached the ring to the undercarriage with screws - forgot to get a picture.  The screws were driven up through the undercarriage and into the ring.  If I had driven the screws down through the ring into the undercarriage, I wouldn't be able to unscrew them for removal of the top after the top slats were glued in place.

I added feet to the bottom using threaded inserts and foot levelers.  To drill holes to the proper depth for the threaded inserts, I made a block that would expose about 9/16" of drill bit.  The block also helped me drill square to the foot.
The block, the insert and the leveler
Blurry pic of drilling into the bottom of a foot
Used a piece of threaded rod to install the threaded insert
It's easy to install them crooked - this helped keep it straight
Then I just needed to make and install the slats that would make up the top.  There are 32 of them, and this was a lot of work.  So I made a template that helped.
Template marking out a slat for the top
Marking out to get the most of the stock I had
A good start, but ...
... did I mention there are a lot of these things?
I used dividers to step off the spacing around the ring.
Finding the right spacing
I first glued in the four slats directly above the top supports,
then tested the spacing of the 7 slats between them
Turns out the width of an old plastic card plus the width of an old business
card gave the right spacing near the central circle
In turn, I replaced each slat with the template that had holes drilled in it at the locations where I would attach the slats to the top with dowels.
Slat replaced by template to mark holes
Originally I thought I would just glue the slats directly to the central circle and the ring.  But it became obvious that it would be far easier to finish the slats before assembly and then glue them down with dowels.  I finished all parts with three coats of BLO thinned with mineral spirits.

Gluing the slats to the top was interesting.  I'll let the pictures tell the story.
First four slats in clamps
Next 8 slats could use same method
Changed clamping approach for all but the last four slats
Last four slats being glued up.
You just gotta improvise when clamps won't reach the middle
And thar' she blows!  All finished, and in time for Christmas.
Glamour shot
The top, from above
It's a real feeling of satisfaction completing a project like this.  It had several challenges, but all were overcome.  Now let's hope the wife likes it.

And for anybody reading this, have a great Holiday!!  Next up for me is some family time and then some R&R.

Thursday, December 14, 2017

Bistro Table, Part 4: Making the Top-Support Ring

The table will eventually look like this:
Sketchup mockup
The top slats for this table will be supported by a center round piece as well as by a ring that rests on the base.
View from below showing the ring that supports the top slats
Today's post will be about making these two support pieces and will be mostly pictorial.  Lots o' pics!

Started with a full scale drawing of the ring - 23 1/2" outer diameter
Detail view on one component of the 8-piece ring
Originally I thought I might use splines to connect the parts, but I went with integral tenons on one end and mortises on the other end of each piece.
Took dimensions from the drawing, squared up some pieces and marked where things will go
After a couple successful test pieces, ganged up the rest and marked edges together
Transferred angles to faces and then to other edge
Marked to make absolutely certain of no mistakes
Making the tenons
Sawed off the waste end
Marked the tenon extents using a router plane as marking gauge
Sawed the shoulder, which was 3/4" from the end
Split off as much as I could safely do
Pared close to the line
Then used the router with unchanged setting to get exactly to the lines
Cleaned up the shoulders with a sharp chisel
Rinse and repeat for the rest of the pieces
Making the mortises
First, removed the waste
Then carefully squared the end
That's what Daddy likes!  This is important for a good joint.
Before going further, numbered the joints (even though they were fairly interchangeable)
Made a knife nick on the corner 3/4" from end to mark the depth of the mortise,
transferred nick marks to other corner with bevel gauge and squared lines onto the edges in mortise area
Used same router setting as before to mark the mortise
Sawed close to the lines
Left the lines
After chiseling out the waste, pared closer to the lines.
Tested the fit of the tenon, and pared more until the fit was right
Fitting them together

After all eight pieces were done, I tested the fit by assembling two sections of four pieces each.
Two half-rings dry-assembled with tight joint lines
Then carefully fit the halves together to see what kind of adjustments would need to be made.
Left side: gap on the inside
Right side: gap on the inside
This meant I needed to shave a little off every piece and it's easiest to do that on the mortise end.  I freehanded the cut on a shooting board, taking a bit off the outside half of each mortise end.
Probably should have made a special shooting board for this, but this worked
Got a nice fit after only one iteration of this
With the parts dry fit, I marked out the circles and then did the shaping.
Marked the outer circle with large homemade compass
Didn't get pics of the shaping, but it went off easily
After shaping, the joints looked like this on the outside ...
... and this on the inside.  I glued in small off-cuts from the tenons to fill these gaps.
Glued up using a ratchet strap, which pulled the joints together nicely.
Clamps and holdfasts kept the ring from twisting while the glue set.
And there it is.
Not perfectly round, but it doesn't need to be.
As for the circle part in the center of the sub-top, that also went well.
6" x 6" x 5/8" thick blank, squared and marked
Sawed the bulk of waste off
Then used chisel, spokeshave and file to complete the shaping and smoothing.  Came out nice.
I also made a 4" round piece from redwood that will be the center of the top.
Next time: Making the top slats and bringing it all together.