Thursday, March 30, 2023

Carving the Two-Step Stool

Maybe I'm getting bored with the plainness of things I make.  The stool from last week's post needed a little jazzing up, so I searched the internet for images of carvings.  Most of the things I saw were far beyond my ability.  I thought I wanted something with leaves, so I just kind of winged it.

First step was to make a scale drawing of the side panel of the stool.  Then I drew in a stem that branched in a few places to fill the space and placed a series of small leaves along those branches.  I didn't want the leaves to be too intricate - just something that would be easy to carve.

Sketch of what I'm thinking

Did a small sketch on an offcut ...

... and carved that one to test the idea

Pleased enough with that, I started in on the real thing.  After drawing the pattern on the right side panel, I grooved the stems with a 90° V chisel.  The leaves were all cut in with a single 1" wide x 1 3/8" diameter gouge - just a standard gouge, not a gouge specifically for carving.

Drawing the pattern on the right side panel

Stems carved out and starting on the leaves

For the leaves, I didn't want them all the same size, so I tilted the gouge and struck it with a hammer.  The degree to which I struck it determined the depth and length of the leaf. 

Starting a leaf

Note how the chisel mark gets finer as you get farther from the stem

Then with gouge moved back and canted back, pared down to the first cut to remove a chip 

A VERY sharp knife was used to clean up the depths of each leaf

Bought this knife many years ago, and never really liked it - as a marking knife.
But I sharpened it better than ever before and it performed admirably for cleaning
out the corners of this carving.

I only used three tools to do this carving - the V chisel, a gouge, and the knife.  It might have been nice to have more carving tools to make subtle differences in the leaves, but you use what you've got.

The left side panel was easier and came out better than the right because of the learning that came from doing the right panel.  Interesting how much you can figure out just by doing a little of it.  I'm not ready to rival Grinling Gibbons' carvings, but I'm happy with this.

The finished product


Thursday, March 23, 2023

The Ol' Two Step

I'd made one of these two-step stools in early 2018 and it has been extremely useful.  The two side panels are angled front and back for stability.  The two steps are dovetailed into the sides.  The three rails are dovetailed or half-dovetailed into the sides.

Sketchup drawing

Early last year I grabbed four small folding tables that were destined for the landfill.  They've been sitting in (read: cluttering) the shop ever since, so I thought I'd make use of them.  The tables were made in Thailand and Viet Nam.  I tried looking up what the wood was, but just based on the look, I couldn't be sure.  Oddly, even hand tools cause a lot of very fine dust, so I don't like using it much.

Three of the four table tops

Each tabletop was about 14 1/2" x 20" and that was just a little narrow for the sides of a stool I wanted to make.  

Here I'm setting the existing two-step stool on one of the tabletops
that was dimensioned to 18" x as wide as I could get it

The tabletop wasn't wide enough, so I cut off and re-glued that slim triangle
 exposed in the previous pic to make up the extra here

Because I angled the edges of the stool sides early on, I had to do some layout referencing off ends rather than nicely squared edges.  For that reason I had been very careful to square up the ends.

The roughly marked rectangle (upper right in photo) will be removed
to create the lower step so I used a panel gauge referencing off the bottom end
to mark the horizontal line

The vertical line was marked referencing off the top end -
not optimal, but it worked fine.

The two side panels after making certain they were identical

After dimensioning the final five pieces of wood, shoulder lines were knifed together to get them exactly matching.

Marking the three rails together (stair treads were marked using one of these as a guide)

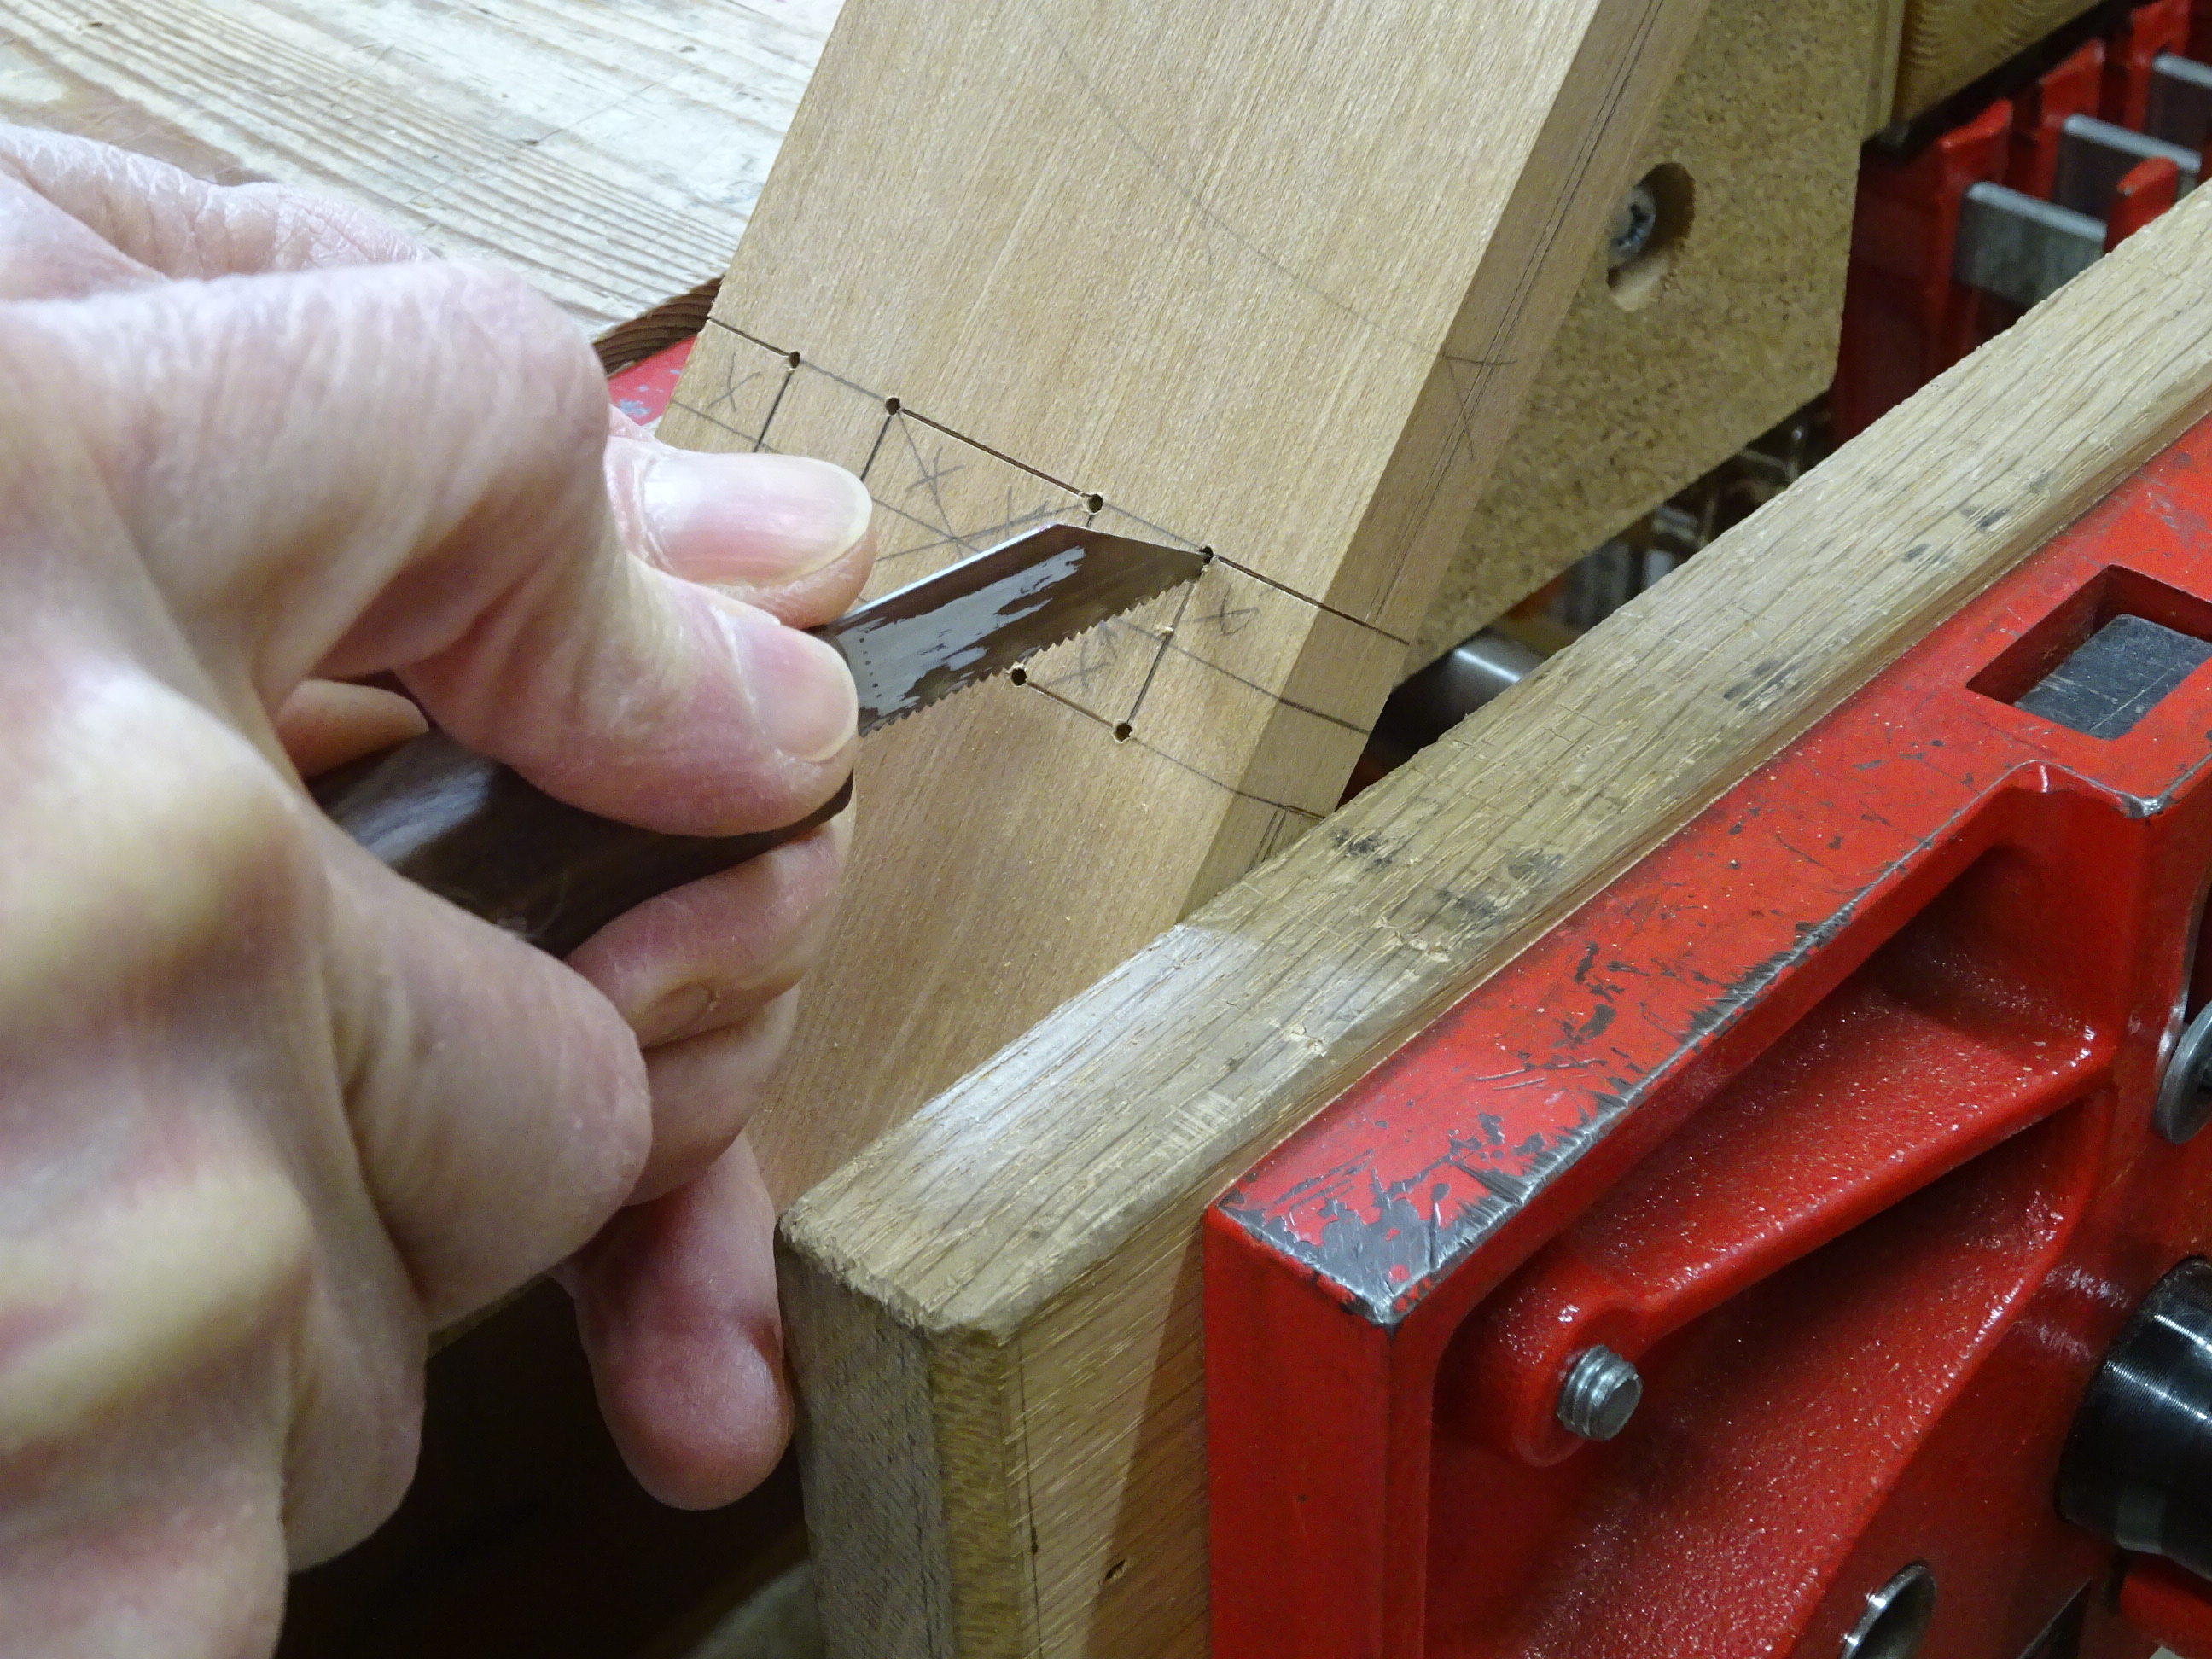
Marked the dovetails on a tread, ready for the saw

Because the two sides had angled edges, I couldn't reference off a "face edge" to mark the pin baselines.  For the pins of the top step, I referenced off the end and use a scoring gauge.  I had been very careful in planing the ends so they were straight and square to the face.

Marking the baseline referencing off the end - I never do this

I used a homemade scoring gauge to get a nice knife line

For the lower step, this wasn't possible, so I improvised.  I aligned the step tread with the side where the dovetails would be and made a small knife mark at the depth of the step.  Repeated this at the rear end of the step, then connected those knife marks with a deeper knife line.  This was on the inside face.  For the outside face, I squared the inside baseline around the edge to get a knife nick at the corner.  Then I set a wheel-type marking gauge into the gauged line in the inside back of the side and used that setting to make a mark on the outside face.  Connecting that mark and the nick gave me the outside baseline.

Using thickness of the step tread to mark a baseline for the pins

Dovetails complete

The outlines of the pins were marked directly from the tail boards.  The cutting went well but there was still a bit of fiddling to get them to fit right.

The rail that goes below the upper step and the rail connecting the back edges of the stool were straight-forward.  But the rail that goes below the lower step is more complicated because of the angled front edge of the sides.

In this pic, the stool is lying on its back.
The square is referencing off the angled front edge, so if I
align the top of the rail with the pin baseline (as shown), when material is removed 
to let in the rail, it will leave a large gap (sort of shown by the pencil lines).

So I had to estimate how much to raise the rail (about 3/32") before letting it in to the side.  I was conservative so that I could plane a little off the top of the rail to get it to fit right.  That top edge had to be planed at an angle anyway to match the baseline of the pins.

Then I did some shaping of the rails, smooth-planed all parts and dry-assembled it.

Rear rail marked for curves

Assembled (photo before shaping the rails and feet)

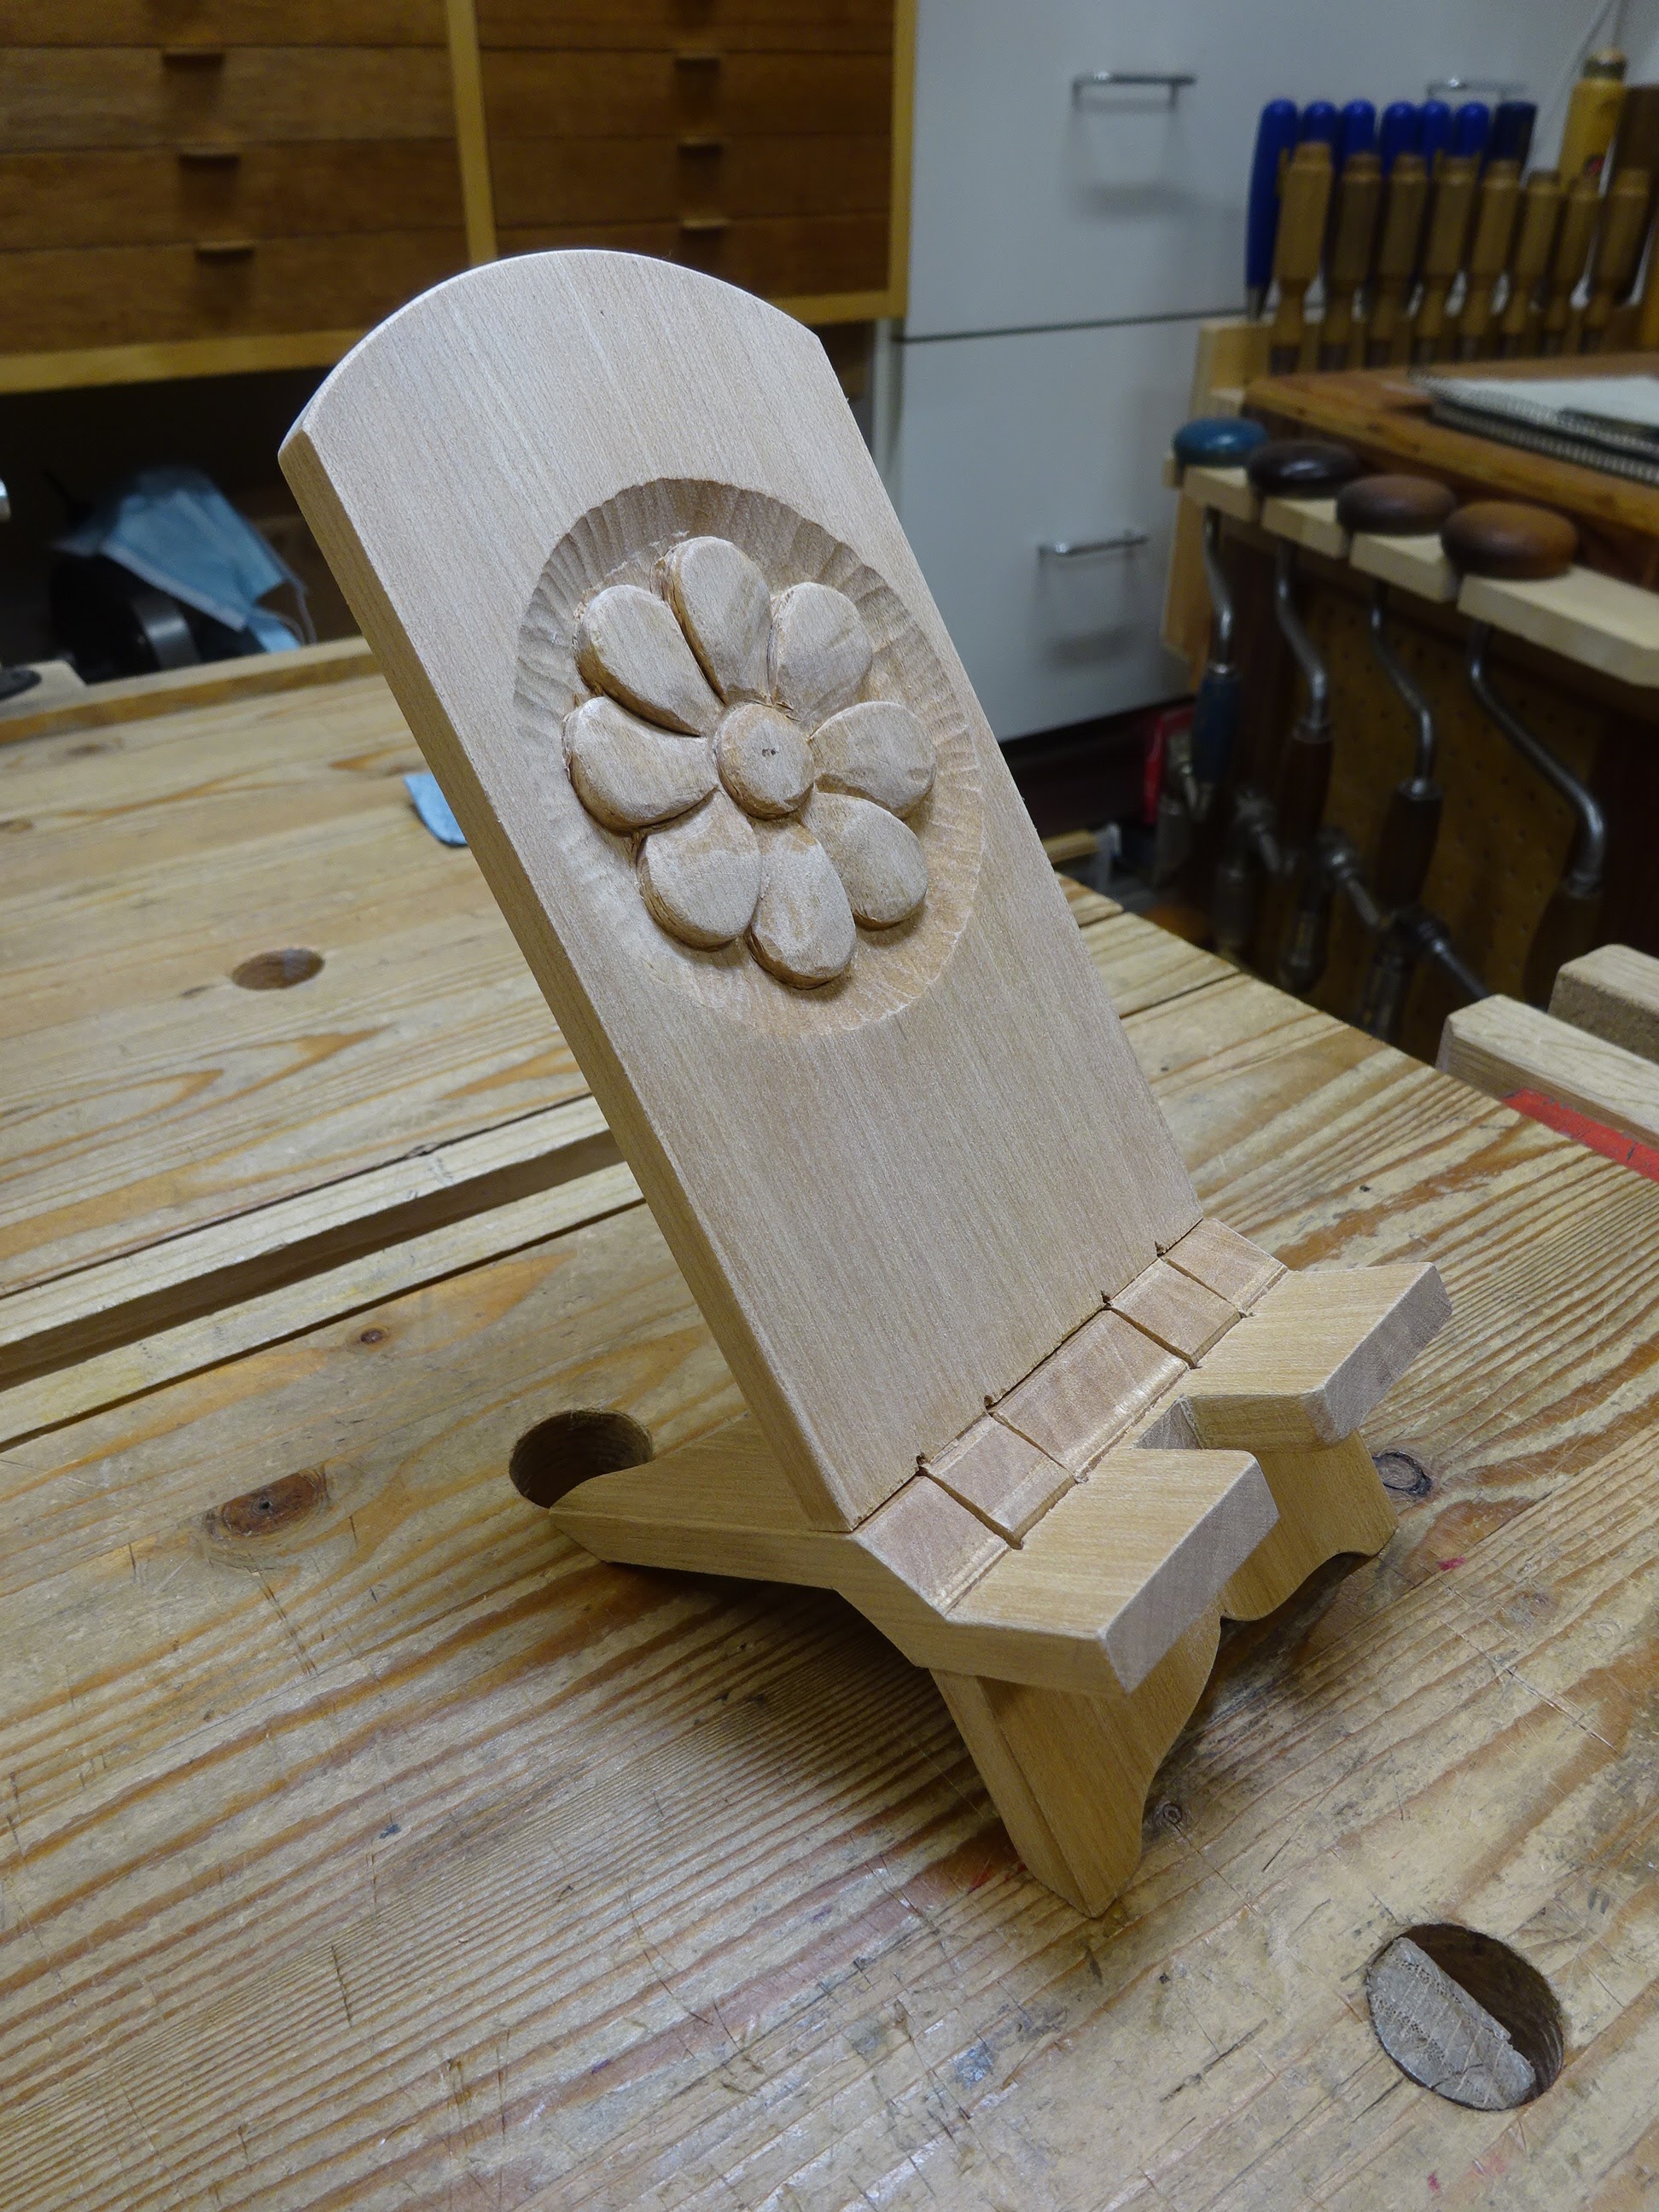
The stool is not yet glued up.  It looked too plain, so I'm in progress of doing a little carving on the sides.  I'll write about that next time.

Thursday, March 9, 2023

A Note About Carving

I've never considered myself an artistic type.  Being a total left-brainer (logical, analytical, orderly), that side of things has always escaped me.  It doesn't mean I don't appreciate art; quite the contrary, I love beautiful things and respect the people that conceive and make them.

Embellishing a project with carving just doesn't normally enter my mind when I make something.  But I've done a few carvings and it always feels really good to see it when it's complete.  On the recent Roubo phone stand, I added a simple flower to the upright portion.

Pre-finish phone stand

I've told myself often in the past several years that if I can lay something out right, I can cut to those layout lines.  This carving was no different.  But I can't ignore the importance of keeping one's mind on grain direction.  With many types of joinery, grain direction is not so critical.  With carving, it is.

The layout was done by finding a center and running vertical, horizontal and diagonal lines through that center.  Three circles were drawn with a compass.  The smallest outlines the center of the flower, the next outlines the extent of the petals and the largest shows the extent of the overall carving.

The layout, shown next to a practice run

Tops of the petals were drawn with a circle template,
then the sides of the petals were marked in with my largest gouge

Petal tops and center circle outlined with a smaller gouge

I ended up using 5 gouges.  The two large ones are standard gouges - not specifically carving gouges.  The smaller three are from the set that once belonged to Orvil Heft.  I don't use them often, but I do love using them.

Five gouges - the fishtail on the left was barely used

Most of the background was removed with the two small gouges at the bottom of the photo.  It was two-to-three hours of work for me - I'm sure others could do this in a half hour.  I was being careful not to make any blunders because I'd already put a lot of work into the phone stand.

Just needs a tiny bit more clean-up

I found this pattern on the internet - might have been a picture from Mary May's site.  It's interesting in that each petal seems to go underneath the next petal clockwise.  It gives a nice 3-D effect.

The moral of the story is this: if you can draw (or copy) a shape and can lay out a few lines, you can carve the figure.  And if you don't have a giant set of carving chisels with every curvature and every width, use what you've got.

Thursday, March 2, 2023

Roubo Phone Stand

I've written about making Roubo phone stands before, but this post might have some details that were left out in the earlier posts.  This one is for my neighbor and it's made from red alder.

Completed stand with BLO finish

After getting the piece squared up and to dimensions (about 3" x 8 1/2" x 7/16"), I laid out some lines.

Front layout - first penciled full lines, later knifed alternating lines as shown.
The left and right pencil lines were as far apart from each other as the workpiece is thick.
The lines along the grain at 1/2", 1", 2" and 2 1/2" made with a marking gauge front & back.

Back layout - note this knife line layout is opposite from the front layout
(the ugly screw hole will not be seen in the final product)

Edge layout: pencil lines from faces continued to the edges.
Also, centered lines along the edge to guide cutting front and back apart.

Then it was on to creating the hinge.

After marking the holes with an awl, using an egg-beater drill

I drilled from both sides to mitigate any hole misalignment

Sawing the slots.  This takes a while,
but it was much faster in red alder than the last time I made one in white oak.

After the slot gets started, it goes a bit faster

Slots cut

Started chopping out the waste: straight down at the knifed lines
and 45° angle from the centerline

Just about done - note the chopping went as deep as the middle of the
parallel layout lines on the edge

Started sawing through the thickness to split it apart.
Shown above is my preferred clamping method when sawing.

But you have to be careful about clamping after the lower portion 
is sawn apart.  In the past I've used plastic shim material stuffed into the kerf before clamping
to keep from snapping the hinge.  Shown here is a better way to clamp to avoid that disaster.

Thanks to (1) getting deep enough with the chisel work and (2) careful sawing, this phone stand came apart easier than any I'd ever made.  There was almost no cleanup to do.

Then used a sharp scraper to remove saw marks

And sawed off the unneeded waste

Finally the stand looks like a stand, but the front legs need to be cut down to let it rest at a proper angle.

Propped up the back legs until I liked the angle

Then used a block and pencil to mark where to cut the front legs

Here's adding a detail to create the front feet: template, coping saw and fine rasps.
A slightly different template was used for the back feet.

Finally, I added a slot in the front shelf for a charging cord

I did a carving and some shaping on the upright surface, which personalizes the stand.  I'll write a little about that next week.

Woodwork completed, awaiting finish