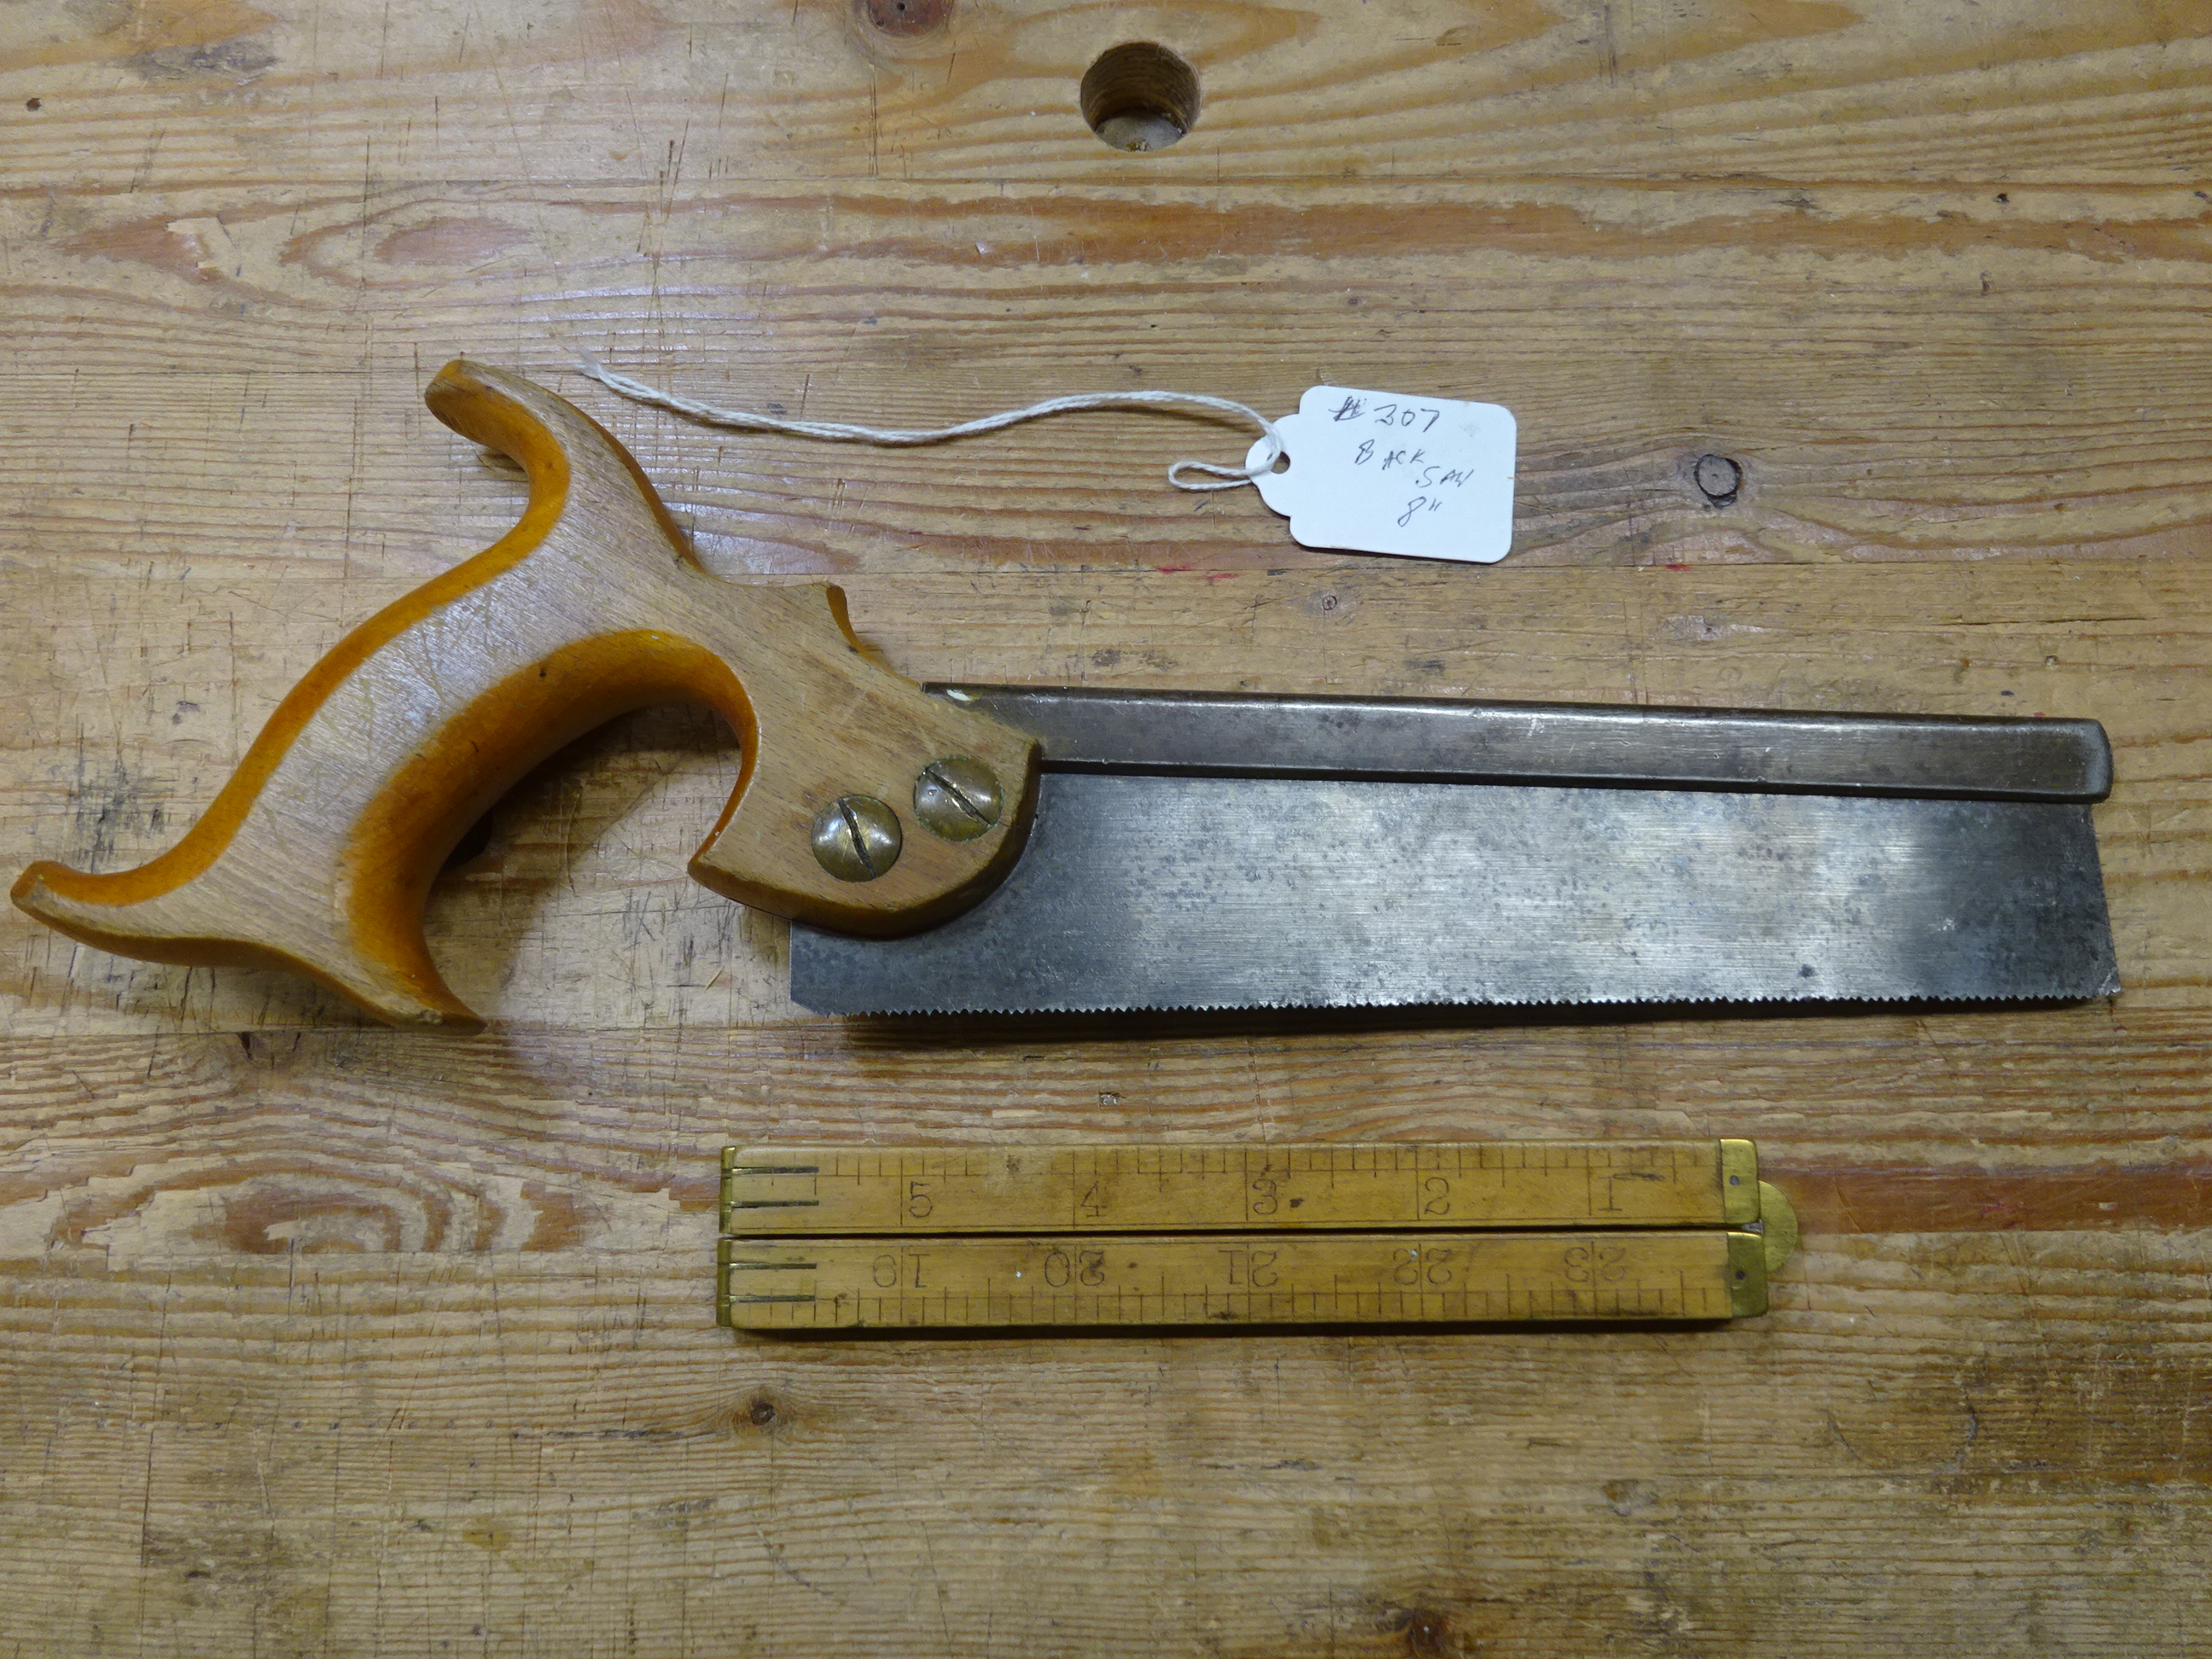
At a tool collectors' show a couple weeks ago my raffle ticket was called and I won my choice of 5 or 6 tools. I couldn't even tell you what the other tools were, because my eyes were immediately drawn to this small 8" dovetail saw.
 |
| Isn't she cute? |
 |
| Right side view |
 |
| To get an idea of the size, here it is with a 26" Disston D-115 |
It's very difficult to see and much more difficult to photograph, but I saw on the left side of the plate that it's a Disston. Below is an enlargement of the saw plate in the first photo above.
 |
HENRY DISSTON
PHILADELPHIA |
 |
| Eventually after some clean-up, I was able to get a better pic of the etch |
The saw was in pretty rough shape. I'm sure it hadn't been used in decades. The teeth were irregular and rounded over, the plate had some waviness and the back was bent.
 |
| Looking down the tooth line from behind the handle - see the bend? |
 |
17 tpi / 18 ppi
You can see here how uneven the teeth were. |
Maybe the nicest part of it was the handle, which I initially thought was beech, but now I think it's apple. The handle is quite small, even for my narrow hand, so maybe this was originally made for children. I don't think it's too old based on the etch above. There's no medallion. I'm guessing it's from the 1950's, but there'll be more on that below.
I should have done this research before I cleaned it up, but after some snooping around the Disstonian Institute website, I'm pretty sure this is a Disston #70 dovetail saw. According to one of the Disston catalog pages from that site, these saws came in an 8" length (among others), had an open handle made of apple wood, a plate from 26 gauge (0.018" thick) spring steel, a brass plated steel back, 17 ppi (16 tpi), and about 1 1/2" of plate width below the back.
Close enough. I measured the plate at about 0.017" thick. I counted 17 tpi in a few places, but it probably started life as 16 tpi. There are remnants of brass plating on the back - most of it gone now. There is still 1 3/8" of plate showing at the rear, closer to 1 3/16 at the front. Based on pictures, I don't believe the plate was supposed to be less deep at the front - I think the plate is recessed into the spine more at the front for some reason.
The teeth were a mess, and I ended up filing them off completely. Before realizing from the Disstonian site that the teeth were probably originally 16 tpi, I intended to file to 17 tpi. But the tooth-spacing templates from Blackburn Tool's website only go up to 16, so that's what I used.
 |
| Starting to cut in the new teeth, using a template glued to the plate |
 |
| Getting closer |
I added a little set to the teeth - very little - being careful not to go too far. A saw like this that is designed to make shallow cuts doesn't need much set.
The screw holes in the handle held a mystery green gunk. I don't think is was a result of corrosion of the brass screws. Maybe some compound a former owner put in there to try to tighten up the screws. Not sure why - the screws seems to hold fine.
 |
| Mystery green gunk |
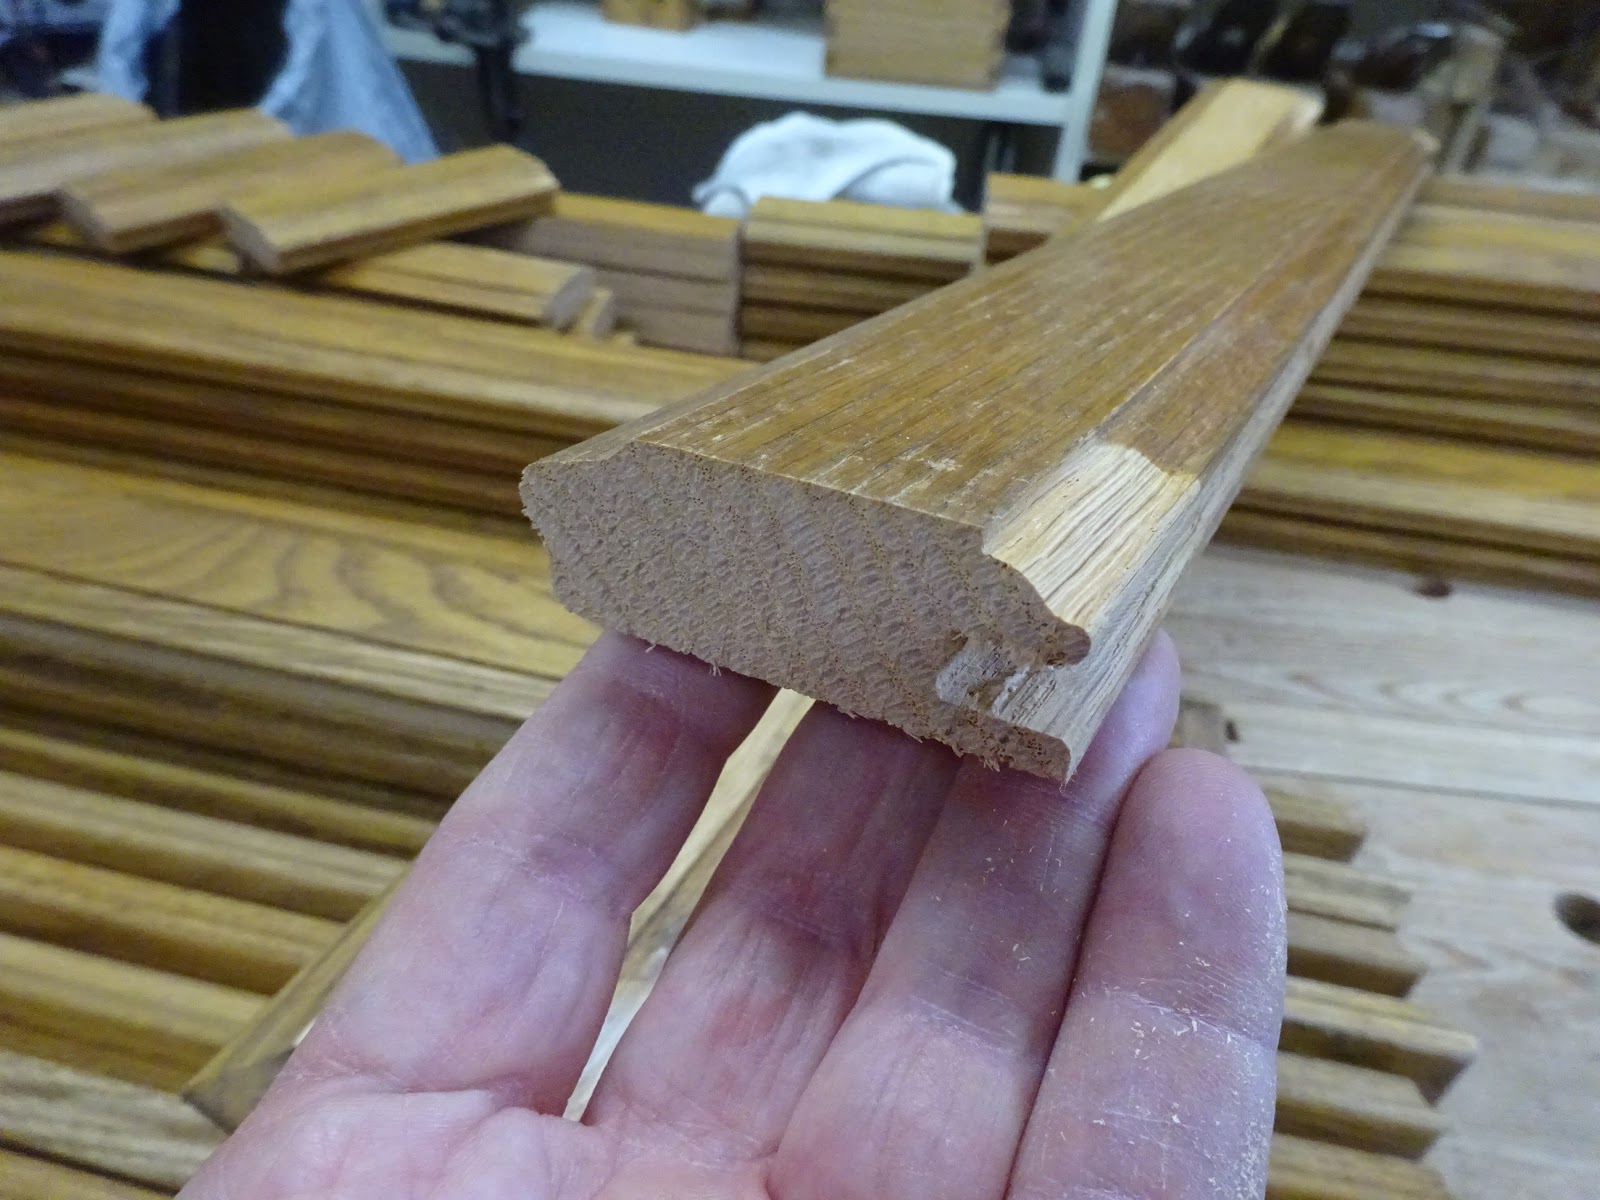
The handle was missing a piece where the spine fits in. I glued on a scrap of beech and shaped it to match the other side.
 |
| Chiseled the broken area to get a flat surface |
 |
| Glued on a piece of beech with some creative clamping |
 |
After shaping it like the left side, the right side matches in all but color
(the color got much closer after a few coats of oil) |
I also scraped and sanded the rest of the handle to remove any old finish, then put on three coats of BLO over three days. I love the feel of an oil finish on saw handles.
 |
| Ain't she pretty? |
For the slightly bent back, I was able to bend it back the other way - very carefully. The bent saw plate seems to have been mostly fixed by adjusting the spine a bit. To adjust the spine, I clamped the saw plate in the vise with the spine above the vise jaws and tapped a stick with a kerf cut in it with a hammer to move the spine. Now, the plate is almost perfectly straight without the handle, but I have a little bend near the back of the plate when the handle in installed. Makes me wonder if there is something funny about the slot in the handle. I ran a piece of sandpaper through the slot a few times, but I still have a slight bend in the last inch of teeth.
I did a little more research with the help of the Internet Archive, where I found many old Disston catalogs and manuals. In a 1918 catalog, the #70's handle looked a little fancier with an extra fillet (not sure if that's the right term) forward of the top horn. From 1929 through 1949, the saw shows up in the catalogs and/or manuals with a less fancy handle like mine, but the #70 is not found at all in the 1949 and later catalogs. Maybe that means the saw is from the '29 to '45 time period, but who knows - they might have still sold them after 1945 and not put them in a catalog.
I've made a few test cuts now and it cuts well. It leaves a very fine kerf. I'll do some practice dovetails later today.