Thursday, January 18, 2024

2023 Review

I'm a little late with this post.  Let's see what I accomplished last year.  As usual feel like I didn't do enough.

Tool Rehab or Making

J. Kellogg wooden jack plane.  This plane needed a lot of restoration - new base of handle (tote), new wedge, new-to-this-plane double iron fitted, strike button added, mouth closed with an insert.

J. Kellogg 16" jack

W. Tyzack Sons & Turner backsaw

Not much restoration needed, but I did reshape the handle

Made a travisher, though I've not had any chair seats to hollow out to test how well it works.

This makeshift travisher uses the blade from a heel shave

Disston #70 dovetail saw

This little saw was a raffle prize at a tool show.  It cleaned up
nicely and has become my dovetail saw of choice.


Projects

This wreath was made up of 66 (nearly) identical interlocking pieces

I added some carving after building this Shaker two-step stool

This rustic post and rung stool was made from a local tree that had
fallen in a storm.  It has a Danish paper cord seat.

This and a couple more "Roubo" phone stands featured a bit of carving

This garden bench was made from an old table top

The democratic armchair was the highlight project of the year for me.
It was made from kiln-dried red oak (except the seat) using interesting
techniques to get straight grained pieces.

This scrap-wood project was a simple but fun one

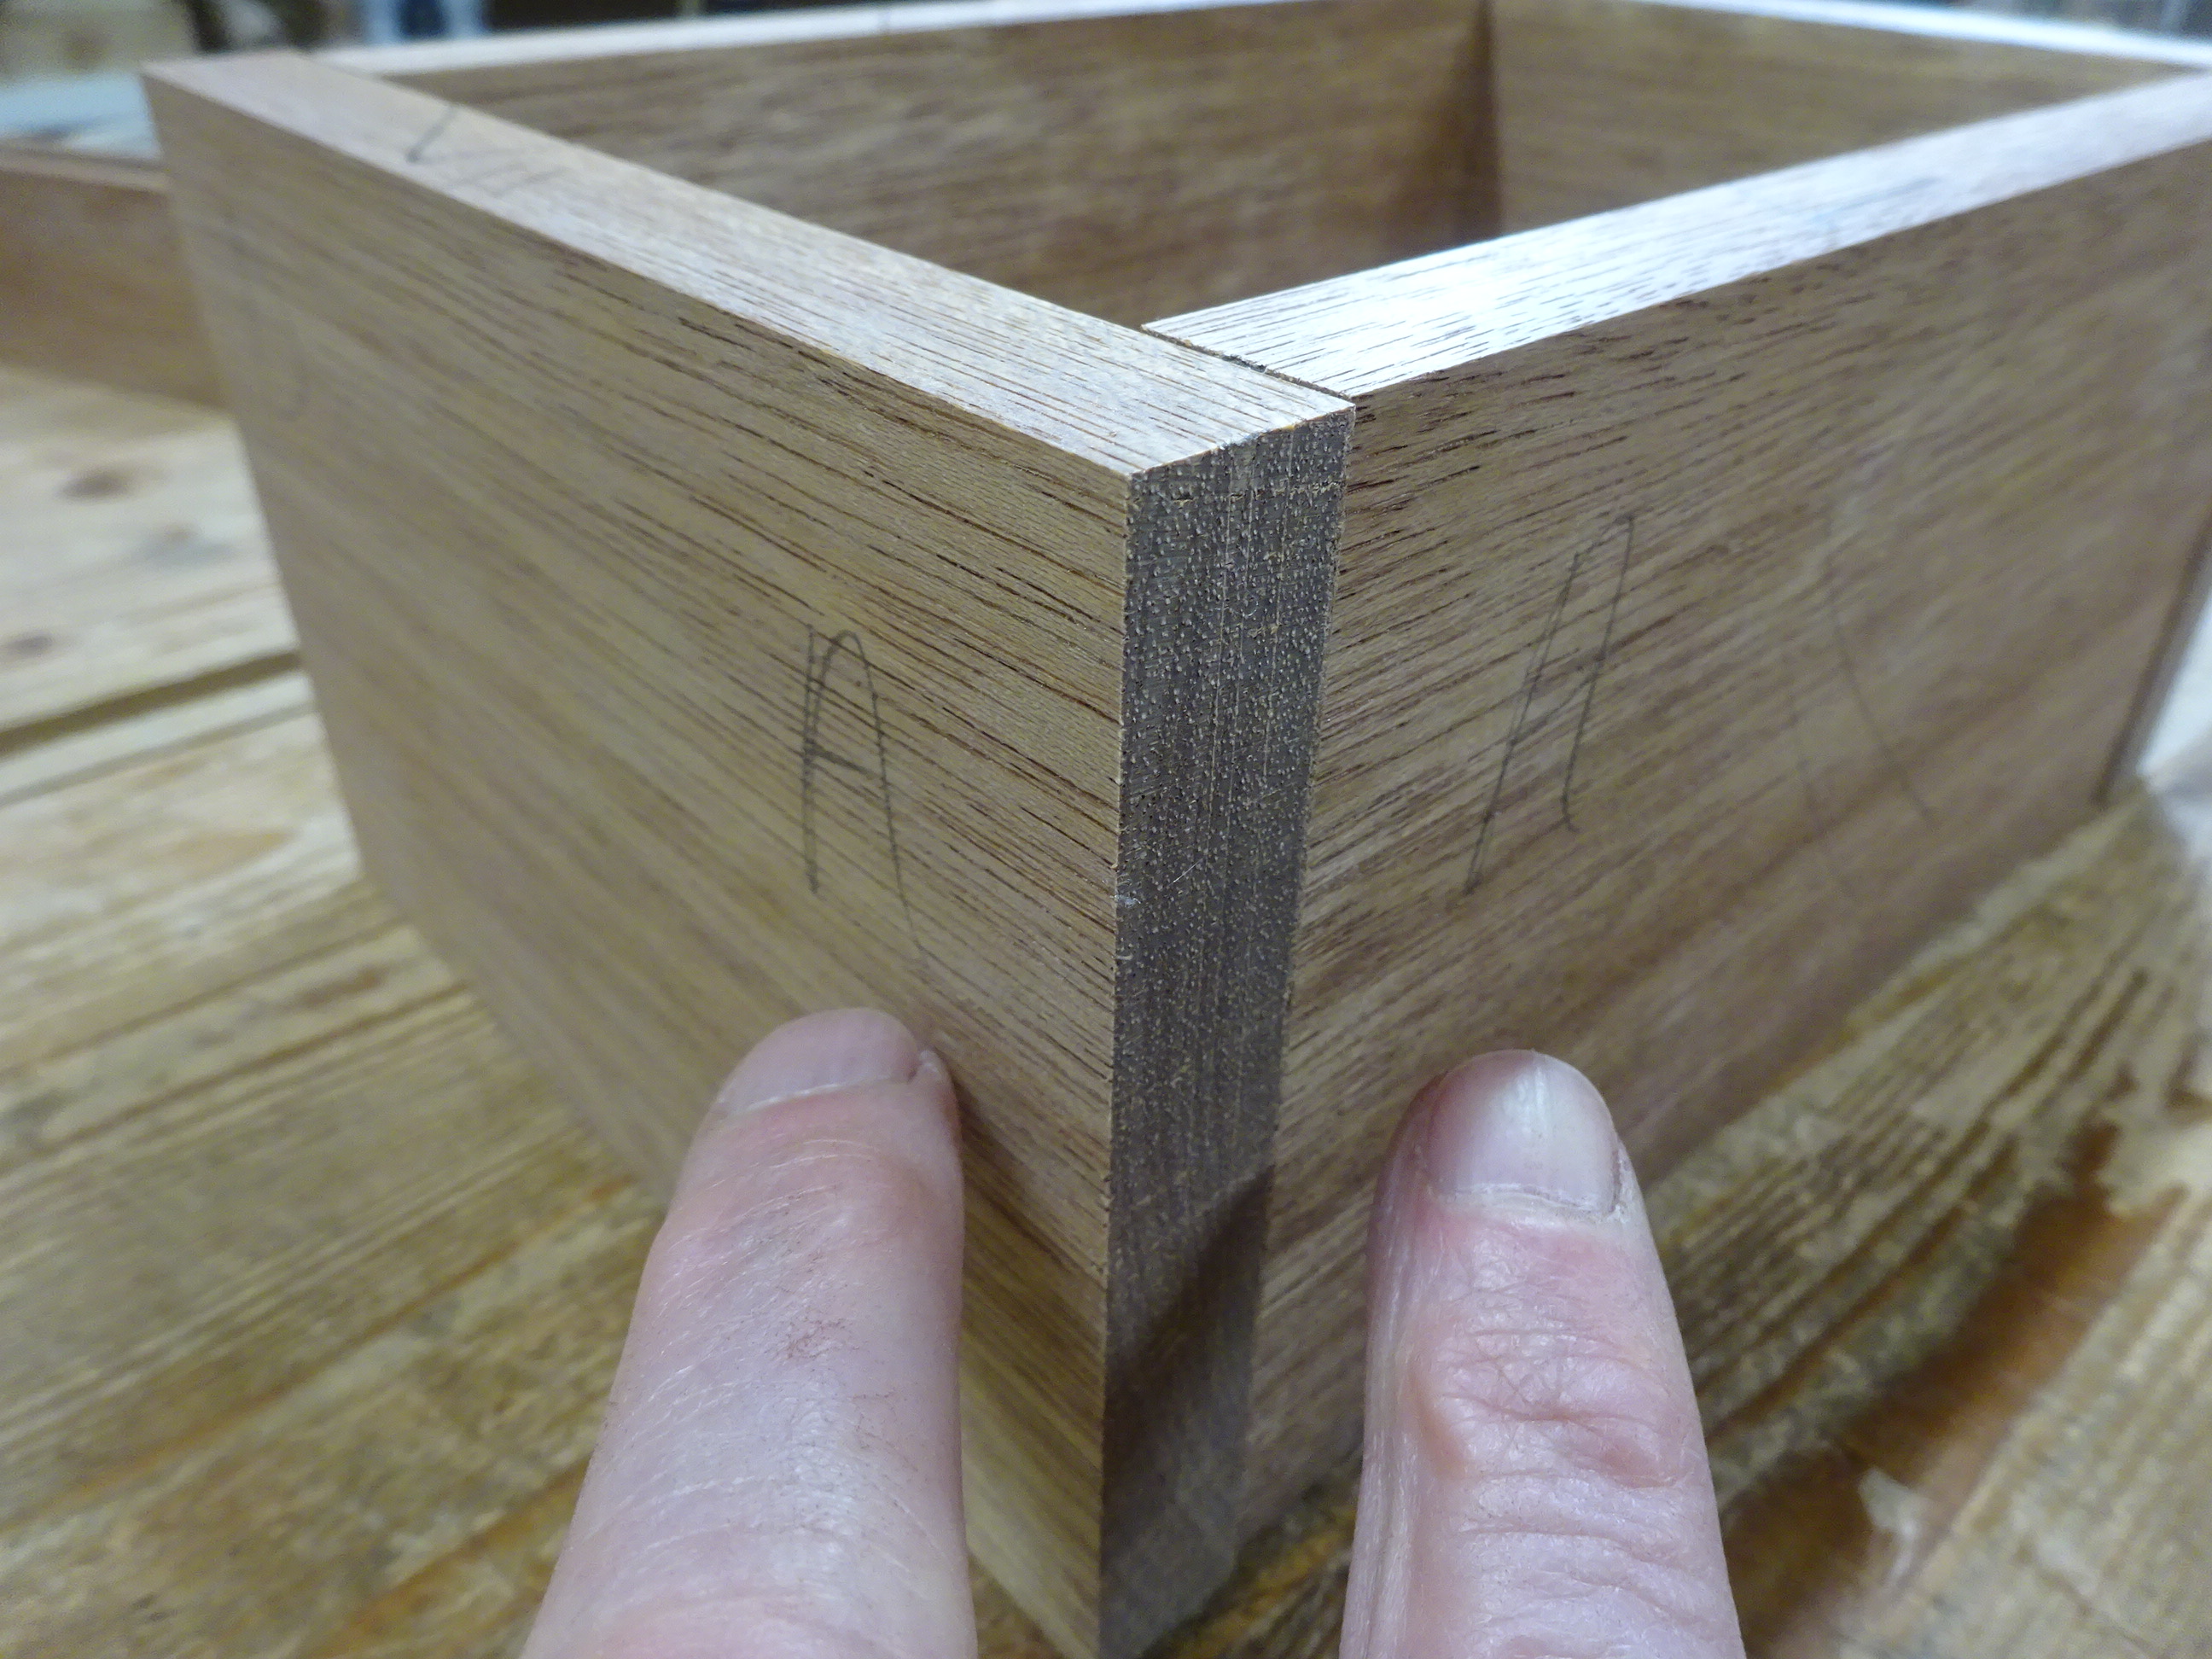
This dovetailed and lidded box is fairly simple, but just came out so nice

An interesting little stool uses no glue.  The through cross-wedged
tenons keep it very rigid.

A carved sign for my wife's daughter and SIL

Miscellaneous

After waffling a little, I bit the bullet and got a flight to Amana, IA to attend the Handworks event oput on by the people at Benchcrafted.  The show was fantastic.  It was so great to be among so many people with like interests.

Roy Underhill giving the keynote address / comedy hour

And on a personal note, the highlight of 2023 was becoming a grandfather for the first time.

Such a tiny little bundle of joy

Well, after looking at this, I guess the year wasn't so bad after all.  Heavier on the projects and lighter on tool making / restoring, the way it should be.

Wishing you all a 2024 filled with woodworking goodness.

Monday, January 15, 2024

A Tea Box

My wife wanted a box for tea bags - something that could keep the different teas separated.  Each tea bag is in a little envelope and these were each about 2 3/4" wide and 3" tall.  I didn't know what might work well, so I made a couple of prototypes from scrap wood.  The design I settled on is my take on a Paul Sellers box from a few years ago.

I wanted this box to be more special, so I used some mahogany (previously used, of course) that I've had for quite a while.  I'll tell the story of the build in pictures and captions.

This glued-up plank had been the side of a cabinet someone gave away.
It was pretty warped, with an ugly finish on front and green "stuff" on the back.

Most of the parts roughed out

Here the front and back are marked with the triangle to denote position.
The sides, as well as the top and bottom were similarly marked.

Before dovetailing, marked the mating parts

The dovetails are on the box sides, and the tails are first rabbeted by 3/16"
to hide the 3/16" grooves that will come later to house the top and bottom.

The dry fit was encouraging

Leveling the top and bottom prior to ploughing grooves

Any day I can use this old plough plane is a good day

Grooves completed

The top and bottom are of an interesting, if not way-too-complicated design.  They each have grooves on both edges and both ends.  Then the inside "lips" formed by the grooves are shortened to fit into the grooved box sides and front/back, while the outside lip stays a bit longer for aesthetic reasons of the finished box.

The box top has grooves ploughed on the long grain edges and I've
taken one or two passes with the plough plane on the end grain.
This gave the gents' saw guide lines to saw down the walls of the groove
to make it easier.  Ploughing end grain can be tough; sharpening really helped.

Here's the top grooved all around

Then I removed 3/16" from the inside lip using saw and rabbet plane

Here's the bottom being fitted into the grooves in the box

The box was to have dividers, so dadoes were cut into the front and back

Fitting the divider was a cinch

The longer divider is half-lapped with the shorter one.  But it is not 
dadoed into the box ends - that would cause glue-up nightmares.  It can be
installed after the box is glued-up and the lid sawn off.

Before glue-up, I pre-finished some components, especially
those that would be tough to reach on the inside.

Also before glue-up, the front/back and sides were curved.
Here I'm checking progress using a template with a 10 3/4" radius.

The glue-up went better than expected.  I made curved clamping
cauls to even out the pressure.

When the glue had dried, sawed apart the top from bottom

Then planed up the rims

Testing the rim for twist

And got excellent mating surfaces

Mortised for the hinges

The screws for the hinges are #2 and require a 3/64" pilot hole.  I had to order
the bit - my smallest was 1/16".  My battery-drill's chuck couldn't tighten on the 3/64"
bit, so I broke out the original "cordless" drill, which had no such problem.

Hinges installed

Finally I added a small handle, mortised into the top.
Then 3-4 coats of shellac, some 0000 steel wool and waxing.

And here she is all gussied up!

A nice build, for sure.  I'm so glad I made a prototype - that really helped me avoid some mistakes.  The wife loves it, so live is good.