I'm finding that I enjoy refurbishing old tools almost as much as I enjoy making woodworking projects. This post is about refurbishing an old Disston crosscut saw. I'll be making reference throughout to the website "
The Disstonian Institute", which was put together by Erik von Sneidern as a "
non-commercial website intended to be a resource for people interested in Disston handsaws." Some really great stuff on that site.
I found this saw at a garage sale a couple weeks ago. After waffling about it (because of its rough condition), the gentleman gave it to me because I had asked about its history and he could tell I was more interested in putting it to work than putting it in a collection. It was looking pretty bad, but it's a Disston with a fairly straight plate and I wanted to see if I could get it into shape. It's a 26" skew-back saw with 7 tpi, filed crosscut. There was some very bad rust and pitting midway along the tooth line.
 |
| Disston D-?? as found - could not see any indication of model number through the rust and grime |
 |
| Rusty area along tooth line |
The pitting was quite extensive. I leveled it with sandpaper as best as I could and I'm hoping the steel is still good enough to be serviceable. I thought about lopping off the bottom inch of saw plate and cutting new teeth, but I thought that would be too much material removal.
 |
| The worst of the pitting (shown after clean-up of the plate) |
The handle was complete with only very minor chips. All bolts and nuts were present and firmly in place. When I cleaned up the handle later, I saw it was rosewood.
 |
| The handle and bolts were intact - just has peeling finish |
 |
| Per The Disstonian Institute, the medallion dates this saw to 1917-1940 |
 |
I e-mailed the former owner about these initials (MC or MG or McC or McG)
and he's going to look into it. |
The owner said that the 1917-1940 years of manufacture would put this saw in the time frame of his grandfather and his uncles, all of whom worked together making mattresses in a garage behind the house. He thinks the saw came from that side of the family, although he has some other things from his father's side and it's possible he got some old tools from that side.
After some sanding I could make out the etchings. And this is where I messed up - I should have been cognizant of the etchings and been much more careful about where and how aggressively I sanded. The three pictures below show the etchings that appear right to left on the left side of the plate. This picture didn't show it well but the word "VICTORY" is written in an arc above the etching (you can see the "V").
 |
Can you see the eagle?
Caption below Liberty Bell "PROCLAIM LIBERTY THROUGHOUT THE WORLD" |
 |
| For Beauty, Finish and Utility this Saw cannot be Excelled - Henry Disston |
 |
| This is a D-115 |
You can just make out a large, horizontally elongated "D" between the two hanging scales of the balance and the number 115 inside the "D". Erik von Sneidern mentions
on his site that for the D-8 model, the "8" was inside the "D" until 1928 and after that it is hyphenated "D-8". If the D-115 model follows that same pattern, then I can narrow down the date of this saw to between 1917 and 1928.
From a page out of a Disston publication below, the D-115 had a rosewood handle, as does my saw.
 |
Page 6 from 1918 Disston publication "The Saw - How To Choose It and How To Keep It In Order"
Image from a Disston publication shown on "DisstonianInstitute.com" |
The right-most etching above doesn't match my saw. Mine has the right-most etch from the following picture from Erik's website. While the left and middle etches below are similar to mine, they are not exactly the same.
 |
| Photo from Disstonian Institute |
In mine, Henry Disston's signature is a little more left than in the one above, which is "right-justified" with the text above it. And I don't have the text to the left of Henry's signature. In mine, that text is below the keystone logo. Also, my keystone logo has a patent date written on the left and right borders, similar to the following image.
 |
| Photo from Disstonian Institute of a D-8 saw |
OK, now for the restoration. After disassembling the saw and sanding the heavy rust off the plate, I gave it an overnight citric acid bath. The citric leaves a very dark residue that needs further sanding.
 |
| Out of the citric acid bath |
 |
| After more sanding |
Here's where I f*#$ed up. Either the acid bath or the sanding (or both) made the etchings much less readable. I wish I could do this over and try harder to avoid damaging the etch. Arrgh! Live and learn.
 |
| Right "Victory" etching with eagle |
 |
| Middle "For Beauty, Finish ..." etching almost obliterated |
And I could barely see the left-most keystone etch with the D-115. Very disappointing!
 |
| Arrgh!! Almost nothing left of the keystone and model number. |
I had to spend a lot of time sanding the heavily pitted area just to get it close to level with the rest of the saw plate.
Well, with the saw plate cleaned up I turned my attention to sharpening. If you've not sharpened your own saws before, take a look at these two resources. Andy Lovelock's youtube video on "
Sharpening Western Saws" is incredible. Over 2 hours, it is very complete and easily understandable. Pete Taran's website "
Vintage Saws" has a great treatise on saw sharpening. By all means check them out.
First up was jointing the teeth to create a small flat on every tooth. Some teeth were shorter than others, so it took several strokes with a flat file to get down to where every tooth had a flat. The tooth line was slightly breasted (I don't think it was like that originally), and I kept it that way. Jointing it all the way straight might have removed some of the pitted steel, but I opted not to do that.
After jointing, I shaped the teeth as if I was filing a rip pattern (i.e., perpendicular to the tooth line), except with a negative rake (-14°).
 |
| After initial shaping of the teeth |
On some of the teeth, you can see the effect of the pitting.
 |
| Can you see the two teeth that are not fresh steel all the way across the tooth? |
I just purchased an old Stanley #42 saw set. Unfortunately it arrived after this saw was refurbished, so I didn't get to try it out (can't wait). Anyway, after shaping the teeth, I used a Somax saw set to set the teeth, then jointed them again before filing them with a -14° rake and 20° fleam. The sound of filing was tough to bear, even though I had the saw clamped very well and the file was in decent shape. I had foam earplugs in my ears AND earmuffs on. That in combination with the lighted magnifying goggles had me looking like something from "Lost In Space".
I measured the thickness of the saw plate and the amount of set and the data are in the following picture. Note that the saw plate is very thin at the toe. I'm not sure if they were made that narrow or if there has been so much wear over time. I thought saw plates were only tapered in one direction, but this shows taper from tooth line to back and from heel to toe. To determine the amount of set to shoot for, I used a plate thickness of 0.036", added about 25-30% to that, and aimed for about 0.046" total set. I'm OK with the couple thousandths variation that you see.
 |
| Showing plate thickness (numbers on plate) and total set (numbers below teeth) |
For the handle, I scraped the off the grime and old finish. I spent some time cleaning crap out of the carved leaves on the left side. Then I sanded a little and applied two coats of BLO, giving a day to dry after each coat. The handle is a beautiful rosewood (I believe) and is as comfortable a saw handle as I have ever used.
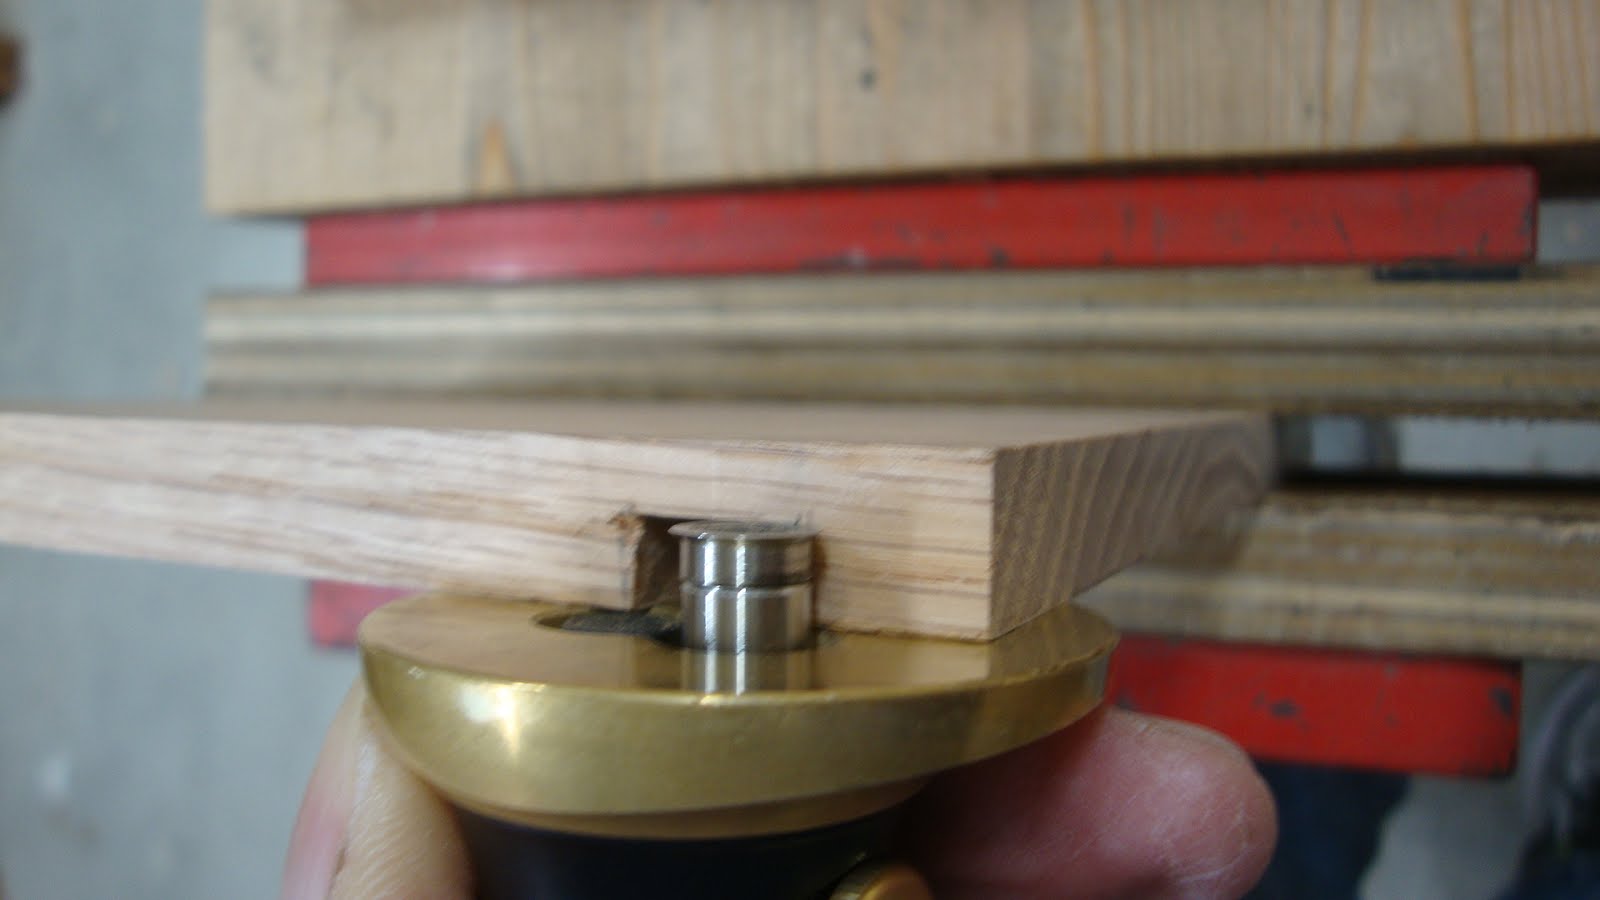
The bolts did not have square shanks to fit in square holes, like some newer saws have. Rather, the holes were conical on the medallion (left) side of the handle and the bolts have small protrusions near the base of the shank that engage with the conical walls to keep it from rotating when tightening the nut.
 |
| Conical walls of the screw holes |
 |
| A saw bolt and nut. Note the bits that stand proud of the shank of the bolt. |
I cleaned up the nuts and medallion with "Comet" cleanser and a toothbrush, followed by a fine wire wheel in a drill. Here's the handle after being cleaned up.
 |
| It's beautiful!! |
 |
| Left side |
 |
| Right side |
With the exception of the pitted area, the saw looks great. I made a cut with it after re-assembly. It seems to cut fine, but I'll have to keep an eye on the teeth in the area that was so pitted.
What a feeling of satisfaction putting this saw to work again! If the toothline steel holds up, this will be a great saw.