The moment of truth. Glue-up. Today I completed the dining chair - except for the finish that will be applied. I had already glued up the front leg assembly and this morning began with the back leg assembly. This went well and was nicely square without any tweaking.
 |
| Dry-fit of the back assembly |
Like I mentioned in an earlier post, I'm starting to use damp t-shirt material to wipe any squeeze-out rather than let it dry partially and remove it with a chisel. This worked OK, but I don't think I got all the glue out of the corners of each joint.
With that in clamps, I had time to mix up some shellac and put together my upgraded Veritas small plow plane. I'll post about that separately.
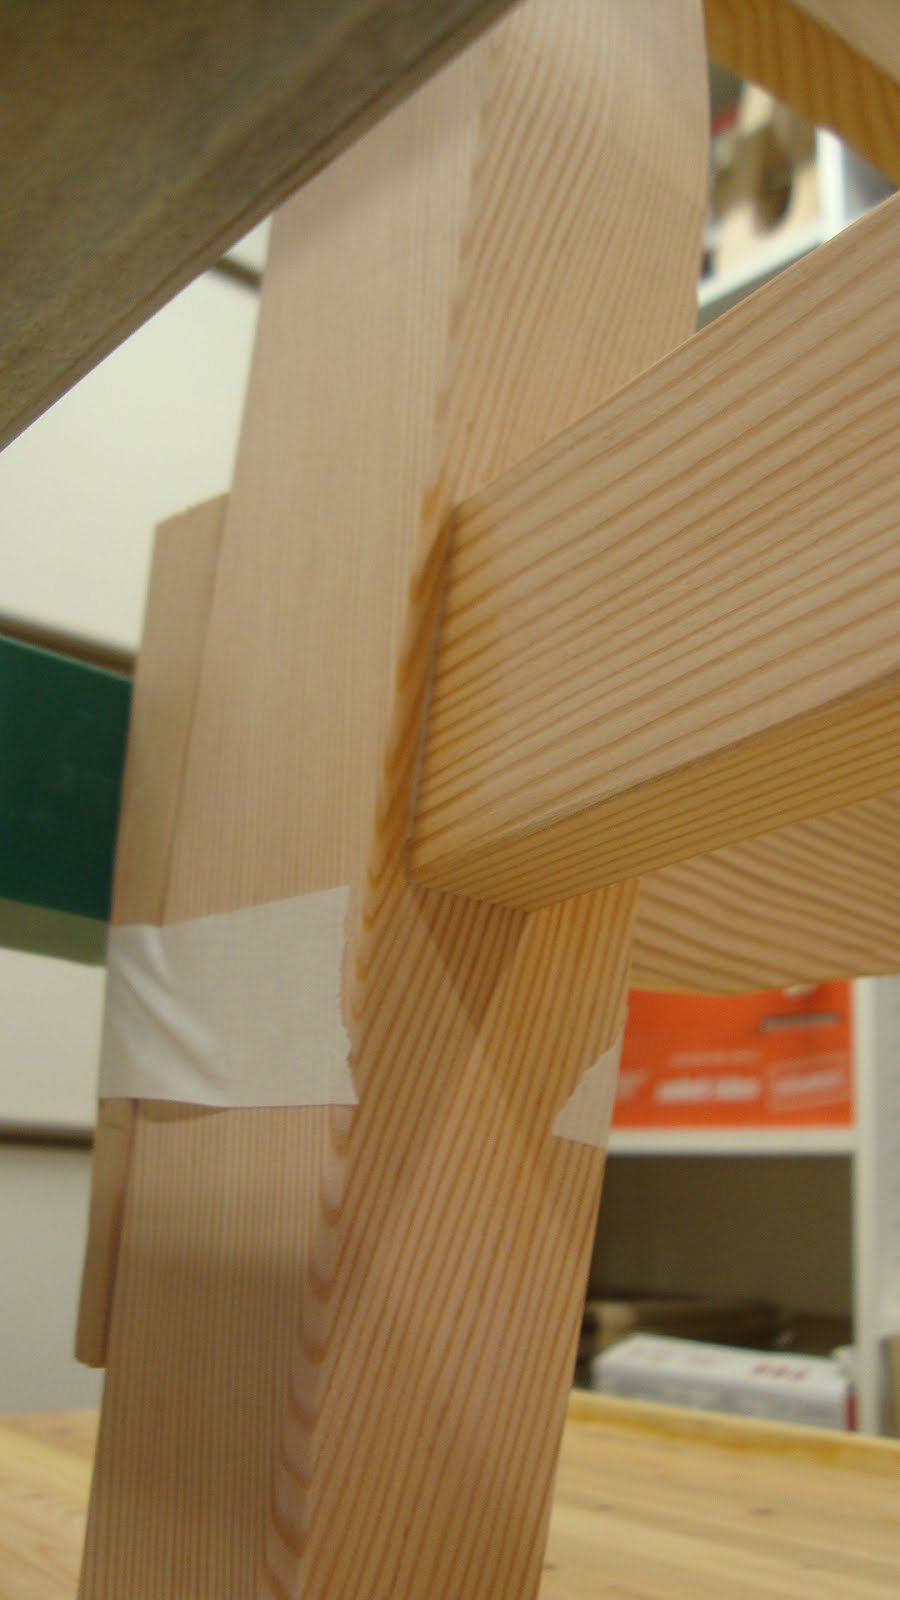
After a few hours, I removed the back assembly from the clamps and went for the whole she-bang. I did a dry-fit of the whole chair. When clamping the front ass'y to the back ass'y, the upper rail area has parallel surfaces (though offset by 1.75") to clamp against. But for the the lower rail area, the back leg is angled back, so I needed a clamping pad/caul. I taped the caul to the leg because I can never seem to work the clamps and hold the caul in place at the same time. I also added a piece of tape showing the clamp location for the upper rails. This helps me get the clamps centered on the rail.
 |
| Clamping cauls taped to lower legs |
Things were looking good and reasonably square with minimal rocking. So I took it apart and glued it up. Again, I used a damp rag to remove any excess glue.
 |
| Damp spot where squeeze-out was wiped away |
I tried something a little different with the glue-up. I hit the hardware store and got a plastic bottle (normally used for ketchup) with a smaller nozzle. Sometimes the wide nozzle of the standard glue bottle makes it tough to get the right amount of glue inside the rim of the mortise. This worked well, and I think I'll stick with it.
 |
| New experimental ketch ... er ... glue bottle along with Titebond bottle |
 |
| Comparison of glue bottle nozzles |
While that was in the clamps, I took the opportunity to shorten the back legs on the other two chairs that I'd built along with this one. This leans the chair back a bit for greater comfort. I used a 1/2" set-up block to scribe a knife line around the bottom of each back leg and cut off the waste with a backsaw. Then chamfered the new bottoms with medium rasp and smoothed with sandpaper.
 |
| Scribing a line around bottom to shorten the back legs |
I also wiped down those two chairs with damp rags to raise the grain. Tomorrow, I'll sand them lightly and begin the finishing process.


Chairs look good Matt. How about a shop tour? I'd like to see how your phone booth compares to mine.
ReplyDeleteGood idea Ralph. One of these days I'll get to that. Maybe after the chairs are complete.
ReplyDeleteIn you're last post you mentioned using wet rags on the other chairs to raise the wood gain then sanded in down smooth again. I'm not sure why this was needed if the chairs started out smooth when you had built them.
ReplyDeleteMannyboy, sorry for the deleyed response. I was on vacation.
DeleteFrom what I have read, contact with moisture will cause surface fibers to swell (even in perfectly smooth planed wood) and cause imperfections in the finish. Swelled fibers can cause a "fuzzy" feeling to the surface. It's all about how wood reacts to water. Using a finish like shellac that is alcohol-based shouldn't raise the grain, but I've read so many times that it's a good idea to purposely raise the grain and sand off the nibs for a better finish afterwards.