Man, I started this project at the end of March! It's not that it was a hard project, there was some vacation time and then I just couldn't get my mojo working to get out to the shop so it progressed very slowly. It all started a few months ago when I had lunch with my sister and she liked this caddy they had at a local restaurant. So I set out to make something like it.
 |
| The caddy from a restaurant |
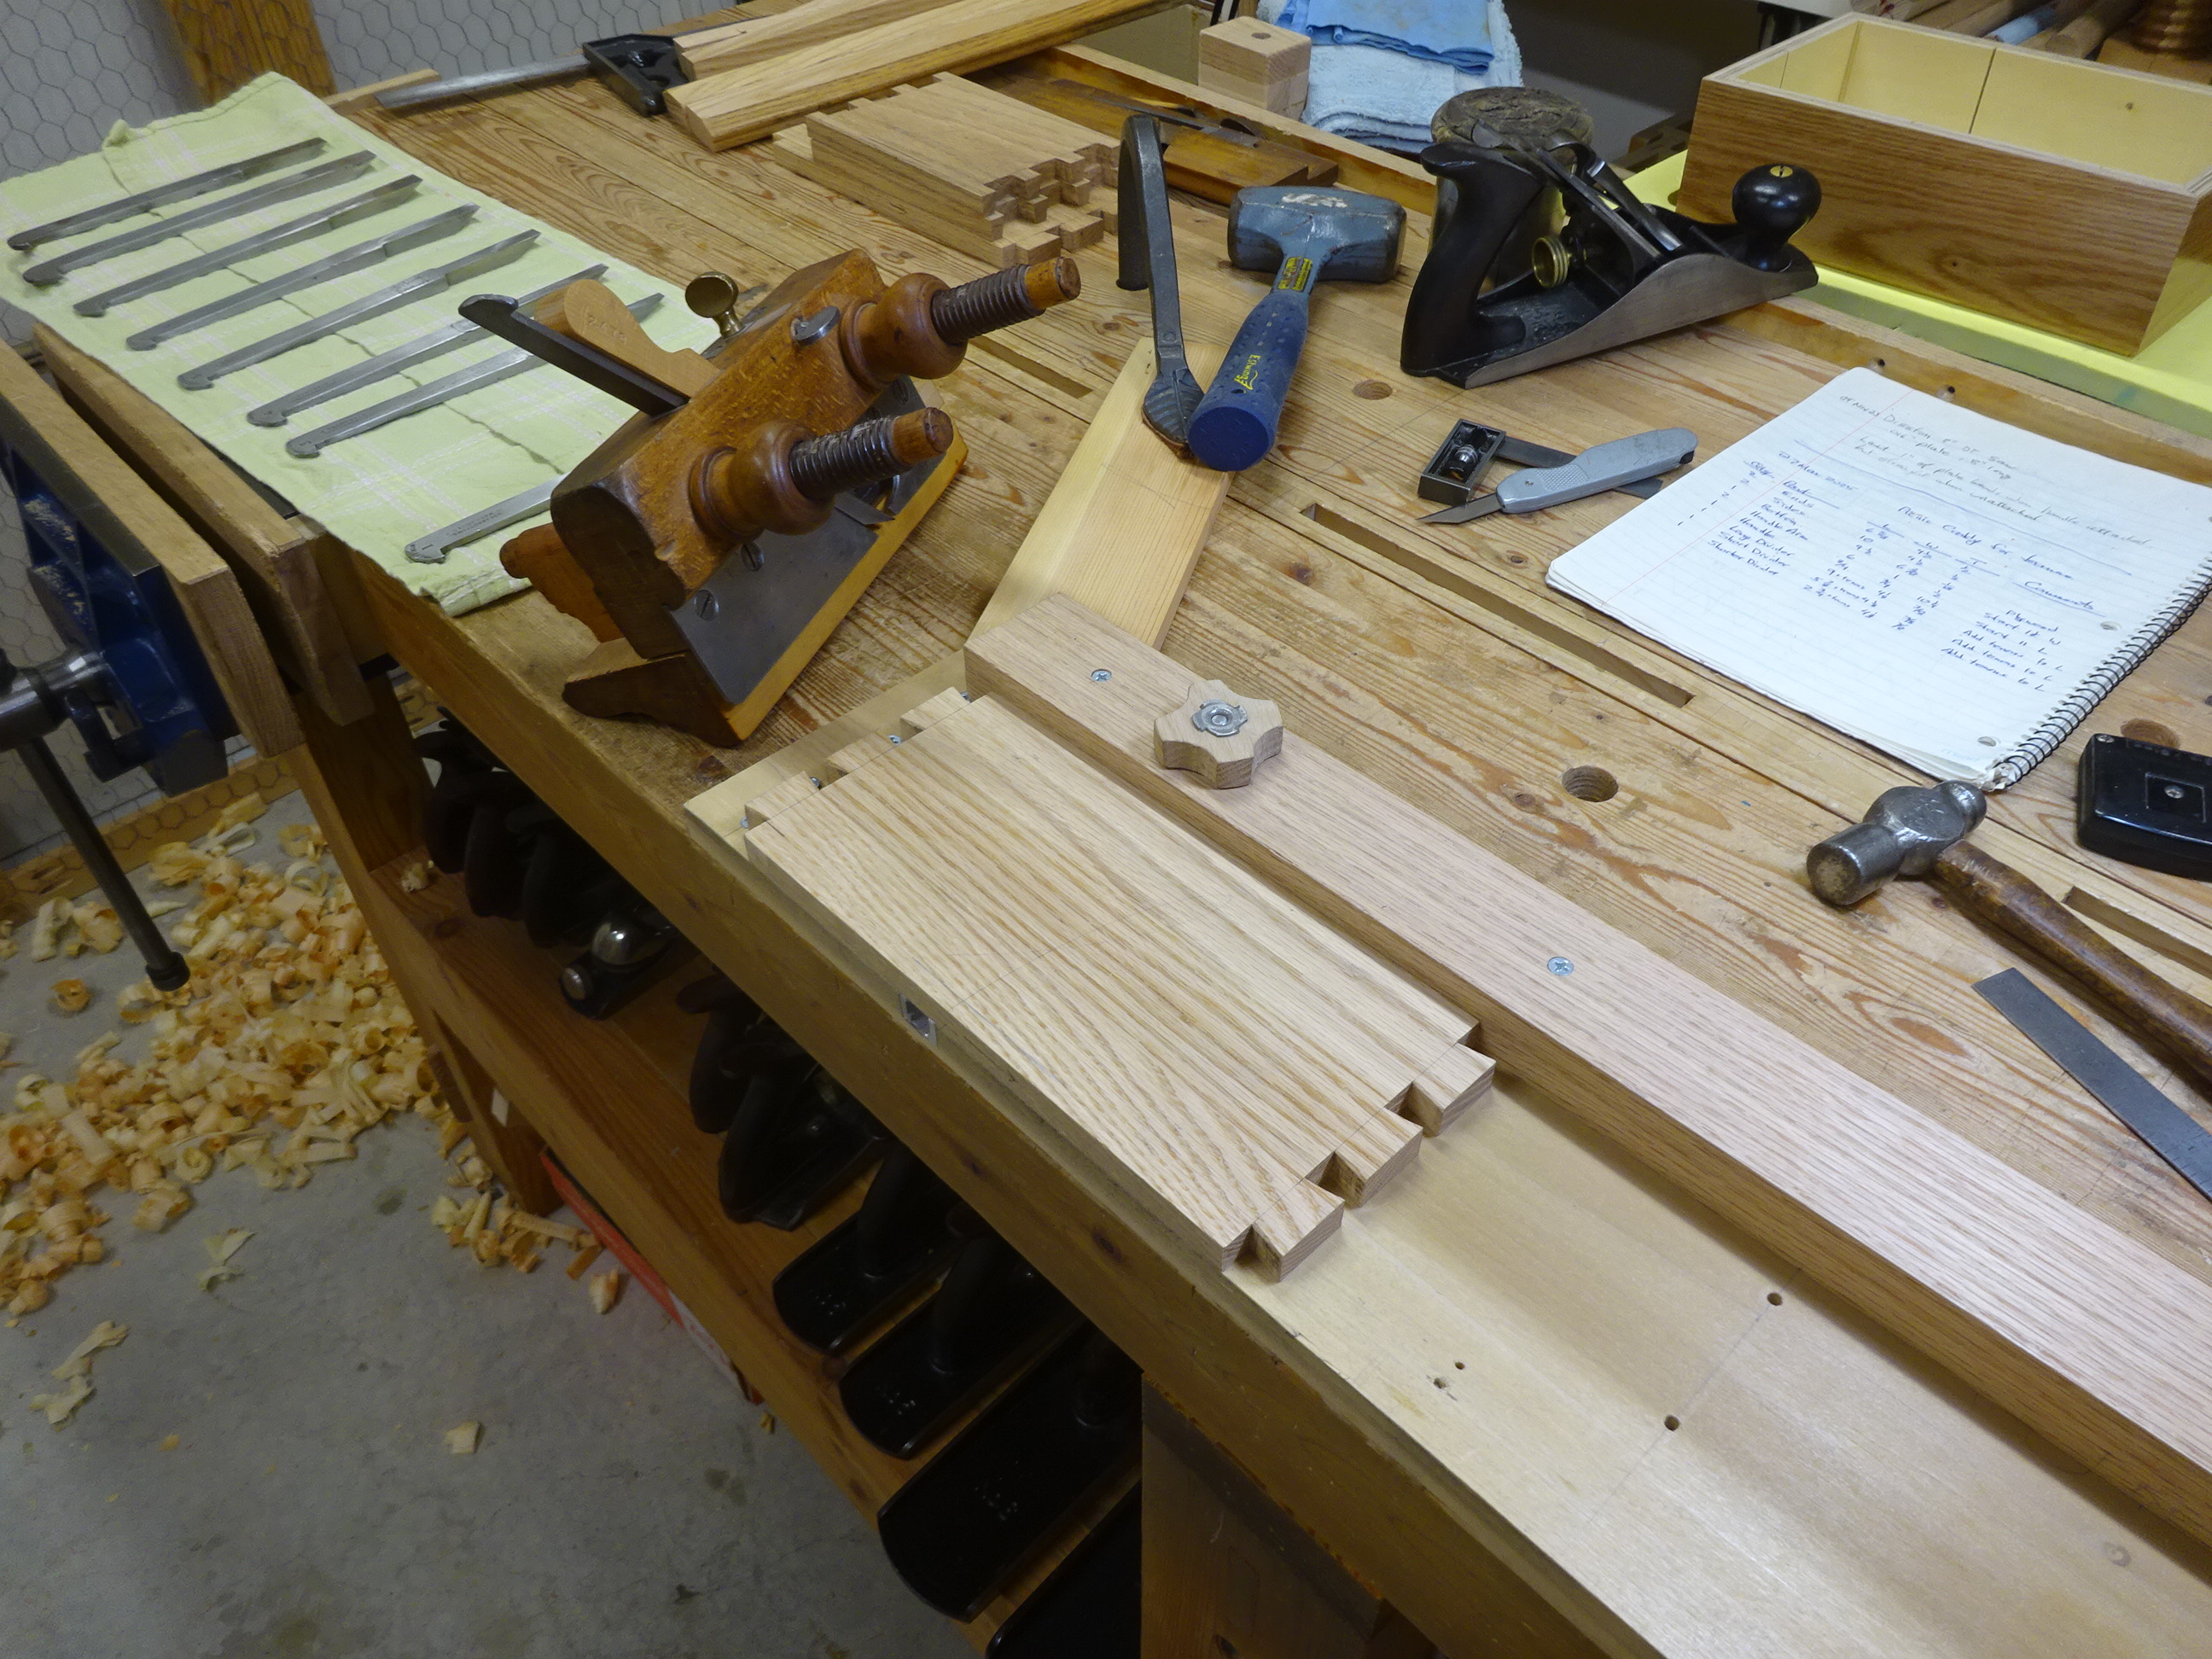
The hand planing for this project was done almost entirely using wooden planes. I'd been wanting to use my woodies more and while that probably slowed me down a bit, it was fun to use them. I think if I used them more often, I'd be just as quick as if I used my metal planes.
 |
Left to right: homemade extra course scrub, homemade scrub, German smoother,
homemade coffin smoother, shooting board plane (old jack), jack plane,
homemade try plane |
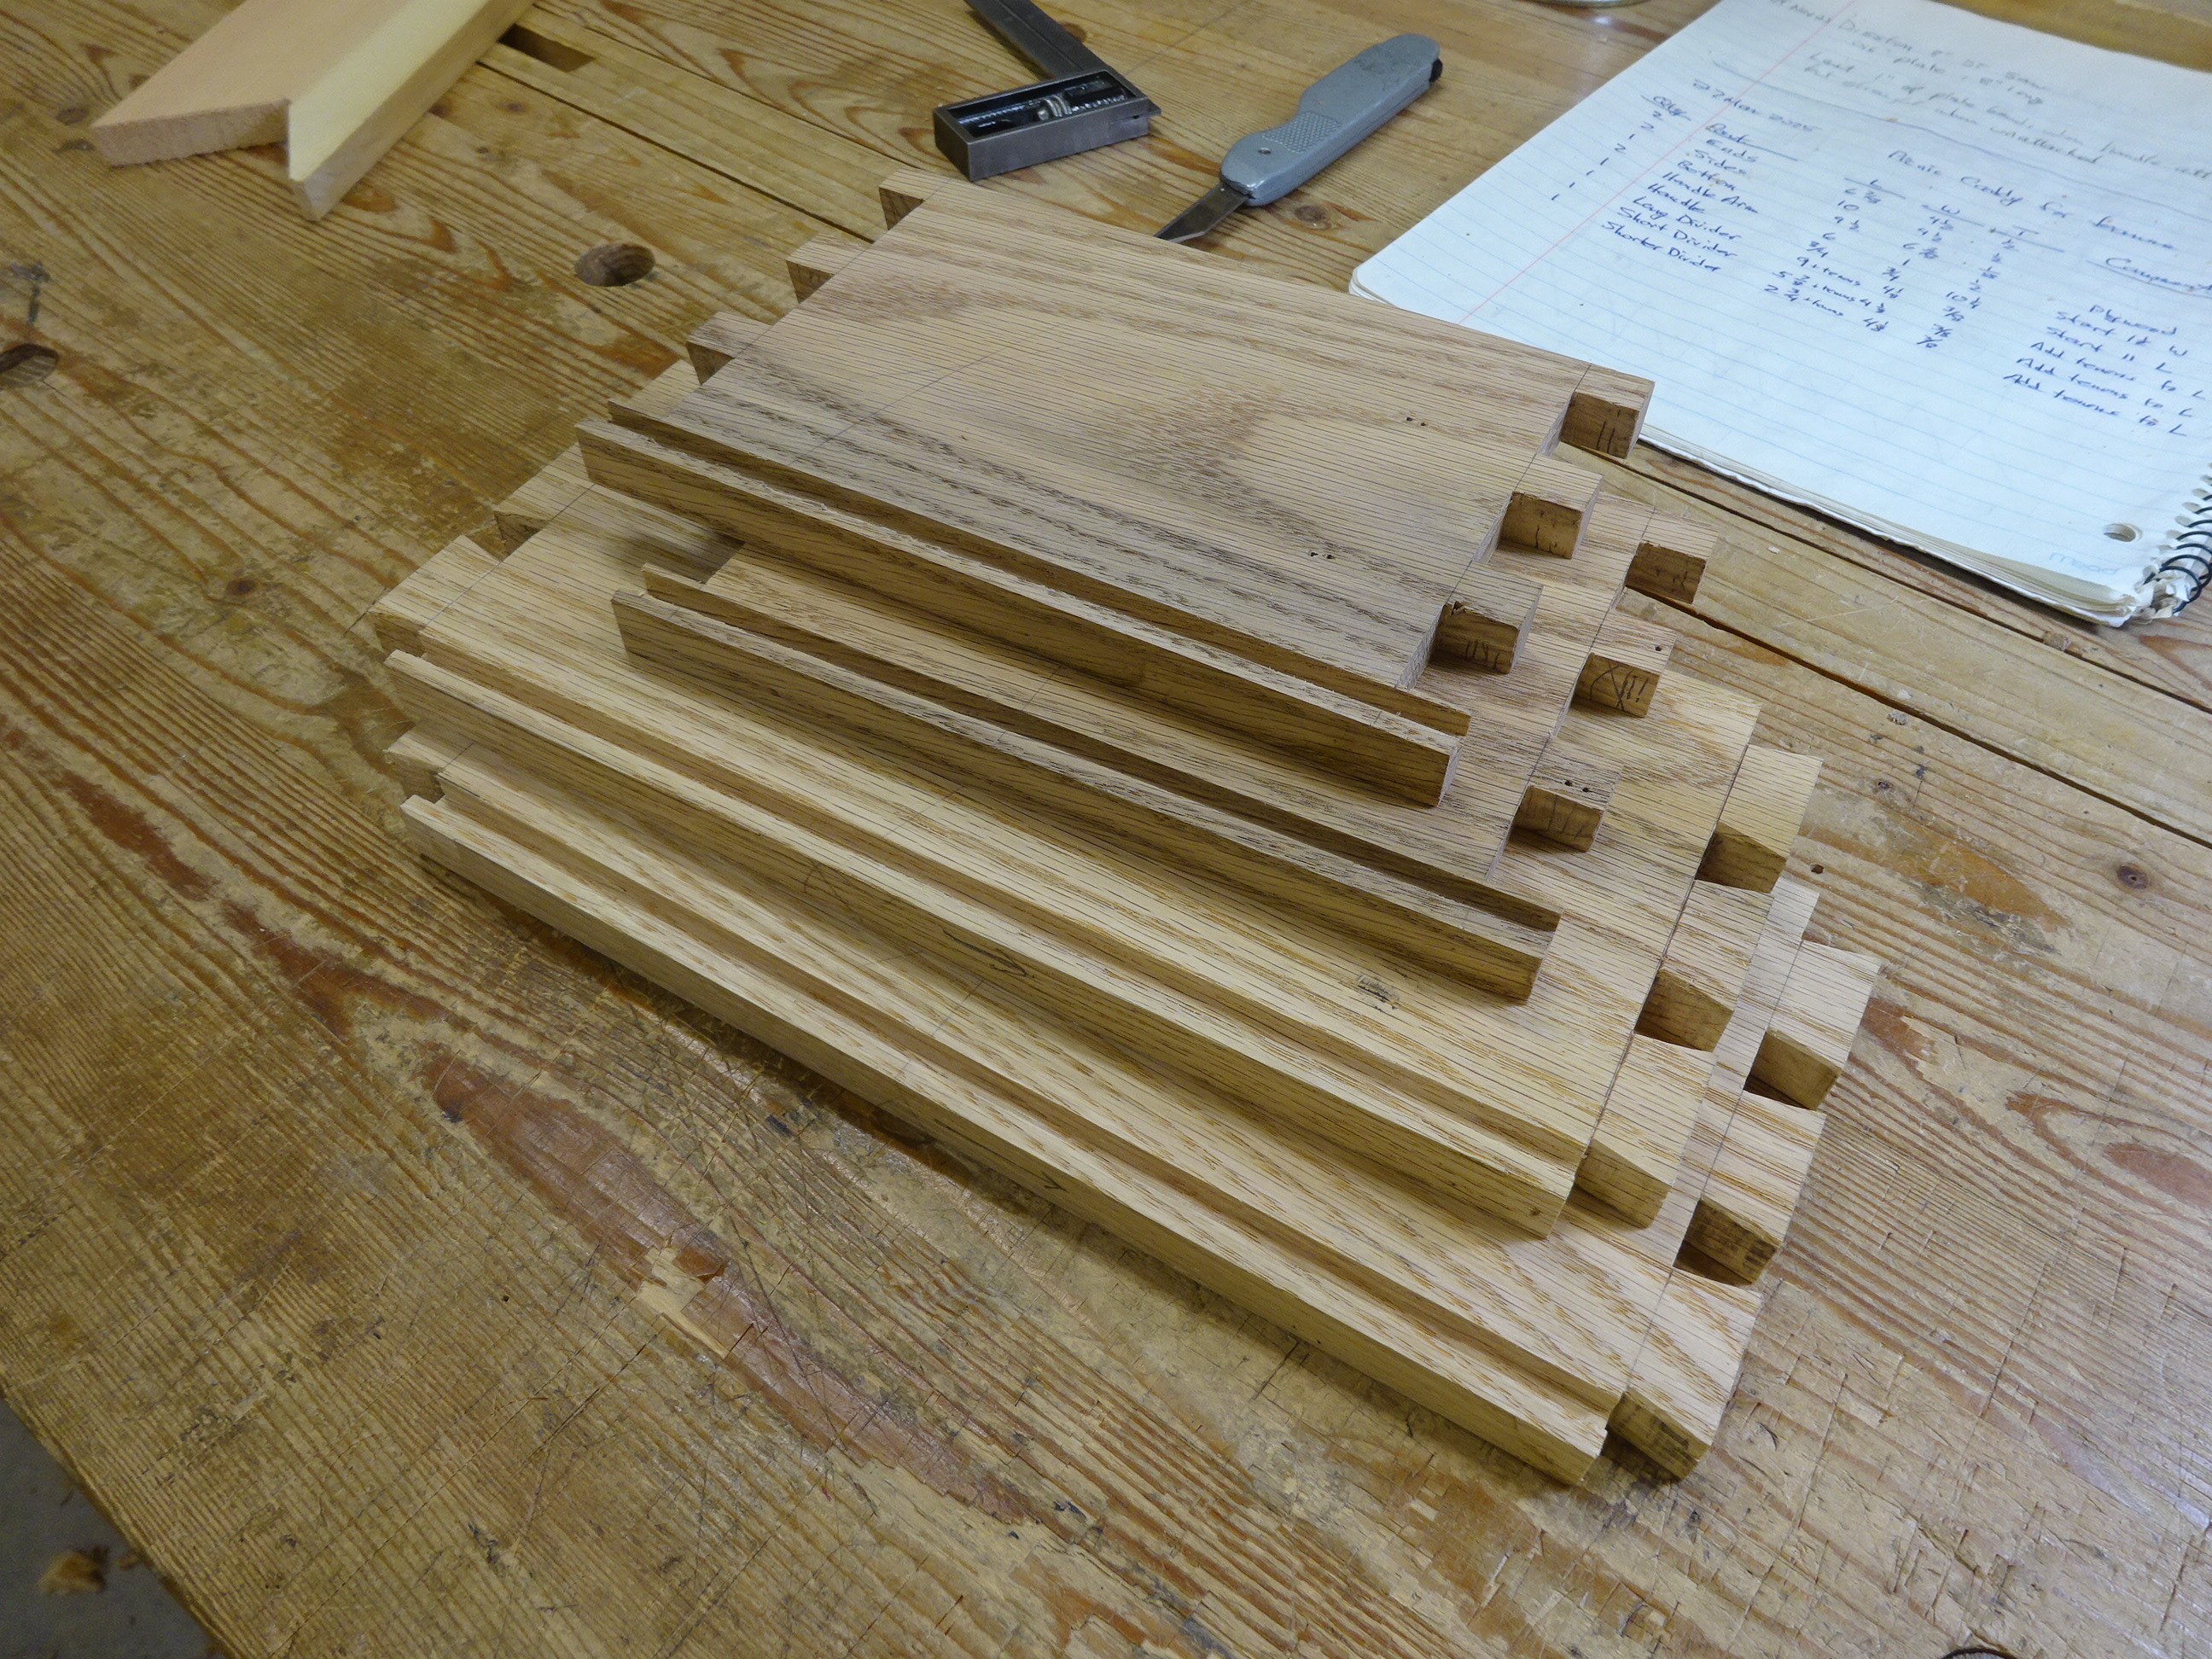
I started with red oak reclaimed from a neighbor's kitchen remodel. The sides and ends of the caddy were taken down to 1/2" thick; the dividers to 5/16" thick.
 |
| Dovetails marked, ready for cutting |
 |
| Tails done, pins marked from tails |
 |
| First corner fettled and fitting OK |
After fitting all four corners, I dry-fitted the box and leveled the bottom edges so that I could plow the grooves to house the bottom from a common reference.
 |
| Ready to plow using my Ohio Tool screw-arm plow plane and a sticking board |
 |
| Sides and ends plowed 3/16" wide and 3/16" deep, 3/16" from bottom edge |
My plow plane depth adjustment starts at minimum depth of 1/4" - too deep for what I wanted - so I had to check often to ensure that I wasn't going past 3/16".
 |
| Having leveled the bottom edges before plowing guarantees a good mating groove |
 |
| Dadoes cut into ends to house the long divider |
 |
| Long divider fitted |
 |
| With long divider in place, marking for the short divider |
 |
| After chopping and routing the dadoes, here's the first fitting of the short divider |
 |
| The long and short dividers were then half-lapped |
 |
| With box dry-clamped, making sure I can slide the dividers in their dadoes |
For each of the dividers, I planed the ends slightly out-of-square so that the bottom edge was slightly shorter than the upper edge. With the box assembled, this helped them slide into their respective dadoes more easily.
 |
| Added another, smaller divider |
 |
| The handle will be housed in these arms and attached with screws |
 |
Like this. There are Nylon washers between the arms and box ends.
The handle is held to the arms with wood screws.
The arms are held to the box using machine screws - holes in the long divider are tapped. |
 |
| I pre-finished all interior surfaces before gluing up |
 |
After the glue dried, I filled the holes left in the pin boards from the grooving operation.
These pieces were glued in, later cut close and flushed with a plane. |
And here's the finished product. It's finished with a couple coats of water-based poly, then paste wax. I'm happy with how it came out, but it's a bit heavier than I'd hoped. If my sister thinks it's too heavy to be practical for her, I'll make another from lighter wood or thinner dimensions.
 |
| The completed project |
 |
| And how it will be used |
And, just so I'll remember how I made it, here's the parts/cutting list, including some changes I made on the fly. Now I can finally get to something else.
 |
| Parts list |


Nice project! Salvage oak is great stuff, but it sure is heavy. We might make something like that, but out of poplar or white pine, which is pretty easy to get from broken-down furniture. It would be fun to make a bigger one with room to carry a sack of charcoal.
ReplyDeleteAt our shop, six weeks to do a build would be considered really fast, but we only get to work once a week. We just finished a big project that we started back in July 2024.
fair winds
pmc
Thanks for the comment, Paul. OK, almost a year for your project. Maybe I won't feel too bad, but this was a very small project. I can only imagine yours was a boat or something.
DeleteI love this project- have a few scrap pieces that would look good as a caddy.
ReplyDeleteExcellent use of some smaller scraps. I hope it works out for you.
Delete