A few weeks ago I answered a Craigslist ad for a long wooden jointer plane. That plane turned out not to be worthy of purchasing, but the seller had several other planes to sell. Including a nice little Stanley #4 smoother - for $13, so I couldn't resist. This post is about cleaning up the plane and getting it back in working order.
 |
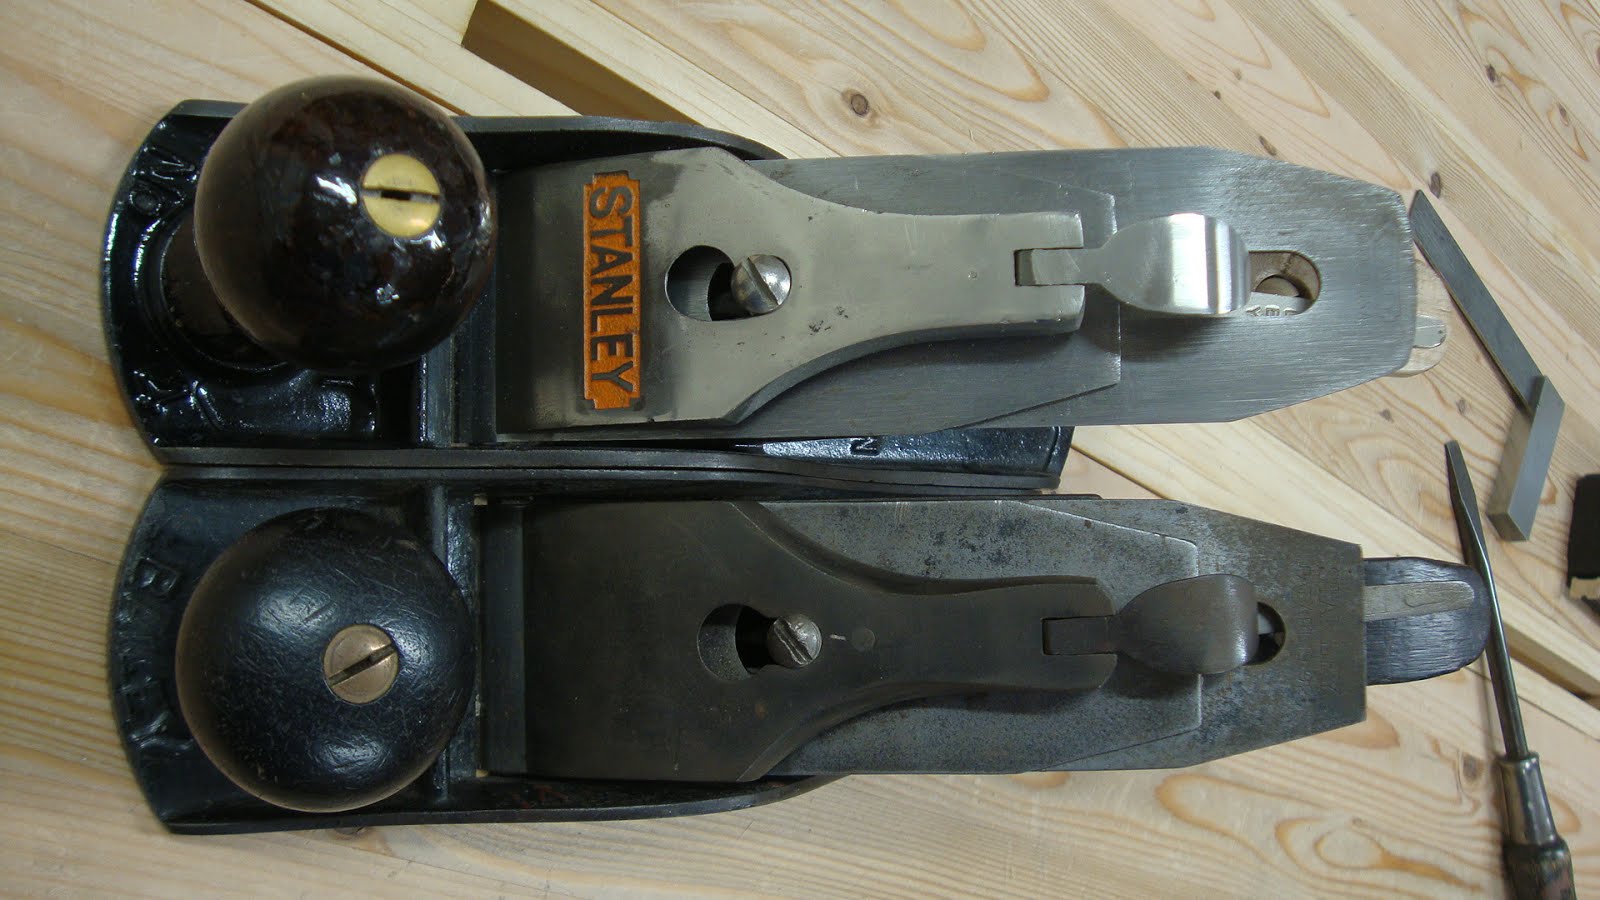
| Stanley #4 circa 1902-1907 |
Turns out the plane is a type 9, which is from the 1902-1907 time frame. I was able to figure this out thanks to the Hyperkitten
plane dating page and
Bob Demers' blogs on plane dating.
On Hyperkitten, just two simple questions nailed down the type: "how may patent dates are on the bed behind the frog" (there are two - MAR-25-02 and AUG-19-02) and "is the frog rib the enlarged and arched type" (No). Bingo - Type 9. I wasn't quite sure what was meant by the frog rib, but Bob's blogs made it clear with pictures. He calls this the center rib in the frog receiver, which is a better description. Tremendously helpful, Bob.
The tote had been broken and repaired, though not perfectly. It is very solid, but there is a little offset where the broken surfaces were glued together. I decided to leave this as is. If it ever fails, I'll repair it more properly.
 |
| A repair with a 1 mm offset |
It's interesting to compare this with my type 19 #4. The sides of the type 9 are noticeably thinner than those of the type 19. And the type 9 is shorter, too - it's 9 3/8" long versus the 9 11/16" type 19.
 |
| Very obvious difference in side wall thickness |
Here are the two with lever cap and irons removed. Big difference in the frogs.
 |
| The innards are quite different |
Here are all the pieces before cleaning.
 |
| Disassembled |
This is not really a refurbishment. Just a clean up. So I'll show some before and after pictures. After some cleaning with simple green to get rid of obvious dirt, dust, grease and other assorted junk, the metal parts were cleaned with light sanding, then a citric acid bath. Flatt-ish parts got more sanding. Screws and washers got a wire wheel in the drill.
 |
| Preferred method of cleaning up screws |
The plane body had some surface rust, and that cleaned up easily.
 |
| Before |
 |
| After |
 |
| Before |
 |
| After |
I did an initial flattening without the iron in place to see what I was up against.
 |
| Lines drawn to judge progress |
 |
| Telltale signs of wear down center of sole |
A little while later all marks were gone. I redid this later with the plane fully assembled to be sure there was no flex in the body that would pull it out of flat. While I got the sole flat, it doesn't seem very smooth. I may have to go over this again with some finer and finer sandpaper.
 |
| Sole flat, but not so smooth |
The top of the plane body was grungy and needed a good cleaning.
 |
| Before |
 |
| After |
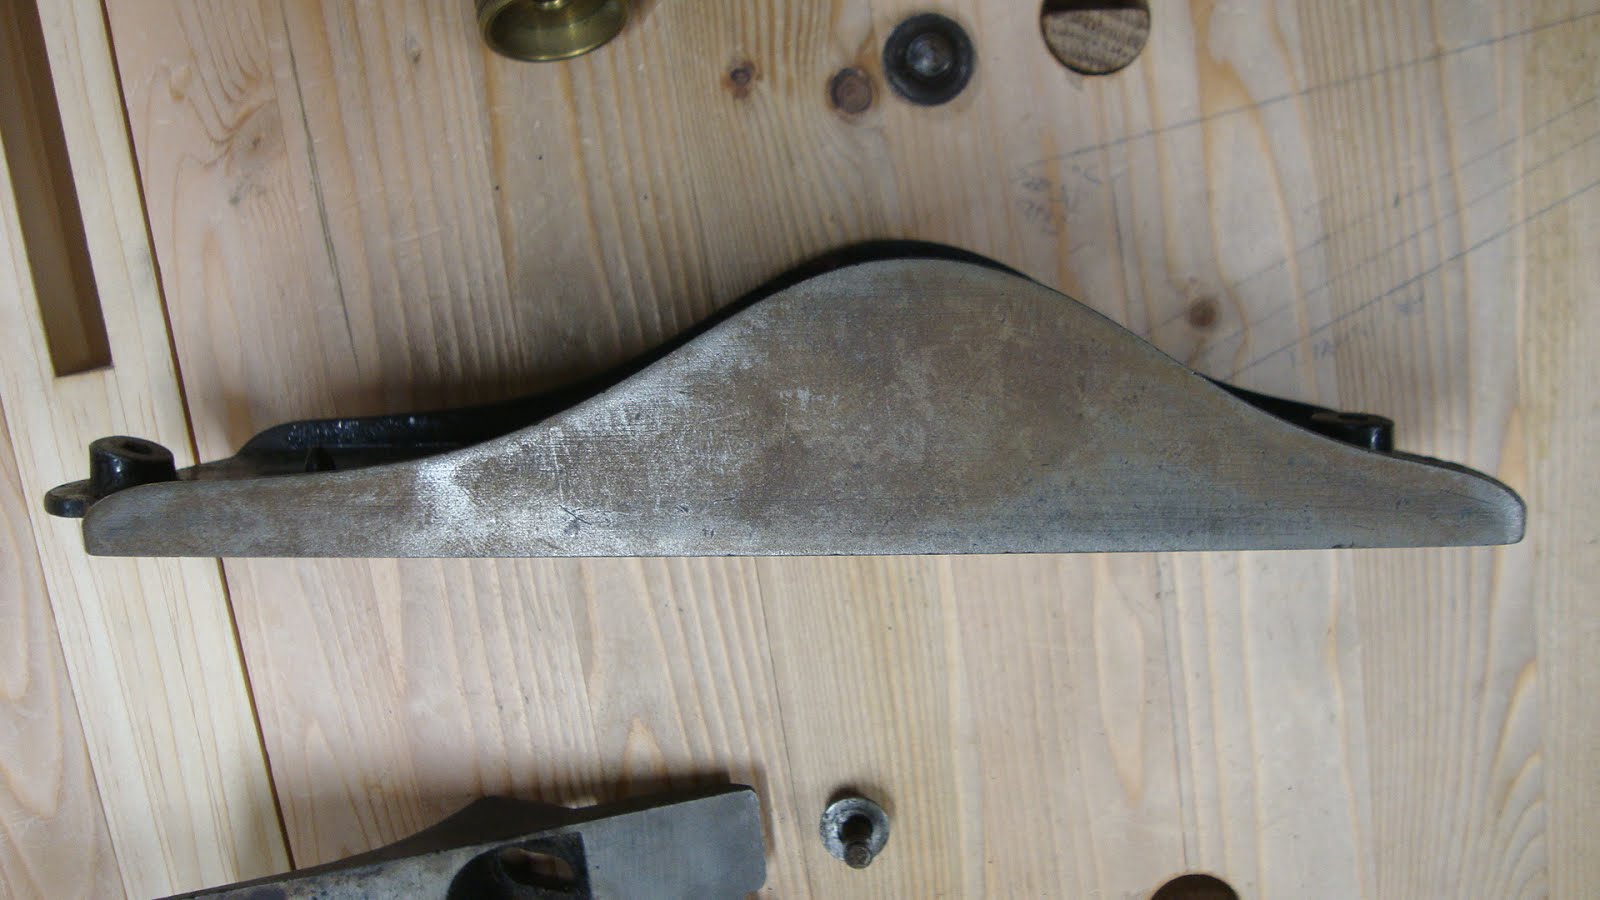
The frog was interesting. The machined surfaces where it mates with the plane body had very obvious machine marks. I was a little worried about this, but when the frog was installed, it didn't rock at all. So I'm confident the fit is adequate and won't cause any chatter.
 |
| Machine marks on underside of frog ... |
 |
| ... and where it mates with the body, rear ... |
 |
| ... and forward near mouth |
The bed of the frog was pretty gnarly, so I cleaned it up by rubbing it on sandpaper taped to plate glass.
 |
| Before |
 |
| Top view - cleaning and flattening frog bed on sandpaper |
This always makes me nervous. I'm not comfortable taking out the pin that holds the lateral lever to the frog casting, so I have to rub one side at a time on the paper. It's important to try to remove material equally on both sides of the frog's bed.
 |
| After |
Speaking of the lateral lever, it was loose so I peened the pin a little and this tightened it up some. First I just used a hammer, then went to a nail punch for more precision and better results.
 |
| Peening the pin that holds the lateral lever to the frog casting |
The hardware was in decent condition and cleaned up nicely.
 |
| Tote and knob hardware before cleaning. No after pic, but all came out fine. |
 |
| No "before" pic. These cleaned up nicely. |
There were a few oddities with the hardware. The lever cap screw had something on it covering half of the threads. It wasn't tape. Not sure what it is, but it seemed metalic. Perhaps it is something put there so the screw and lever cap slot wouldn't wear each other down over time. Fortunately I don't need the threads that are covered.
 |
| Lever cap screw |
One of the washers used in bolting the frog to the plane body had interesting evenly spaced marks on it.
 |
| That's odd |
It turns out these marks match the millimeter marks on a metric ruler exactly.
 |
| An exact match |
At first I thought maybe someone needed a washer and cut one out of an old ruler. But I'm not convinced. Who knows?!
The last oddity concerned the attachment of iron and cap iron. The fit of the bolt wasn't right so that they would not tighten to each other very well. I had to find a washer (spacer) that would allow the bolt threads to engage better with the female threads of the cap iron to pull them together tighter.
 |
| Washer helping out |
I was worried that this washer might not fit into the recess in the frog, so I measured the depth of the recess.
 |
| Almost exactly 1/4" deep |
 |
| Bolt and washer stick up just under 1/4", so they fit in the recess |
The iron and cap iron were fairly dirty, but not nearly as bad as I would have thought for being over 100 years old. The iron is a bit short, though, after having been used so many years.
 |
| Iron and cap iron |
 |
| Other side |
The lever cap was in good condition, only needing a little clean up.
 |
| Lever cap with straight slot, not the kidney shaped slot. I like these old ones better. |
 |
| After some cleaning |
The cap iron needed a little work on the front edge to mate better with the iron. But I can still see a tiny gap on one side when they are put together. This cap iron seems very worn - like there should be a couple more millimeters of metal at the curved edge. I'm not certain if it can be fixed.
 |
| Straightening the leading edge of cap iron |
There were problems when flattening the back of the iron. The sides and front edge were very low. I guess the back had a "belly".
 |
| After several minutes on a diamond plate (outlined area has been flattened) |
 |
| Almost done, but sides still low |
After a long time I realized that the sides were too low to get this truly flat along the whole edge. So I decided to go for a back bevel. To do this, I made a little jig to hold the back of the iron 9/16" off the sharpening bench. The diamond plate is 1/2" high, so this gives a very low angle (about 1°) bevel.
 |
| Setup for putting back bevel on the iron |
 |
| Eventually I got this |
I sharpened the bevel in the usual manner and couldn't wait to give it a whirl.
 |
| First shavings |
This is a piece of fairly hard maple and that shaving is 0.001" thick. I think I'm going to love this little smoother. I'm going to try my hand at putting a very slight curvature on the edge by sharpening a little more at the sides than in the middle of the blade. Maybe that'll be the subject of a future post.


Nice job Matt
ReplyDeleteHere are my thoughts on it:
Anytime you see machining marks, I tend to leave these alone, I only do a minimum sanding with 220 or so grit. My reasoning is that, there is NO way we could do a "flatter" job with whatever we got than the surface left by machining equipment. Also these marks are part of the artifact's history (yes, I've been watching Warehouse 13 :-)
The screw threads filled are probably as you said, to reduce friction, minimize erosion that could be caused by the slot of the blade assembly rubbing on threads. Very small and sloooow damages without it. If you noticed, these original screws had the top portion of that screw shank threadless. So yours is a replacement.
The MM markings on the frog holding screws are probably as an aid to gauge how much movement you get moving the frog front and back.
I would not had made such a big back bevel, although I know, sometimes it is almost inevitable... In which cases, i turned them into cambered blades for scrubbing (worse case) or just relieving the corners (for smoothing)
Again, judging by the results, great job... That's were it mattered
Bob, whose IPad is doing all kind of strange things on its own...hacked???
Hi Bob. Your blogs on plane dating were really helpful once again. I didn't know about the upper shank of the lever cap screw being threadless on earlier models. Interesting. I guess it was more expensive to thread the whole screw at that time. Now it's so fast, it would probably be more expensive NOT to thread the upper shank.
DeleteA couple comments/thoughts:
ReplyDelete1. I actually like a little pitting on the sole of my metal planes... i like to imagine it captures the wax and oil i use to lubricate it and keeps it going smoother longer.
2. I wonder if the mm spaced marks on those washers align with any marks on the frog itself and can be used at a weird gauge of mouth opening? seems kind of useless since you can just look at the mouth, but maybe?
Thanks for the comments, Aaron. That's interesting about the pitting on the plane sole. I'll keep that in mind as I get more experience with this plane. As for the marks on the washer, who knows? If they were somehow useful to gauge something, it seems like an inconvenient bit to get to. I thought maybe the washer was pressed against a ruler for a long period of time and got an imprint of the ruler, but the markings are recessed like on a ruler. I think I'll file this one under "OK, that's odd".
Delete