Cleaning up the vise part by part was labor intensive, but worth the effort. Thank goodness for wire wheels in a drill. Aside from that, I used Simple Green (a degreasing liquid) to soak parts before cleaning with an old toothbrush. Also used a citric acid bath to remove rust from the tommy bar and lead screw head.
 |
| All the small parts cleaned up |
The half nut cleaned up nicely with a toothbrush getting into the threads. Couldn't fit a wire wheel in these, but I used that on all outside surfaces. To get before and after pics side by side I had to make them small. I hope they will be normal size when you click on them.
 |
| Half nut before cleaning |
 |
| Half nut cleaned up |
The half nut bracket cleaned up exceptionally well using toothbrush, then wire wheel.
 |
| Before |
 |
| After |
The spring came out nice, too, even though I couldn't get in between the coils with the wheel.
 |
Filthy! Disgusting! (Said with a French accent -
reference to some cartoon of my youth) |
 |
| Much nicer! |
The screws, washers and pin also came out nice. So did the quick release lever and the end bracket that keeps the back end of the screw and rods aligned. Oh, and the quick release rocker bar also cleaned up nicely, but I got no pics of that.
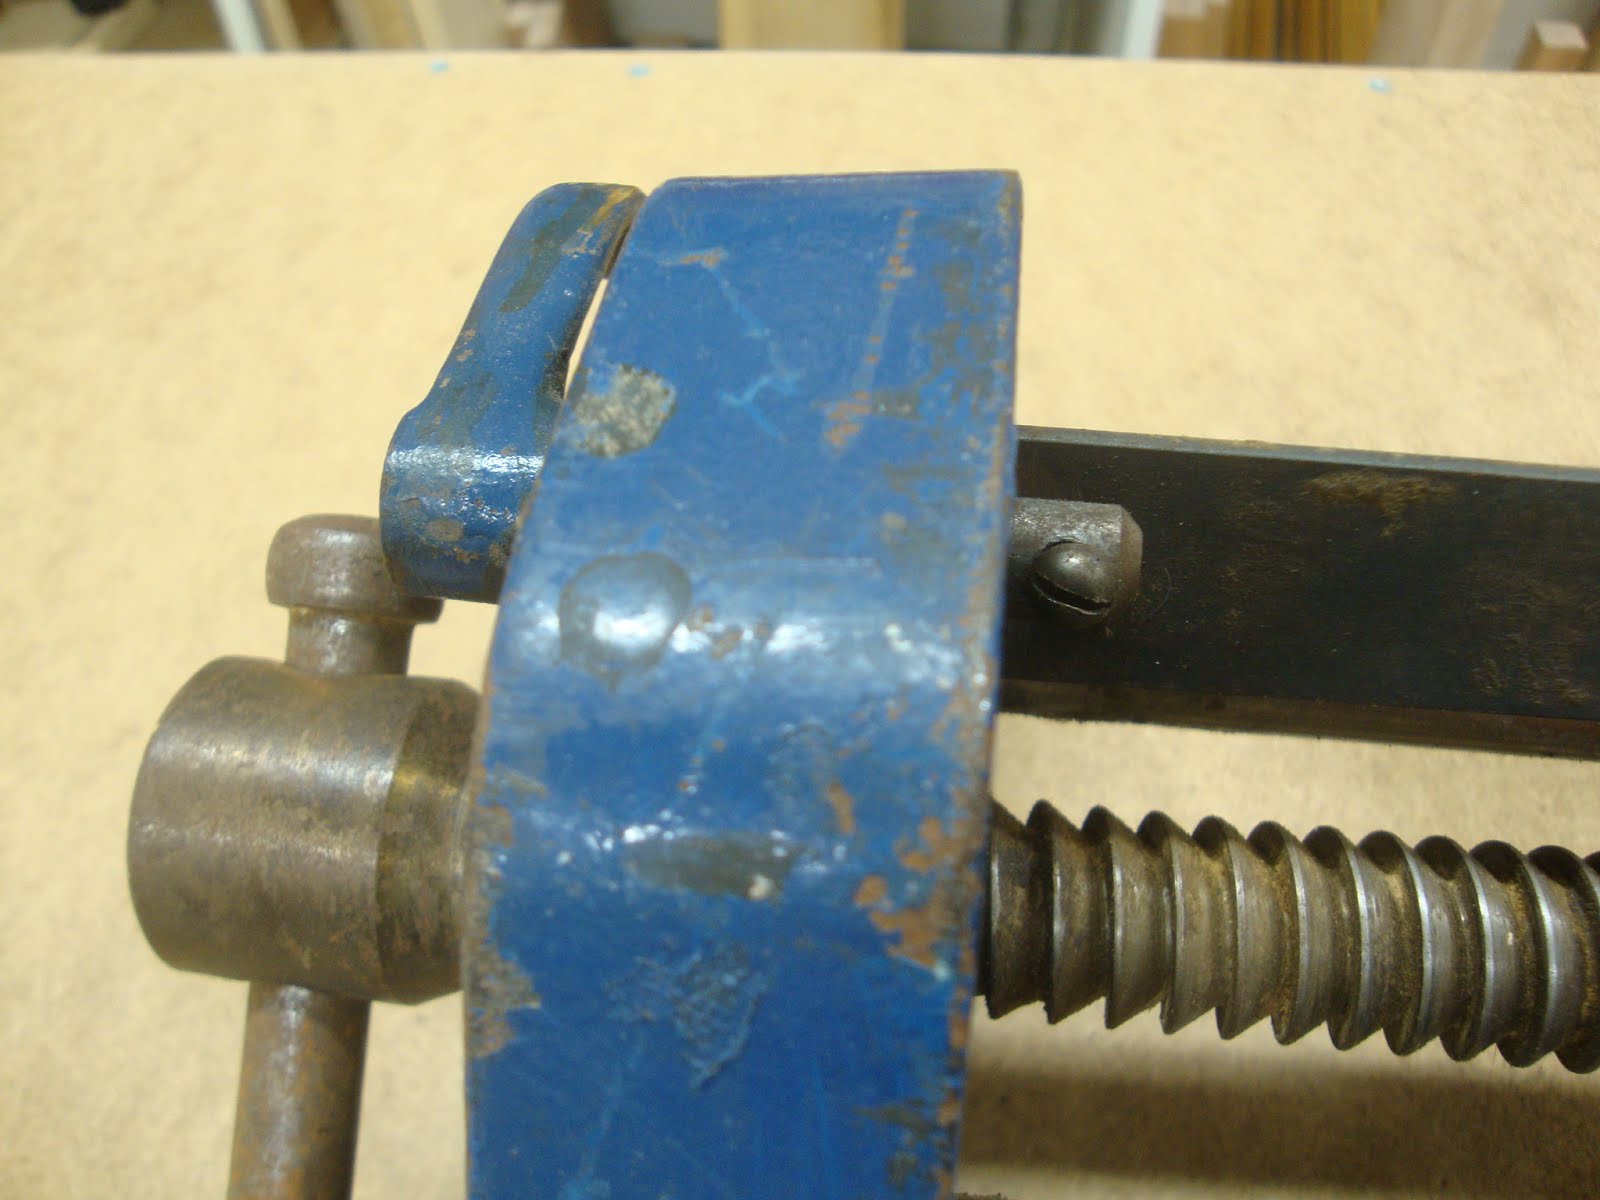
As for the two painted jaws, I got all the gunk off but they still don't look great. I'm not going to repaint. There was an assortment of dried glue and tape adhesive that I removed. But there was also something that I tried to scrape off - not sure what it is - you can see it in this picture.
 |
| Mystery yellowish coating |
For the guide rods, I couldn't get them separated from the front jaw, so I used sandpaper (if I could have separated them I would have used citric acid). Started with 220, then 400 and finished with 600 grit. They feel really nice now. The rust was superficial and there was no pitting.
 |
| Rust on guide bars |
 |
| Another rusty shot |
 |
| These cleaned up very nicely |
I gave the tommy bar and the head of the main screw three or four hours in a citric acid bath. Then I used the wire wheel. What a difference!
 |
| Before |
 |
| After - yowzah! |
OK, so now it was time for the real challenge - the threads of the main screw. The threads of the Record vise are interesting. One side of the thread has a sloping angle and the other side is a little bit under cut. The Lee Valley vise by comparison has Acme threads (angled the same on both sides and a flat top to the thread). Scott Landis in "The Workbench Book" calls the Record threads "buttress threads" and says that even though Acme threads are plenty strong, when tightened the buttress threads lock down in the deep grooves and are less likely to jump out of the nut - even after some wear.
 |
| Record "buttress" thread |
 |
| Lee Valley Acme thread |
For the cleaning, I gave the screw a bath in the kitchen sink (don't tell the wife) with comet cleanser and a toothbrush. This got a lot of junk out of the threads, but not nearly enough. Next I used a dental tool to pick out and scrape the bottoms of the threads. You can't see it in the picture, but this tool has a couple of angles on it before the point and this helps to get into tough places.
 |
| Using dental tool to clean out gullets |
This worked well, but didn't really clean them. So I got creative and found a piece of string and ran that through the threads all the way into the bottoms. This got great results down deep.
 |
| "Flossing" the threads with string |
Finally I used a wire wheel to clean up the sloping angle of the threads until I was happy.
 |
| Before |
 |
| After |
Reassembly went smoothly until I got to the quick release mechanism. There was a bit of trial and error before I got the rocker bar into the right grooves in the spring adjusting nut. I lubricated with light oil per Landis' recommendation - behind the main screw head, in the QR trigger mechanism, on the slide rods and on the main screw and half-nut. Seems to be working quite smoothly.
Now I have to decide - do I just put the Record vise on a shelf until I need it on another bench? Or do I replace my Lee Valley large steel vise that is on my current bench with this one. I think they have the exact same mounting hole locations. If so, that sure would make it easy ... And I like the QR mechanism on the Record much better than the one on the Lee Valley. Hmmm ...


Go ahead and swap it, you wont regrets it.
ReplyDeleteThen again you could always build another bench :-)
Bob
Wish I had the space for another bench, Bob. But since I don't, I guess I'll have to switch them out. Thanks for the comment about the shellac - I'll try some alcohol today.
DeleteThat mystery yellowish coating looks like shellac, if so it should come off with alcohol
ReplyDeleteBob
Replace the Lee Valley at once. It's good vise but on my LV vise the QR nut protests when I tighten down and has jumped out a few times. I don't think I could sleep after doing all that work seeing it sitting on a shelf.
ReplyDeleteOK, OK, I'll switch them out. I just hope they take the same mounting holes, which would make it so much easier. Now, what was that trick that you once posted about that made it easier to manipulate the vise while mounting it?
DeleteI added a comment on your 22 April post.
ReplyDeleteSylvain
How did you get the tension on the trigger spring and the whole quick release mechanism back together?
ReplyDeleteThat's a good question, anonymous. I took a lot of pictures of the mechanism before I took it apart. I also noted the position of the finger lever. I tried to put it back together exactly as it was before dismantling. But I still had some trouble getting it just right. It took a few tries. If you need to do something similar, make sure you look at all aspects of it and take pictures. Note the exact position of the hexagonal "nut" inside the spring. Note where the end of the spring catches the front jaw casting. Pay attention to details. I also wish I had put sharpie marks on parts I removed with matching marks where they went back on the casting. That might have helped in getting it back together in the right configuration on the first try!
DeleteAs for the tension on the spring, that just kind of took care of itself. I didn't have to wind the spring before re-installing it, if that's what your question is about.
Great article. Do you know what size the small screw used to attach the QR lever to the flat bar is?
ReplyDeleteMy record no. 53 is not working correctly. Loosening the Tommy bar as you call it causes the main vise screw to twist out but doesn't open the jaws of the vise. The end cap piece (?) has disengaged and I can't tell how it is supposed to back together. There's no hole for a cotter pin at the end if the vise screw or anything. Can't find anything about this online. Please advise if you can! Thanks.
ReplyDeleteSounds like previous lack of maintainance is the cause of the problems with your vice. I'll bet the hole is there but the old cotter pin is still inside the screw minus the protruding ends which have most likely sheared off. Have a good look at the end of the screw to see if that is the case, and use a suitable pin punch to get it out.
DeleteYes that's likely, the cotter pin sheared off on mine too. Actually I noticed it was missing and was looking around on the floor with a magnet before I realised it was still attached
DeleteI just purchased an original 52-1/2 at an estate store. This blog is great as I also want to restore it.
ReplyDeleteI have one minor problem, the dog is missing. So does anyone know where I can get a new one with the knob?
I don't know where to get a replacement dog, but it seems like it would be simple to make one from wood, preferably a hard wood like maple that will take a thread. My Record 53E does not have a dog, but I have a smaller Jet vise that has a dog. The dog fits into a mortise in the movable jaw and there is a slot on the outside of the jaw for a washer and screw to slide along to adjust the dog. If your #52 1/2 has a similar mechanism, then replacing your dog should be as easy as making a wooden piece to fit, then drilling and tapping a hole for a 1/4-20 screw. Good luck.
DeleteI have a Broken quick release spring for my woodworking viice it's a Record 52 1/2.
ReplyDeleteBroken quick release spring Record 52 1/2
Would you happen
who sells them ?
I don't know who sells them. I also don't know if Record is still in business, but that's where I would start. A few internet searches might find you something.
Deletelook on eBay for "Replacement Quick Release Spring Record Vice", £12.50 + P&P.
DeleteI was thinking of adapting a normal spring as mine is all rusted out