I've written about making Roubo phone stands before, but this post might have some details that were left out in the earlier posts. This one is for my neighbor and it's made from red alder.
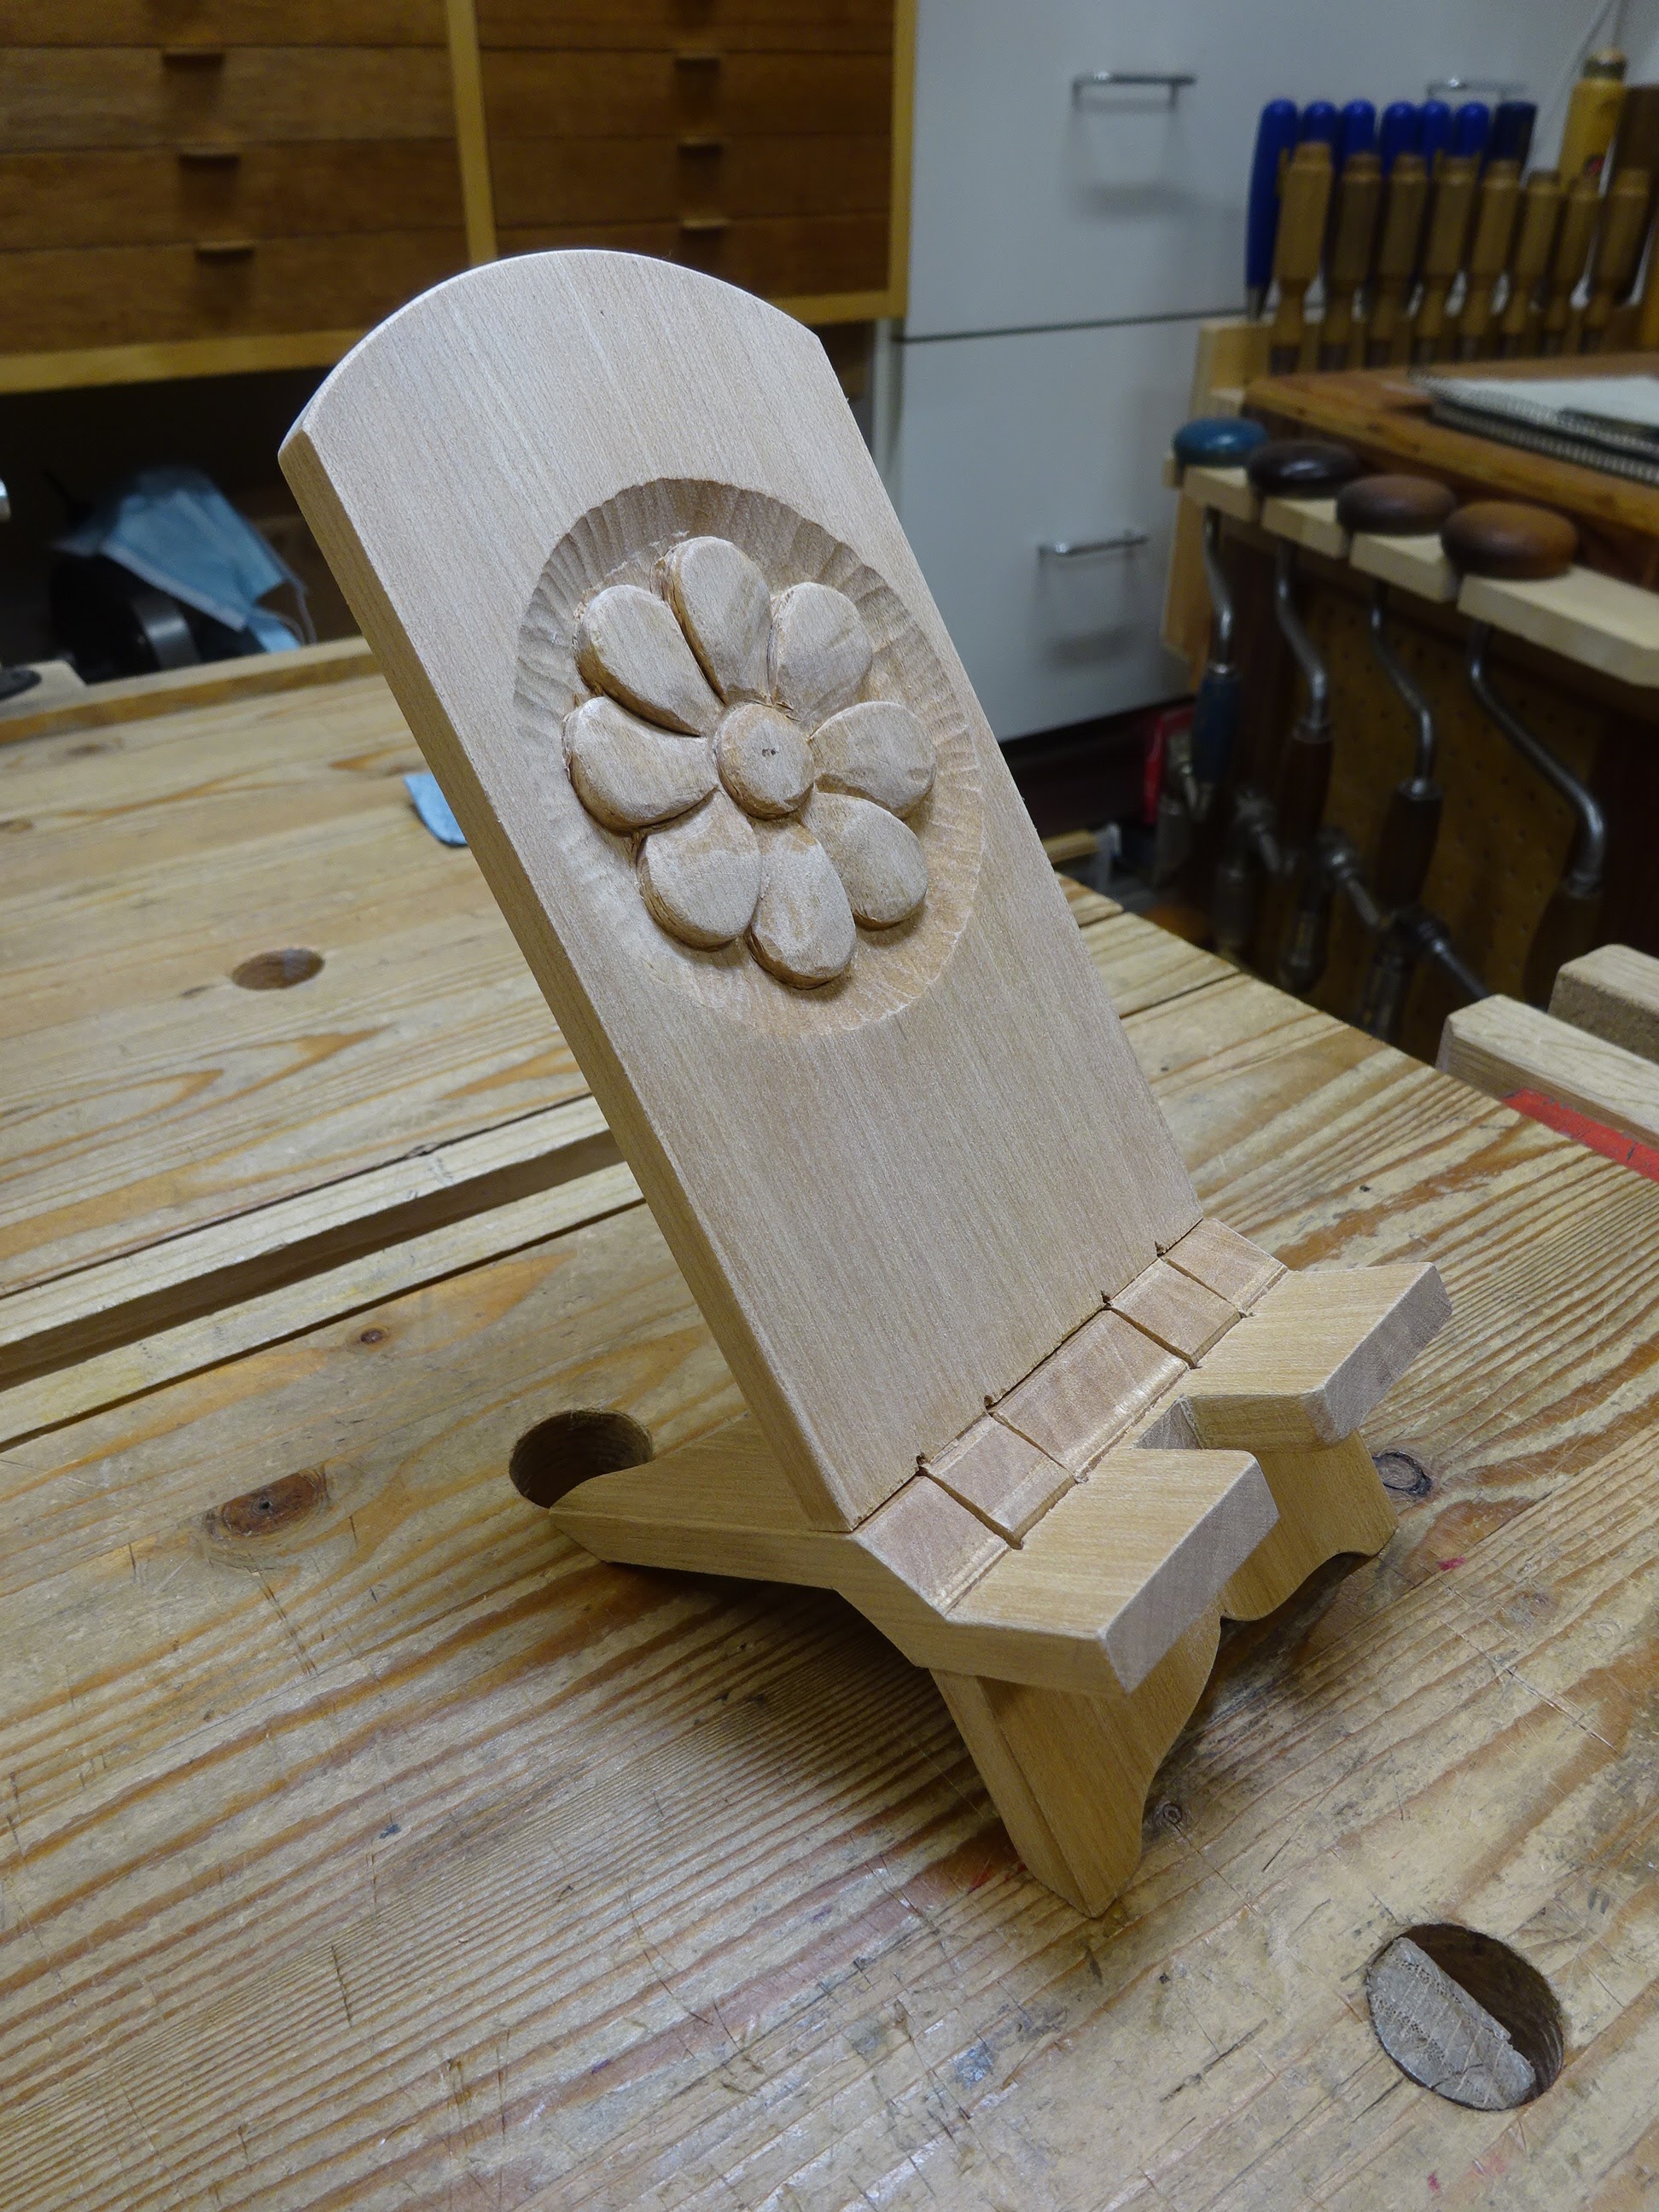
 |
| Completed stand with BLO finish |
After getting the piece squared up and to dimensions (about 3" x 8 1/2" x 7/16"), I laid out some lines.
 |
Front layout - first penciled full lines, later knifed alternating lines as shown.
The left and right pencil lines were as far apart from each other as the workpiece is thick.
The lines along the grain at 1/2", 1", 2" and 2 1/2" made with a marking gauge front & back. |
 |
Back layout - note this knife line layout is opposite from the front layout
(the ugly screw hole will not be seen in the final product) |
 |
Edge layout: pencil lines from faces continued to the edges.
Also, centered lines along the edge to guide cutting front and back apart. |
Then it was on to creating the hinge.
 |
| After marking the holes with an awl, using an egg-beater drill |
 |
| I drilled from both sides to mitigate any hole misalignment |
 |
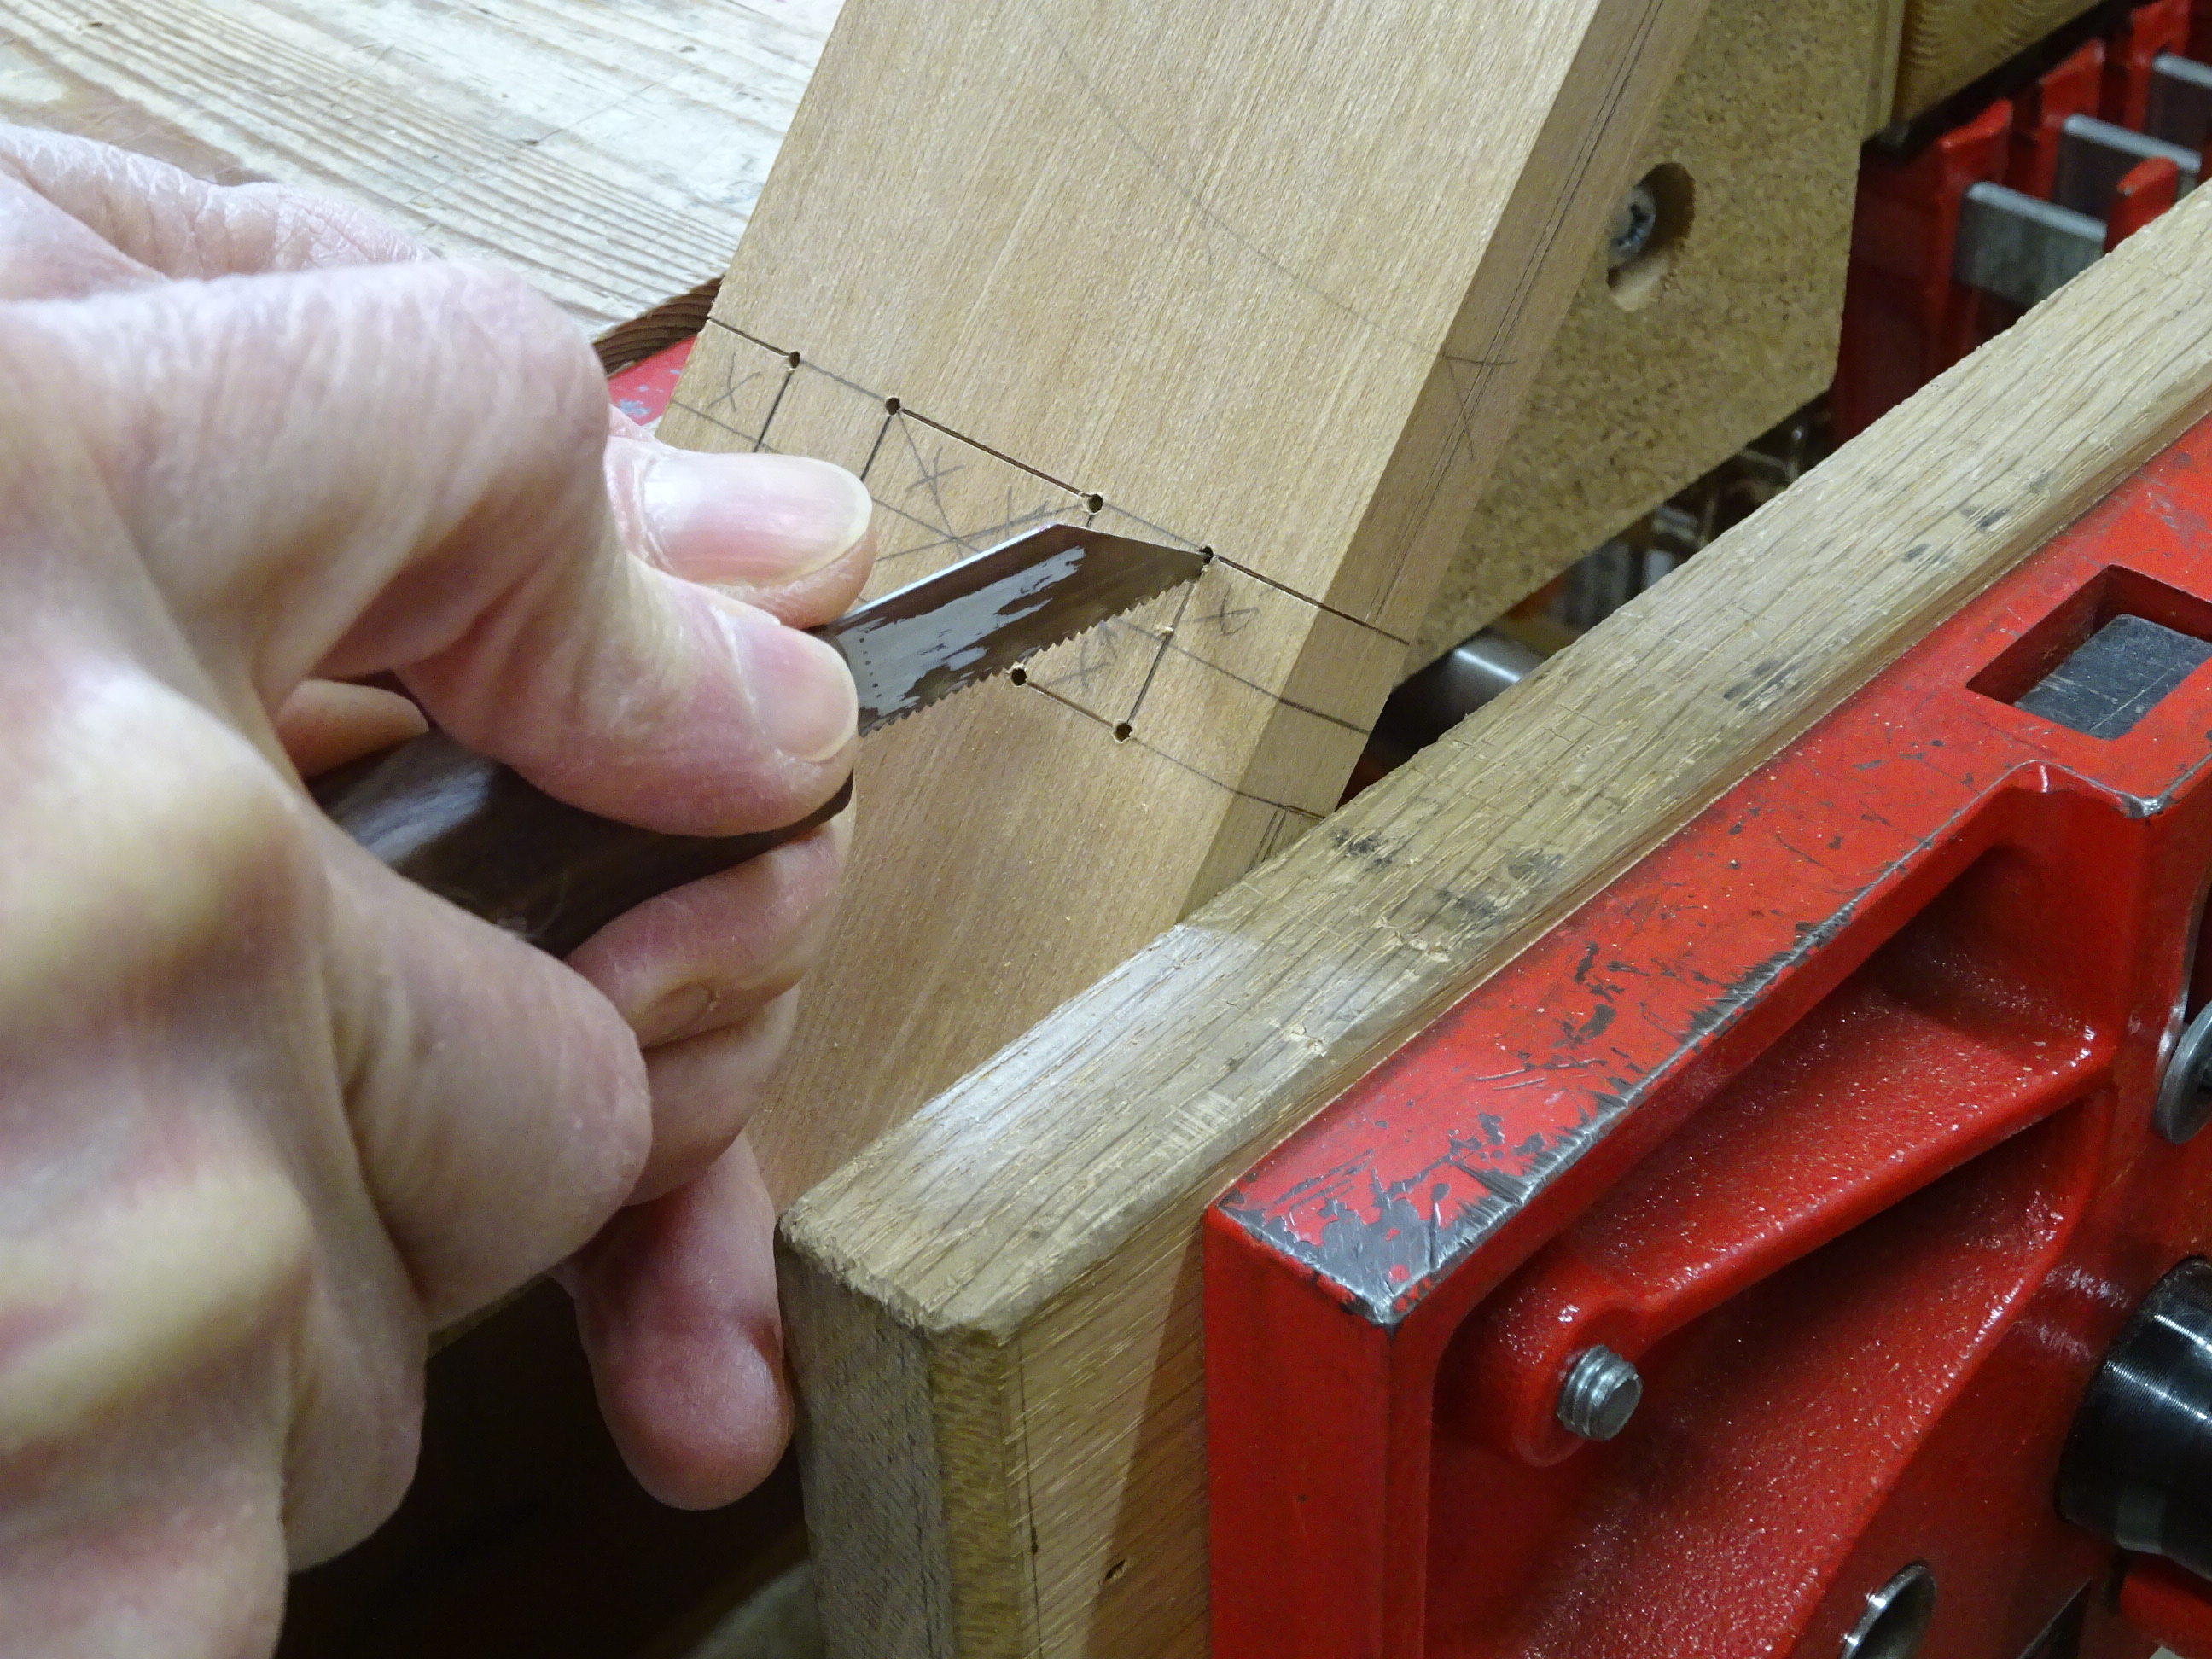
Sawing the slots. This takes a while,
but it was much faster in red alder than the last time I made one in white oak. |
 |
| After the slot gets started, it goes a bit faster |
 |
| Slots cut |
 |
Started chopping out the waste: straight down at the knifed lines
and 45° angle from the centerline |
 |
Just about done - note the chopping went as deep as the middle of the
parallel layout lines on the edge |
 |
Started sawing through the thickness to split it apart.
Shown above is my preferred clamping method when sawing. |
 |
But you have to be careful about clamping after the lower portion
is sawn apart. In the past I've used plastic shim material stuffed into the kerf before clamping
to keep from snapping the hinge. Shown here is a better way to clamp to avoid that disaster. |
Thanks to (1) getting deep enough with the chisel work and (2) careful sawing, this phone stand came apart easier than any I'd ever made. There was almost no cleanup to do.
 |
| Then used a sharp scraper to remove saw marks |
 |
| And sawed off the unneeded waste |
Finally the stand looks like a stand, but the front legs need to be cut down to let it rest at a proper angle.
 |
| Propped up the back legs until I liked the angle |
 |
| Then used a block and pencil to mark where to cut the front legs |
 |
Here's adding a detail to create the front feet: template, coping saw and fine rasps.
A slightly different template was used for the back feet. |
 |
| Finally, I added a slot in the front shelf for a charging cord |
I did a carving and some shaping on the upright surface, which personalizes the stand. I'll write a little about that next week.
 |
| Woodwork completed, awaiting finish |


Perfect!
ReplyDeleteThanks Bob, good to hear from you. Hope all's well down there in sunny Florida.
DeleteGood job. Made a few of those years ago from an article and video on the Woodwright shop. Fun versatile project.
ReplyDeleteBob, up to his eyeball in horticulture
Thanks, Bob. I remember that episode of Roy's show - always wanted to try it after that.
Delete