Last time I ended with a glue-up of the two halves of the plane body. The glue-up was successful in that the two halves mated well at the bed with only minimal cleanup to do. Since then I've finished up the plane and it looks great and seems to work fine. I'm not sold on the iron, though. It was just a found piece of steel that looked like a plane blade, so I assumed it was tool steel. I've heat-treated and tempered it, but after only a few plane strokes on soft pine the iron is no longer sharp. I'll give it some time before I decide what to do.
Now, here in pictures is the rest of the build.
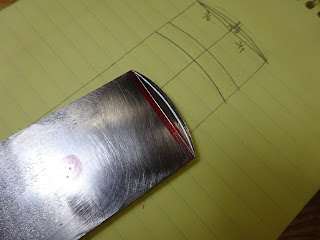 |
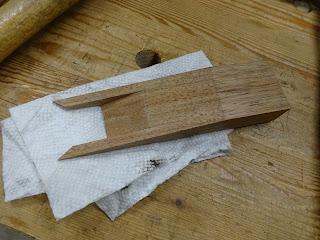
Scribed a straight line, then an arc of about 2 1/2" radius.
In retrospect it was a bad idea to use a metal scribe on the back side of a plane iron. |
 |
With this thick iron, it took a long time to grind the new arc and bevel.
I heat treated and tempered before final sharpening. |
 |
| Here's the plane body after glue-up - not quite a perfect mate of the two halves |
 |
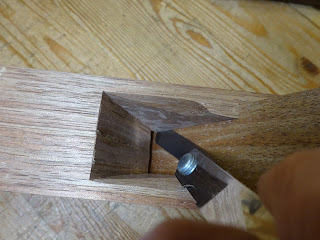
Using a 45° block helped guide a sharp chisel (not shown).
A cheap crappy chisel with ground off blunt end (shown) scraped the bed flat. |
 |
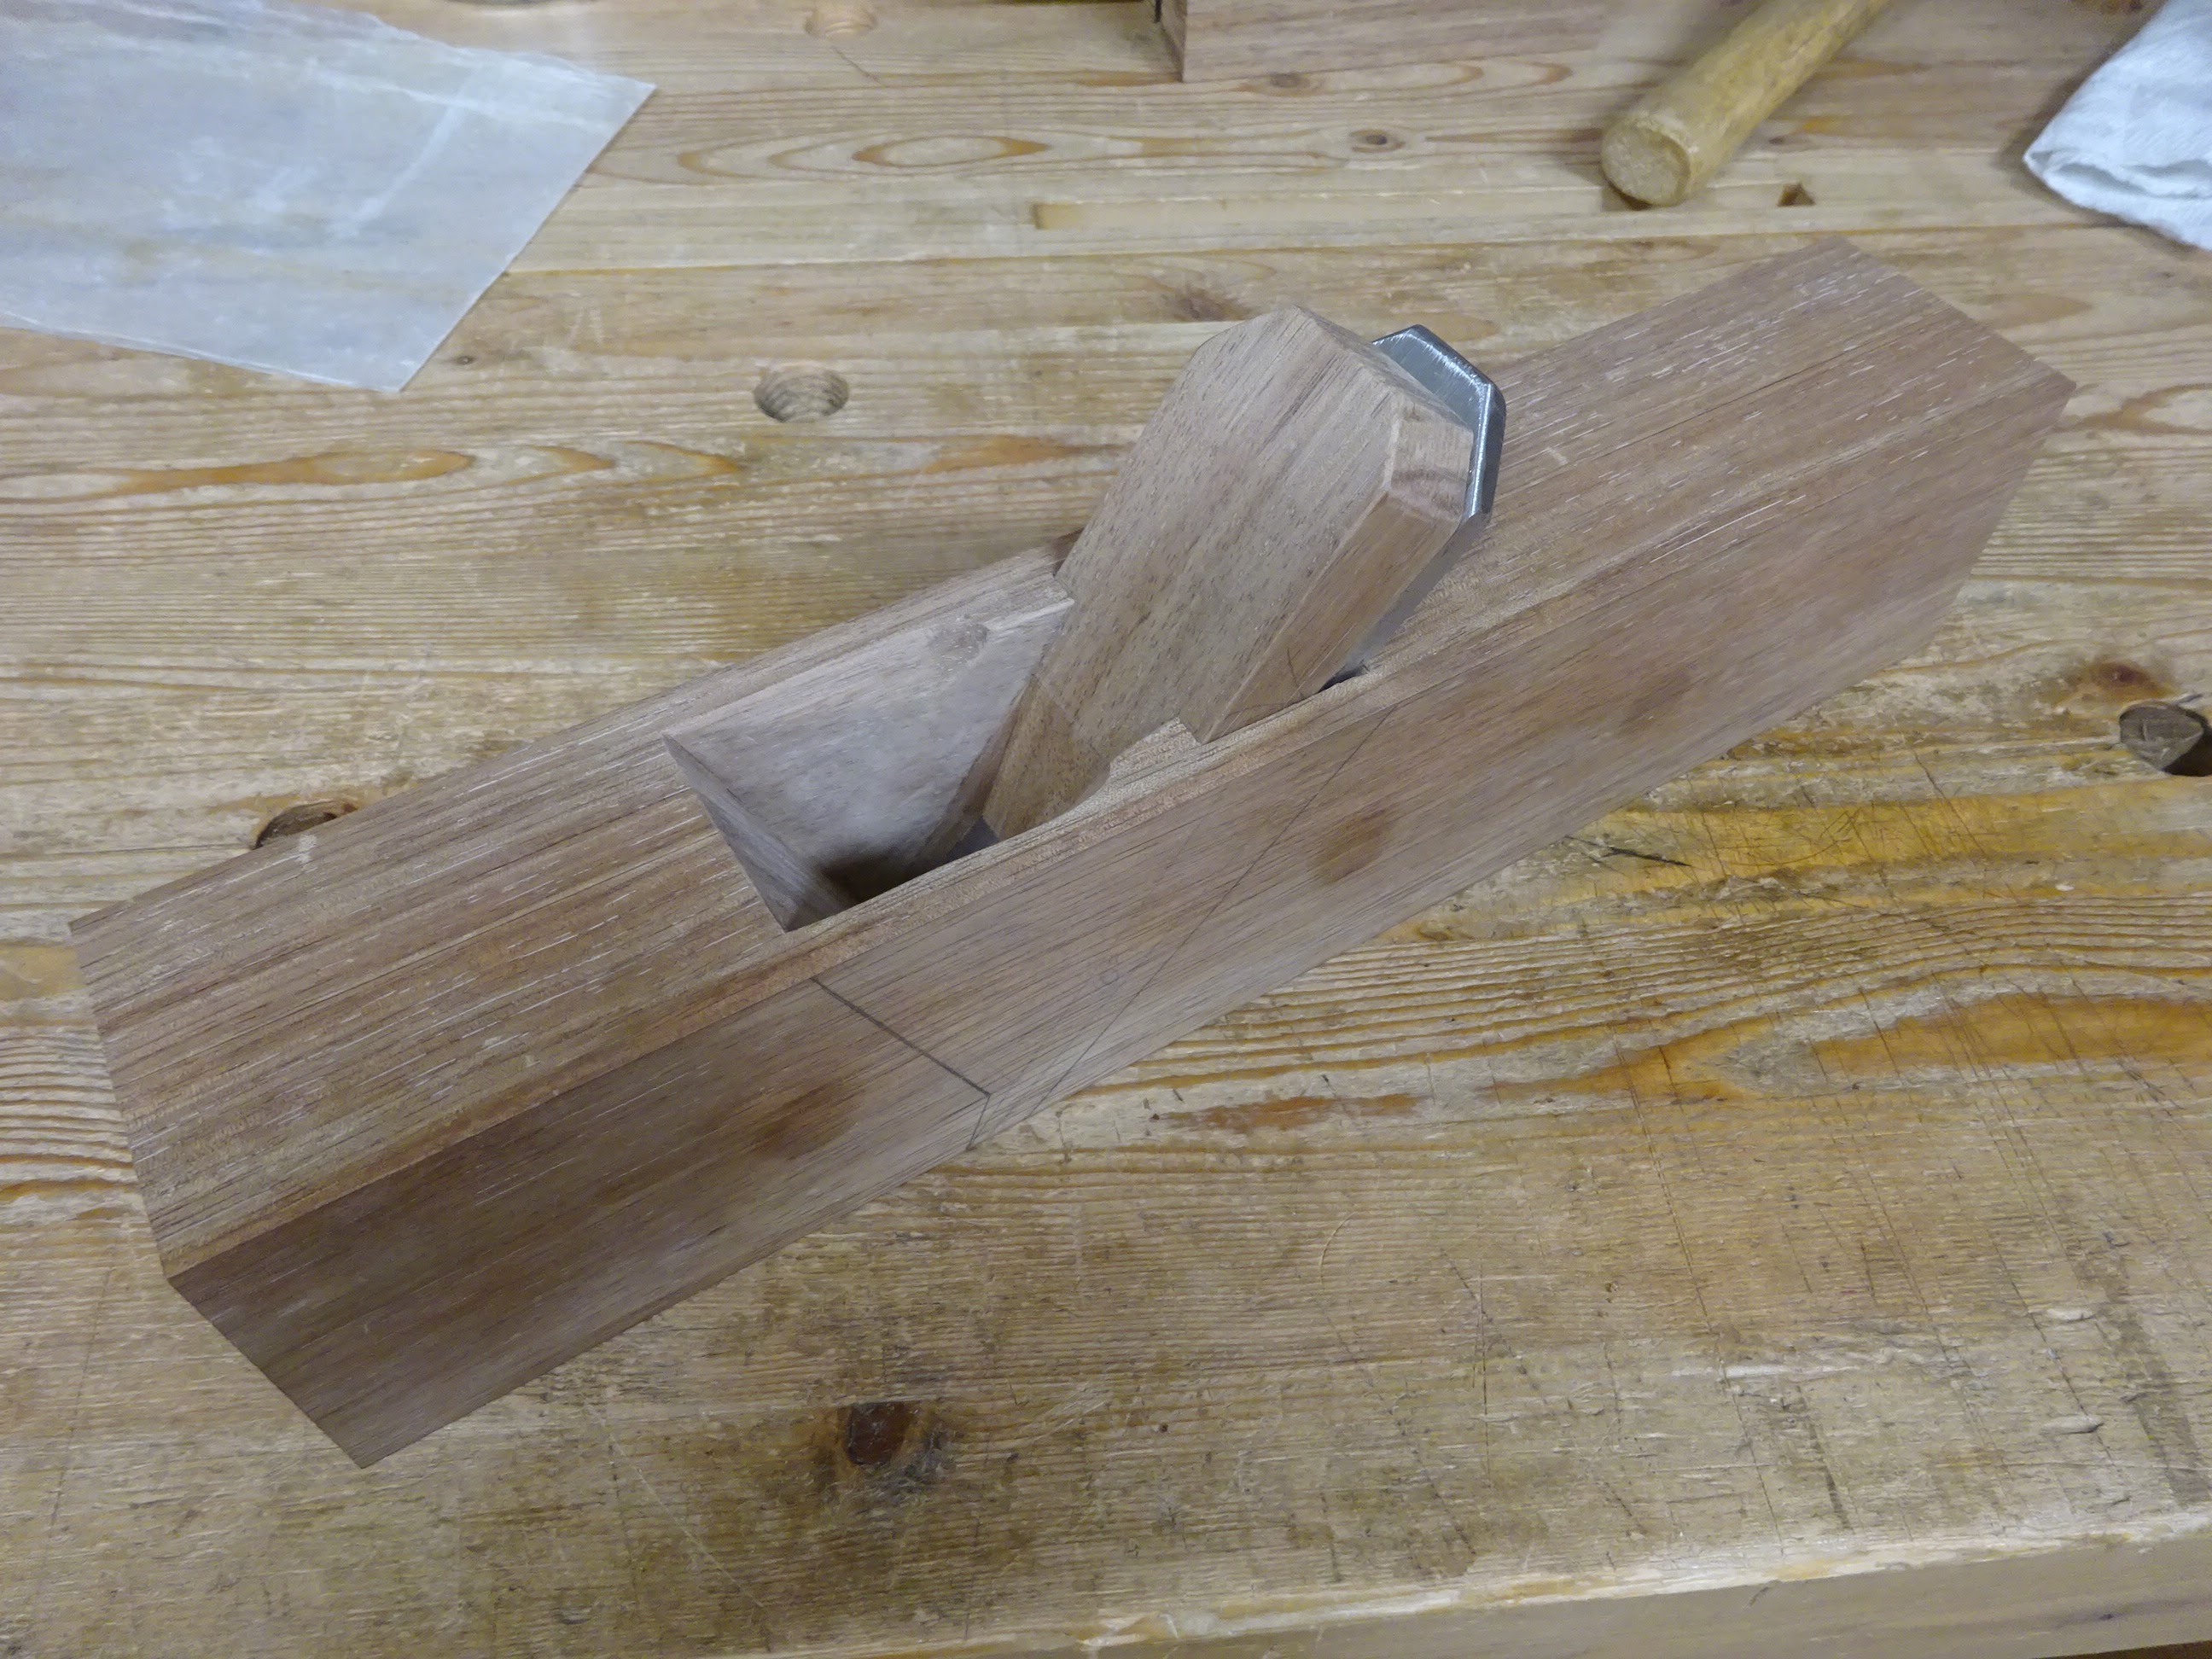
After planing a wedge for side-to-side width and angling to fit into the recess,
testing with feeler gauge for gaps (not good enough yet) |
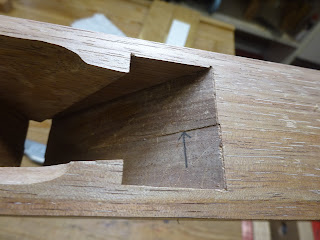
 |
| Wedge marked for material removal |
 |
| After some careful sawing and chiseling |
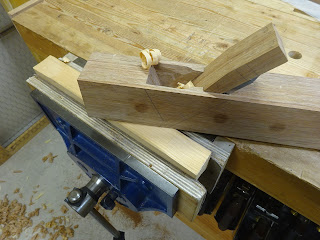 |
| Couldn't help but try a few shavings with the wedge and iron done |
 |
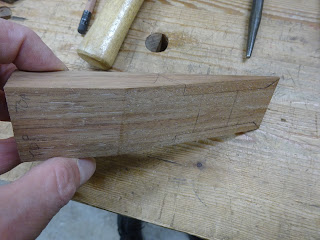
| Cut the wedge to length and shaped it - a little shorter than the iron |
 |
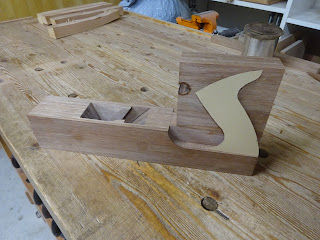
Next was the tote. Had to decide style and shape (an earlier plane is also in pic).
The steel rule in the pic is aligned with the iron so I could look at different tote positions
and ensure the tote won't interfere with adjusting the iron. |
This part was tough. Due to the relatively short length of this plane, I couldn't fit the closed tote unless it was positioned far below the top surface of the plane. I wanted to use a razee configuration, but not that much. The closed tote in this pic was a prototype I made a few years ago and really liked it for comfort, so I compromised. It'll be an open tote, but with a little more forward lean like this closed tote and from relatively thick wood (1 1/8" thick).
 |
| Drawing a template |
 |
| Testing the template on the plane body |
 |
| Marking material for removal |
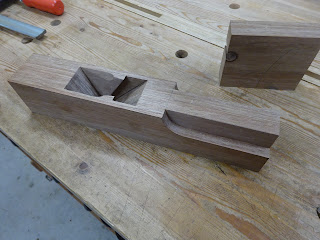 |
After material removal - that center section will actually become part of the tote.
Also shown here is the chunk of wood available for the rest of the tote. |
 |
| Gluing that chunk to the body |
 |
| Made a template and drew shape on the blank |
 |
| Cut away most waste with coping saw |
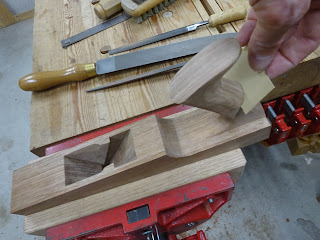 |
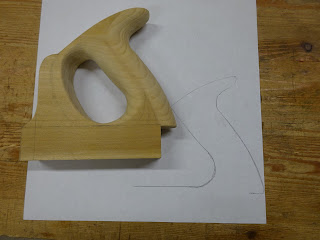
Shaped with chisels, rasps, files and sandpaper. Used a paper template to check progress.
The template was slightly less than a half circle of 1 1/8" diameter.
I spent a lot of time on this - it's more challenging when attached to the plane body. |
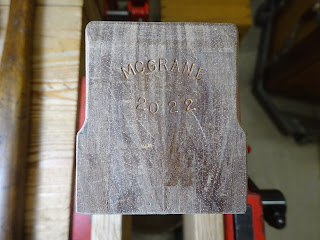 |
After doing the rest of the shaping for comfort (beveling upper edges, etc.)
added my "maker's mark" on the toe |
 |
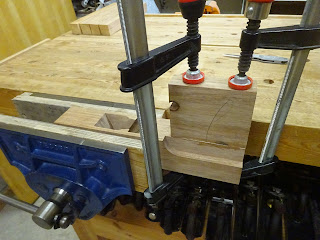
One last job before adding finish: a strike button.
Bored a 1/2" deep, 7/8" diameter hole.
On the left is stock gluing up for the button. |
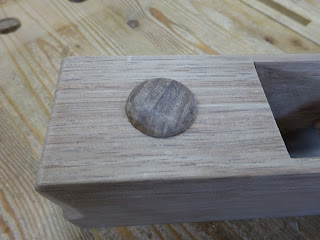 |
| Strike button glued in - sticks up about 1/8" |
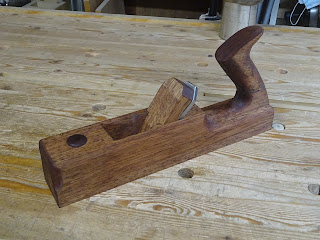 |
| And here she is, with first of 2-3 coats of BLO |
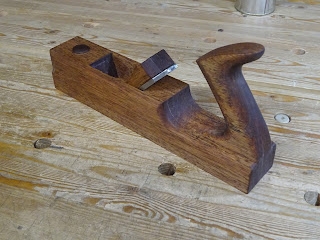 |
| Glamour shot |
This plane is an odd duck. It's narrower than most planes. I plan to use it for very rough scrub work. I have another jack plane with less cambered iron for lighter scrub chores. Time will tell if I use this and like it more than others. But it was a fun build and I got to put to work that iron I found. Let's see if it can handle the tasks.


Hi Matt
ReplyDeleteshe is a sweet looking scrub. The last glamour pic shows the iron/wedge skewed?
Not skewed, just a trick of the lens, I guess. I've never made a plane with a skewed iron - something I'd like to try someday.
Delete"I've heat-treated and tempered it, but after only a few plane strokes on soft pine the iron is no longer sharp."
ReplyDeleteSometimes it get better after sharpening a few times. (I guess if the very edge is too hard, it will crumble). I have seen something about that on the Narex site.
Hi Sylvain. Good point - its possible that the cutting edge got brittle during heat-treatment, and that could cause the edge to crumble in the beginning. I'll give it some time and see how it goes after several times sharpening.
DeleteDefinitively a different build than I used to, 2 part body construction and gluing the stock for the tote still square. Good job.
ReplyDeleteBob