I've had this 16" Craftsman tenon saw (or sash saw?) for a number of years now. It's not a great saw - it's quite heavy, the hang angle is too great, the plate is fairly thick at 0.038" and the handle is neither comfortable nor well-fitted to my hand.
 |
| Internet picture of a similar saw. The "etch" says: Sears CRAFTSMAN (R) KROMEDGE 9 36183 16 inch 11 pt Satin Cut Back Saw more small print under that, that I cannot read |
Usually, a silly misspelled marketing BS name like "Kromedge" is enough to tell you it's a crappy saw. I wanted to try to make it useable.
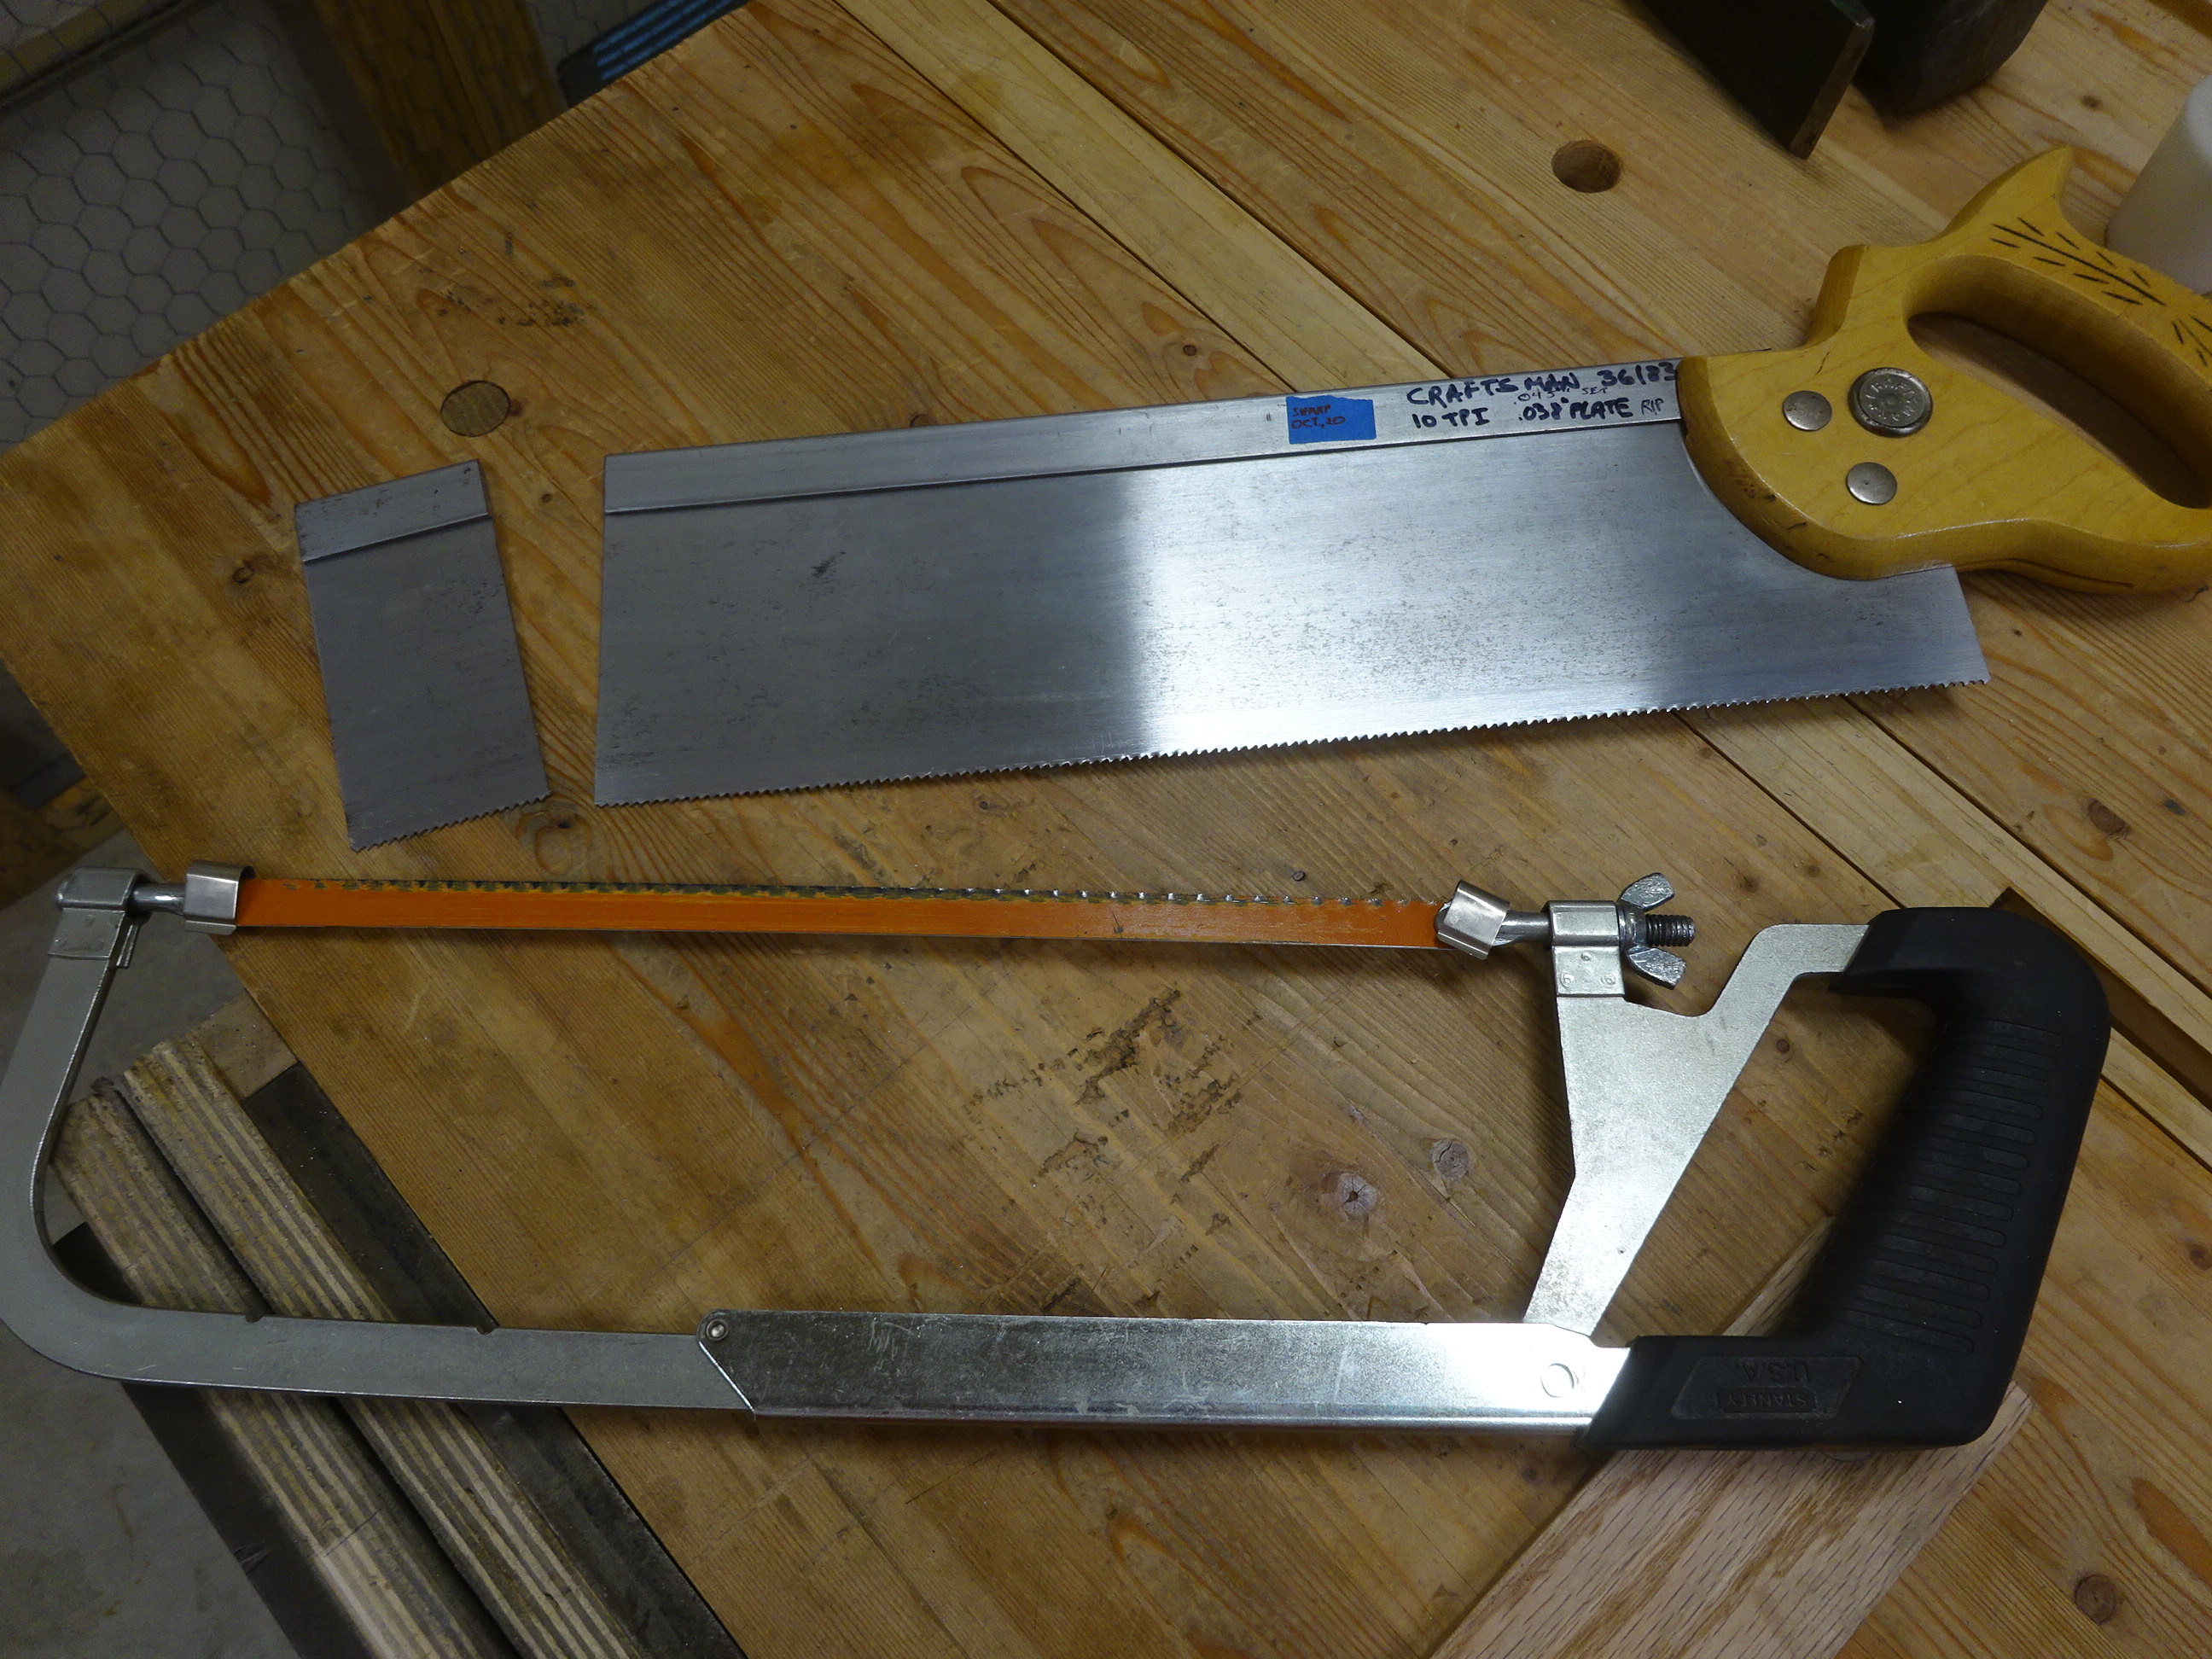 |
| First thing I did was to cut off 2", making it a 14" saw and a bit lighter |
For a long time, I've wanted to try making a new handle for a saw. This was a very interesting exercise and I made two prototypes to get it right. First I downloaded a 14" sash saw handle template from Isaac Smith's Blackburn Tools website. Squared up a piece of 15/16" thick Douglas fir and cut out the shape. Later, I'll list the steps involved in making the handle.
 |
| The template over the prototype handle |
 |
| Mortised for the saw spine |
 |
| Cut the slot for the saw plate using another saw in a fixed position. Shims under the other saw plate brought it up to half the thickness of the new handle. |
 |
| Tested the fit, and while it looked good, ... |
 |
| ... the plate protruded into the hand hole, as well as through the lamb's tongue |
I moved the plate forward about 5/8" so the the lamb's tongue would not be affected, but that made the amount of spine held in the mortise too small. In this next pic, you can see that the spine doesn't reach the back of its mortise.
 |
| Plate and spine moved 5/8" forward |
I did the final shaping of the handle to get a feel for what I would need to do on the next prototype and the final handle.
 |
| Prototype #1 shaped and evaluated for improvement |
Somehow I removed too much material on the upper inside hand hole (where the middle finger wraps around) and it was too thin. Also, the lower horn was a little too low, leaving a space between lower heel of my hand and the horn. Here's what I changed for the second prototype:
 |
| Moved the front of the handle forward 3/8" Moved the rear of the spine mortise forward 5/8" Moved the lower horn up 1/8" Kerf for the saw plate just misses the lamb's tongue |
The second prototype was made from 15/16" thick poplar. With the modified template, I drew the shape on the blank, bored the appropriate holes, sawed close to the lines with coping saw and pared to them with chisels and incannel gouges.
 |
| Poplar prototype cut out |
 |
| Shaped and comparing to first prototype |
 |
| Doug fir prototype overlaid on poplar. You can see what changed. |
 |
| Attached firmly and looks good |
 |
| Feels good in the hand, too. Note: no gap between lower horn and heel of hand. |
I was happy with this, so it was time for the real thing. I got out a piece of Walnut that my brother sent me from North Carolina a few years ago, planed it to 15/16" thick and squared it up. I've gotta say, walnut is really nice to work with. I'll only show a couple pics here, 'cause they're repeats of above.
 |
| Drawing the outline and marking the holes |
 |
| After starting the slot like shown earlier, finished the cut like normal |
What was interesting here was that inside the handle the cut needed to be shaped like a shallow "V" to fit the rear of the saw plate. I used the first tooth of the saw to scrape out the remaining material.
 |
| Then on to shaping all the roundovers and details |
 |
| Et voila! |
 |
| The original (with blade cutoff at left) |
 |
| With handsome handle |
For posterity, I wanted to jot down the steps in making the handle. Hope I haven't forgotten anything important.
- Draw shape onto blank, mark hole centers
- Bore holes
- Saw to rough outline
- Chisel and rasp to the lines, making edges reasonably square and flat
- Cut the spine mortise and the saw plate slot
- Lay out and drill the bolt holes
- Test the fit
- Final shaping and fine details
This was just a crappy Craftsman saw, but I'm hoping it will become a user for sawing tenon cheeks. I have other saws that could use better handles. But on some, I don't know if I want to get rid of the original handle. For example, my Spear and Jackson 12" crosscut backsaw, probably from the 1980's, has a fairly bogus handle. But it says "Spear and Jackson" on it. Do I replace it or keep the handle with the maker name on it? It's certainly not a collectible saw. Time will tell ...
Bravo, there is nothing like using a saw that matches your hand great. I long encouraged WW to make their own handles to replace crappy one. As you are about to discover it really transform a saw.
ReplyDeleteAbout that S&J handle, there is nothing to worry about replacing the handle, not collectable nor significant about that saw. Make it into a better one.
I used to keep originals handles, but why? In most case you end up tuning the back of the plate like you did to fit. Tossed them UNLESS they have some significances but I highly doubt it.
The fit of the handle to your hand, its hang and sharpening job all affect greatly the saw and can turn a crappy saw into a great one. The only down side is that it is only as good as the saw steel used, good news is most saw, even cheaper one have good steel
Bob
Hi Bob. I think I will (eventually) make a new handle for the S&J saw. Just don't know when. Great project!
DeleteAwesome! Glad that walnut stock has found a use as cool as this. But, I always wonder about those fancy saw handles with the very thin connecting area near the bottom. will it break or split? Hope not.
ReplyDeleteHi Guy! I think if treated kindly, it'll last for generations. Normal and even heavy use will be fine. But the problems arise when it's dropped or things are dropped on it - both things that are rare for me. I'll update if it ever has a problem.
DeleteHi, nice conversion of the "crappy" saw. Two things come to mind that might help in future: 1. Use a copy of the template cut out on cardboard to check alignment, etc. before spending time on drilling, cutting and shaping prototype, might help save some time and hair pulling. 2. Consider removing saw manufacturers' name from spline.
ReplyDeleteThanks for the suggestions. This post was three years ago and I don't recall how I aligned the handle. I probably just made it with the same alignment as the original, which seemed about the proper angle.
Delete