 |
| Box end layout on its inside face |
 |
| The two grooves cut - I should have made stopped grooves, as I later had to fill holes where the grooves were exposed on the outside of the box |
 |
| The tails on front and back boards were placed carefully not to interfere with the cut lines |
 |
| The dovetails came out nice |
 |
| Before glue-up I made and fitted the two shelves. The shelves are not glued in. There is no groove in the longer tail boards - only the pin boards. |
 |
| After glue-up. I plugged the four holes from the shelf grooves - can you see where it was? |
 |
| Then cut the box apart ... |
 |
| ... and leveled the sawn edges close to the layout lines, ensuring no twist |
 |
| Planed up a flat lid from cherry |
 |
| Lower and middle tier hinges installed, but the box tiers don't line up well at all! |
 |
| So I patched those mortises ... |
 |
| ... and leveled the patches with the existing surfaces ... |
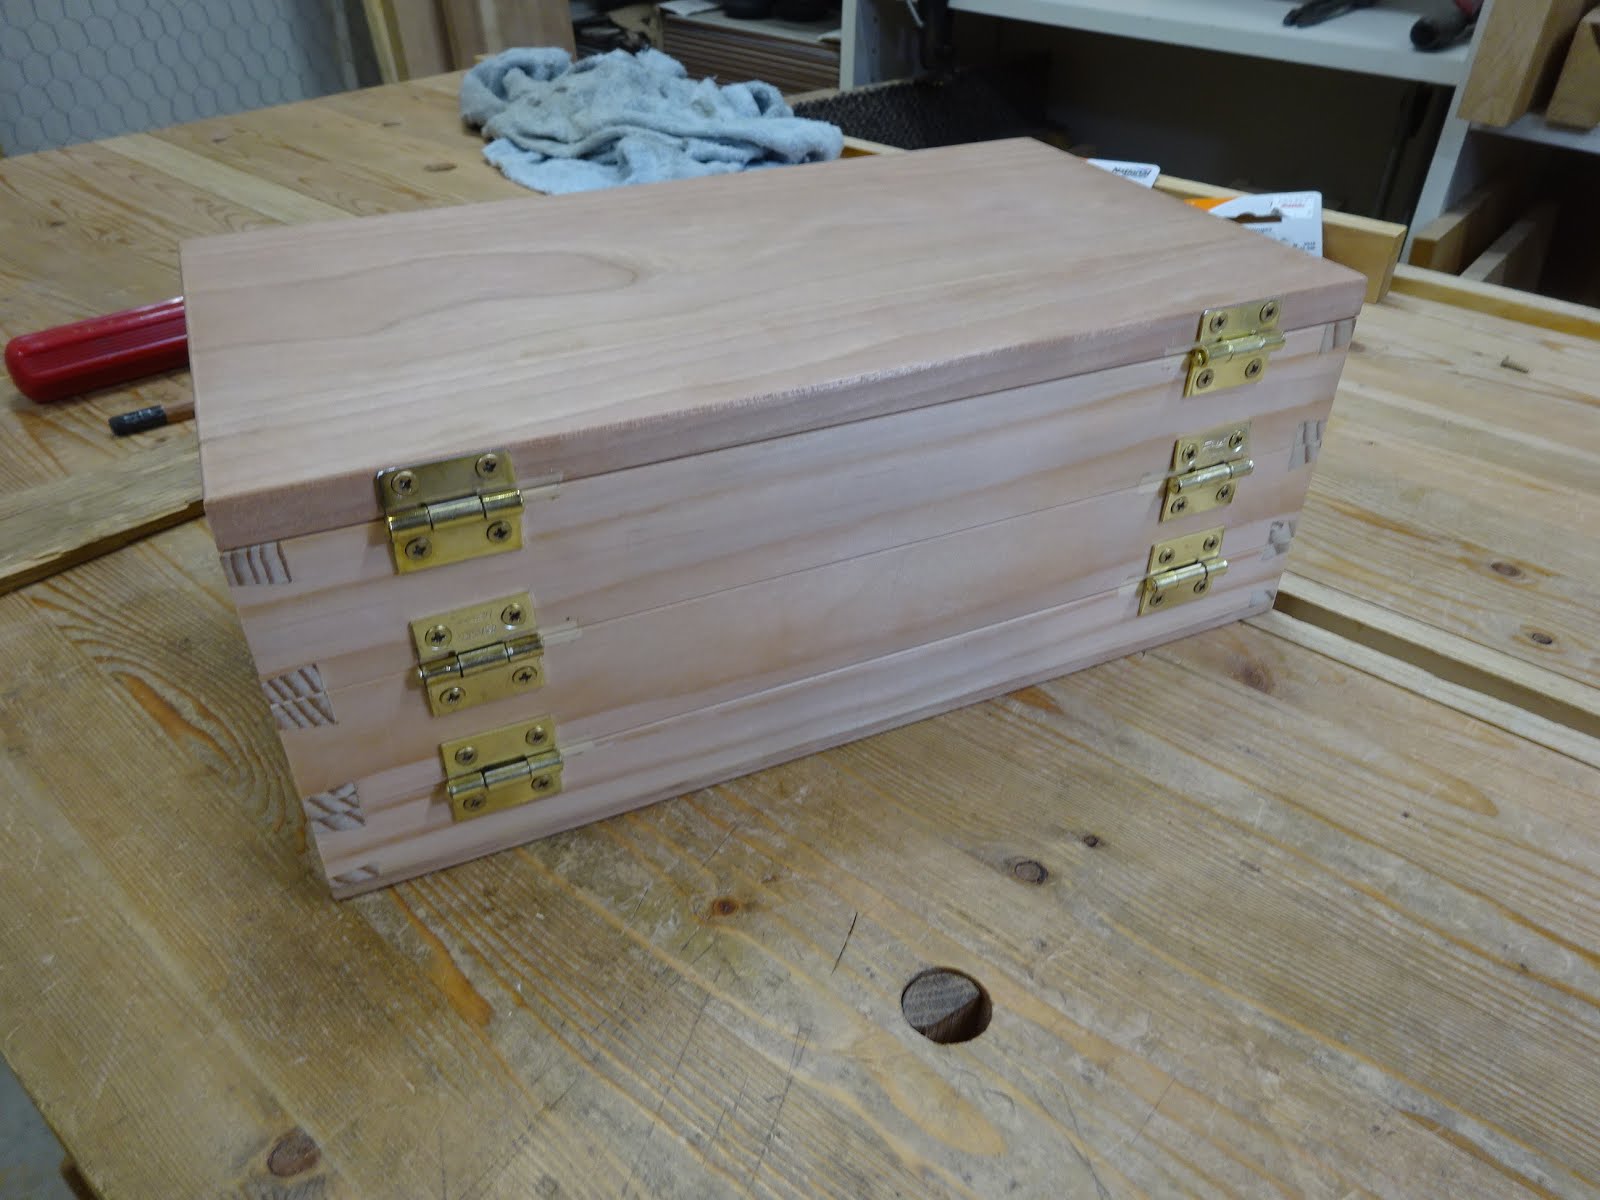 |
| ... and surface-mounted the hinges, without mortising them |
 |
| Tier 1: #4 through #11 |
 |
| Tier 2: #12 through #16 (#12 missing - I bought a #16 at a tool show recently) |
 |
| Tier 3: Expansive bit and some other miscellaneous boring bits |
 |
| And thar she blows! |
This was a very nice project, challenging in come ways, and one I'd wanted to tackle for a long time. Now these bits have a nice home. I finished the box with a single coat of shellac, sanding after it had cured, and I left it at that.
Sweet looking box.
ReplyDeleteGetting decent hardware in this size is impossible if you want to drool look at an old Sargent hardware catalog. They made a dizzying amount of small hardware back then. If I remember I'll send you the PDF.
Can I go back in time and order from that catalog? I even searched McMaster-Carr and couldn't find anything appropriate. And even if Brusso had the right size (I couldn't tell if they did) their hinges would cost about $30-35 per pair, and I needed three pair for the box. Yikes!
Delete