The
pine and
poplar prototypes really helped me think through a lot of details for this plane. One of the details concerned the location of the tote/handle.
 |
| The poplar prototype tote just seemed too far back |
 |
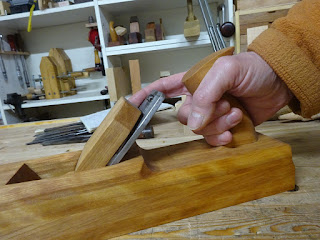
| But you can see I have clear access to the iron with a hammer |
 |
| The pencil is in line with the iron, showing good access to tap with the hammer |
 |
| The front of the tote is about 1 1/2" from the back of the iron |
This prototype is 15 1/4" long. Due to stock limitations, the final plane only came out to 14 5/8" long. While I moved the mouth forward a little bit to accommodate the shorter length, I was still concerned about the position of the tote.
 |
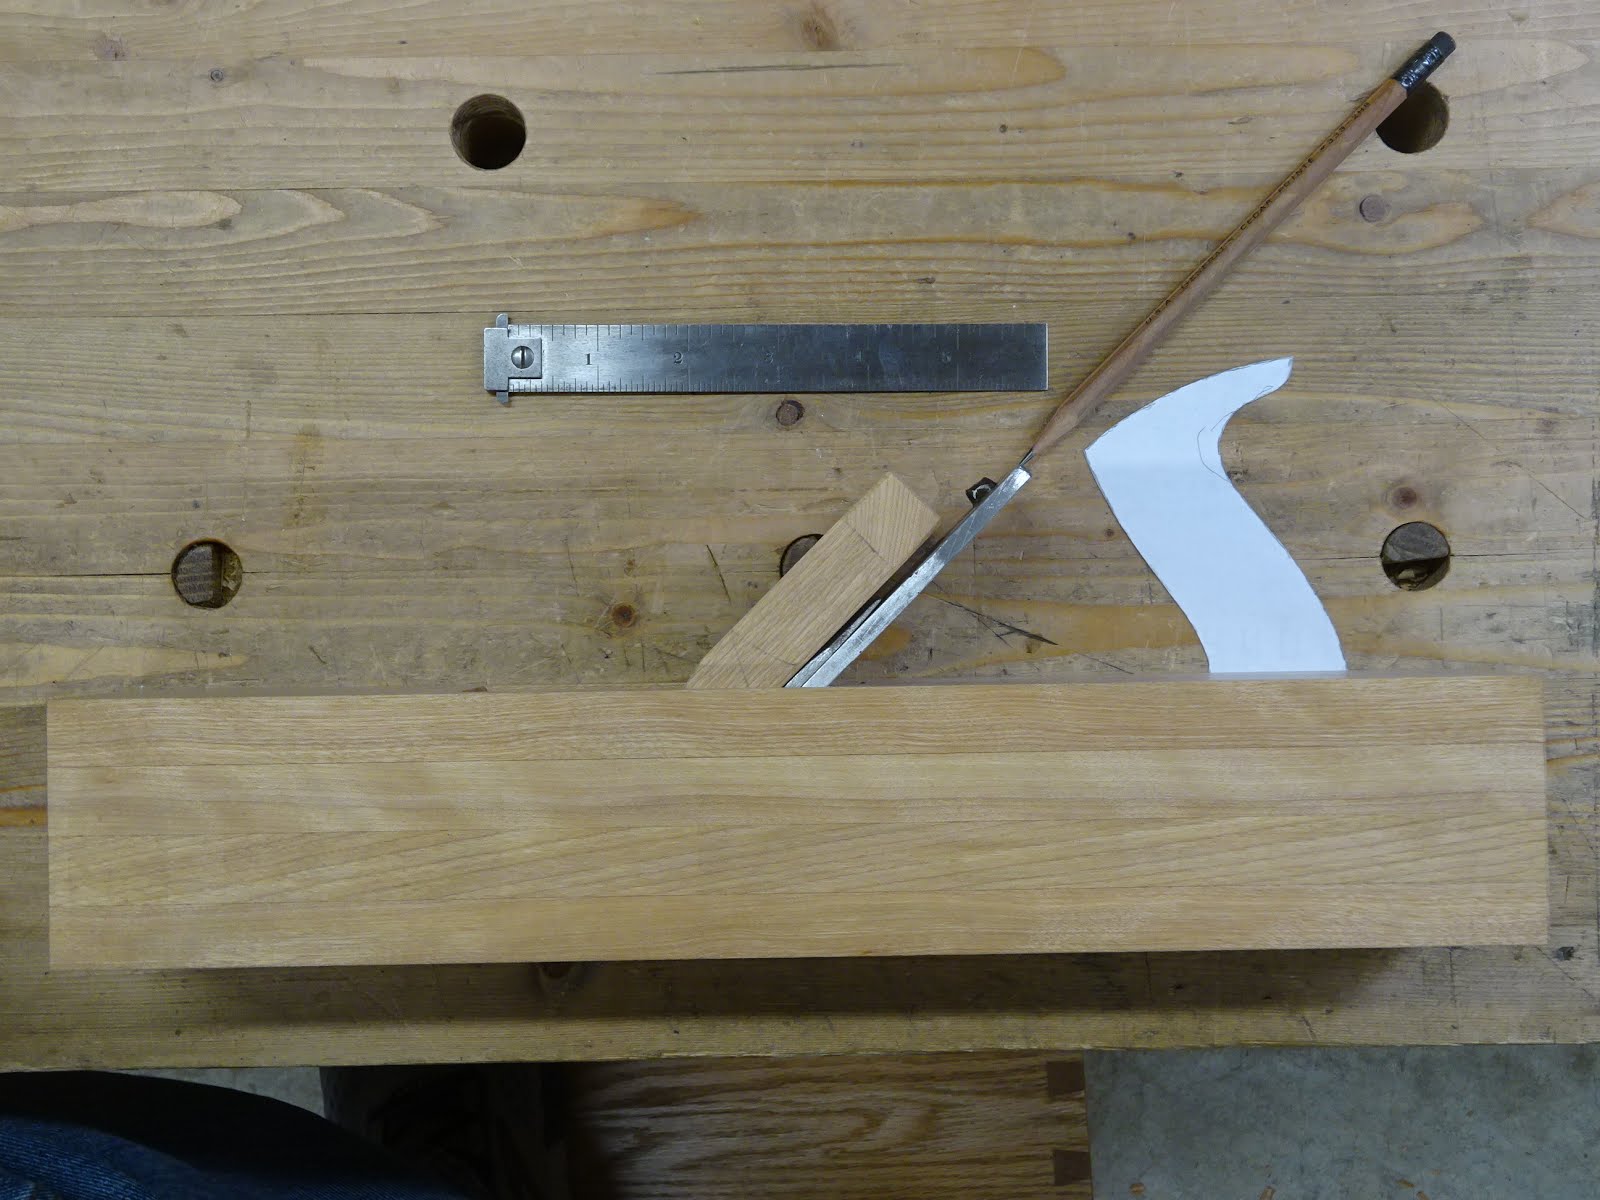
Used the tote template to study the positioning.
Pencil is lined up with iron - tote gets in the way. |
 |
When I move the tote back enough to get clearance for adjusting the iron,
The rear of the tote is only 1/4" from the heel of the plane (see yellow pencil) |
I had been thinking about this a while and did a "what if ..." scenario. What if I cut away some of the height from the back of the plane, effectively lowering the tote.
 |
Here, the tote is up closer to the tote, but not in the way of a hammer
adjusting the iron. The tote is sunk into the plane body about 5/8". |
While I was thinking about this, I made the tote, which came out really nice.
 |
| Lots of layout lines really help to get a nice result |
 |
| The completed shape - with cutout at bottom right to allow it to fit into a rectangular mortise |
 |
| Here it is next to the one it's modeled after |
I ended up cutting the height of the rear portion of the plane down 5/8" and rounded the transition - somewhat "razee" style. Then I mortised for the handle, being very careful about paring the walls vertically. The tote fit perfectly into the mortise - after lots of fitting.
 |
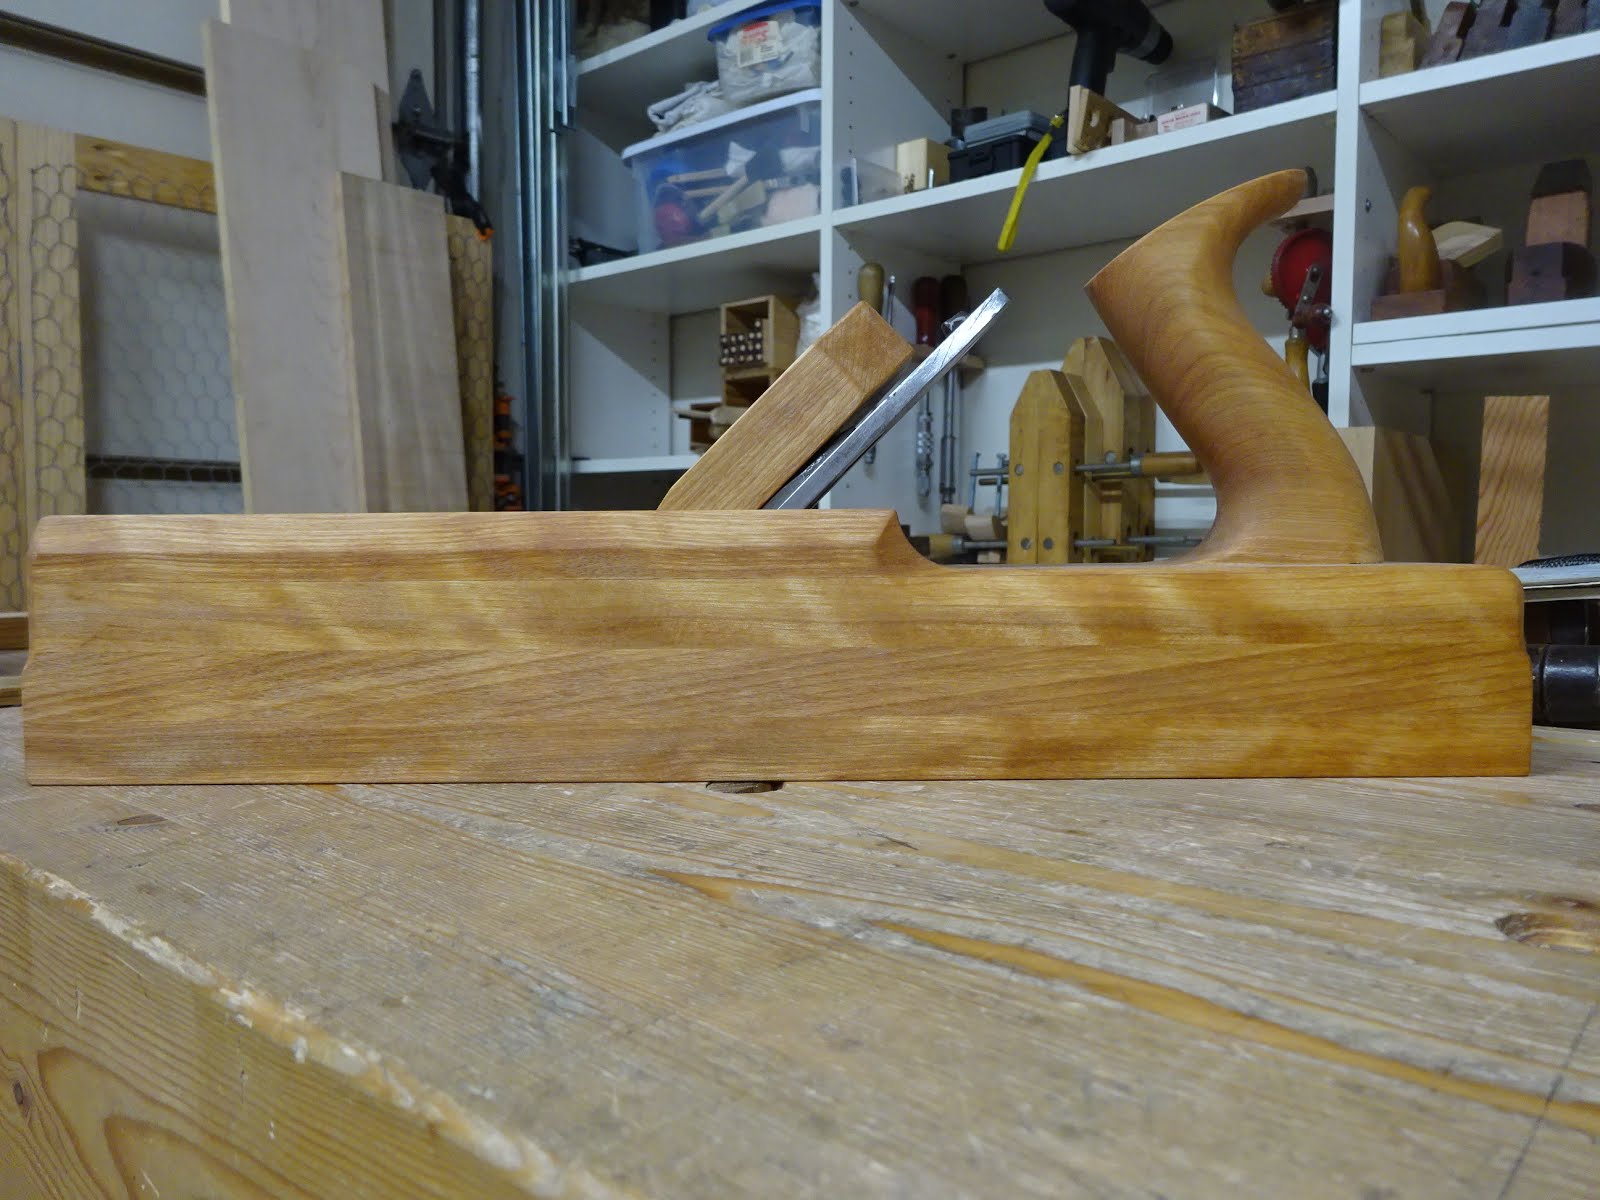
| Here you can see the step-down at the rear |
 |
| Another angle shows the back of the tote is about 3/4" from the heel |
 |
| With this tote position, I can easily reach the iron, which helps stabilize the plane |
The pics above show the plane after applying three coats of BLO that was thinned with some mineral spirits, then allowed to dry for a week.
And how does it work? Holy crap! This thing cuts like a dream. The iron is cambered to make an aggressive cut and it really flies through some wood. I got chills when using it.
Next up: using what I learned to make a try plane.


I like the tote work a lot. I have a jack that needs a tote that I've been putting off. Maybe this will be my impetus.
ReplyDeleteIs that a wooden jack, or metal? Give it a go, Ralph. A few months ago I bought the smaller modelers rasps from Auriou and they were fantastic.
DeleteCongrats, and now you have some clues about the Razee form :-)
ReplyDeleteBob
Thanks, Bob. I was thinking the razee tote was even lower than I've made this one. Seems to me I've read that it lowers the center of gravity and puts the hand right behind the cutting edge. Don't know if that's an advantage or not - I'm sure different people have different opinions on it.
DeleteYou bet.
ReplyDeleteThe razee form is often associated with boat building trades. Presumably because of the way they sometimes have to hold the plane to work in situ. Whatever the reason for it being developed, it change your hands position on it and sure feel different in use. Its all tactile (sensory?) feedback I suppose, but it has its benefits.
The beauty of these old tools is that every details is there for a practical reason. Some are so small, it is easy to overlook their function.
Bob, the old tool guy
As always, great information from you. Thanks, Bob.
Delete