I've been making a bunch of step stools lately and I wanted to try putting some connecting rails between pairs of legs and a stretcher connecting those rails. I'm collectively calling the legs, rails and stretcher the "undercarriage".
 |
| The undercarriage of the step stool I'm making |
This is something new for me. I've never done this type of work before, but I hope someday to try chairs that have a similar undercarriage.
This is not too complicated, but there are a few things you've got to be careful about. I'm mainly concerned about the angles used to drill into the legs for the rail tenons. I'll get to that in a bit.
The first step was to find the vertical location for the connecting rails. So with the legs dry-fit into the top, I turned the stool over and measured to mark each leg a consistent distance from the underside of the top.
 |
| Using a combo square to find the vertical location of the rails |
 |
| About 5 1/2" got me to the fattest part of the legs |
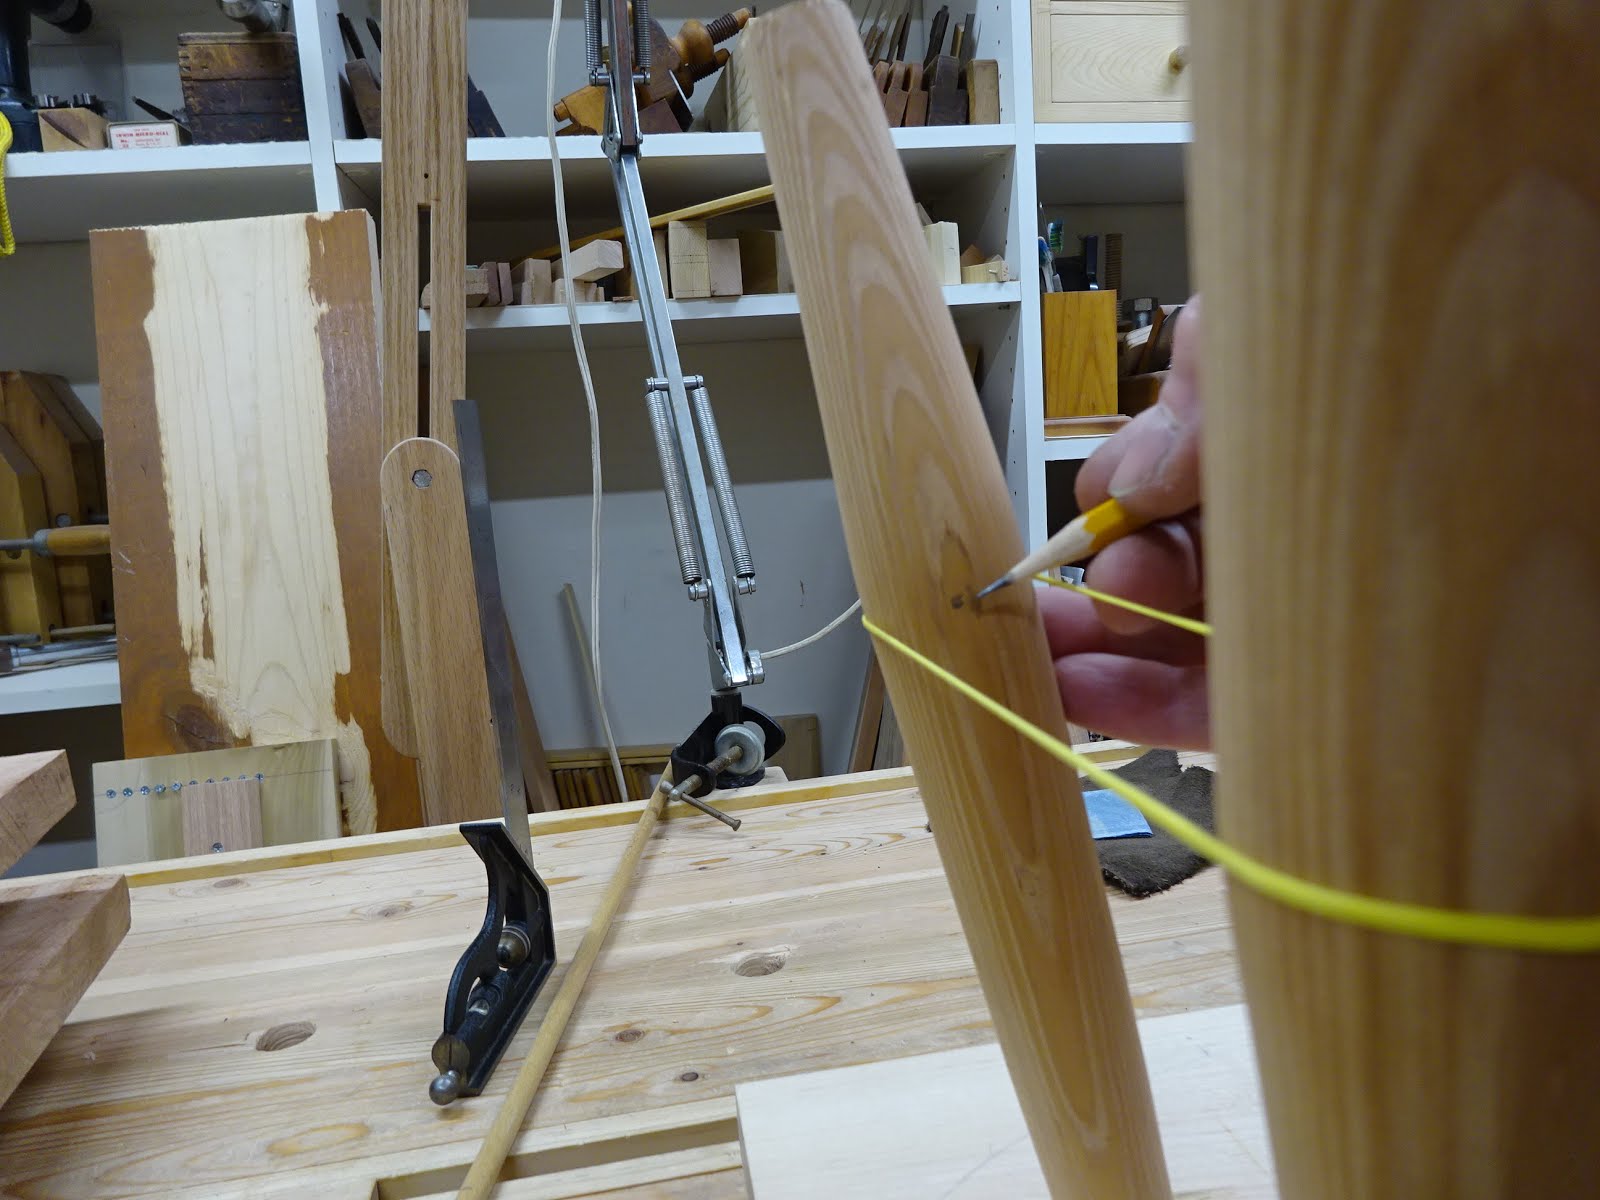
I used a rubber band strung between pairs of legs to help me find the dead center for drilling.
 |
| Marked a location midway between rubber band strings to get "dead center" |
Then I had to figure out at what angle to drill the holes. To do this, I used two bevel gauges.
 |
| First bevel gauge gets the rake (or is that "splay") angle |
 |
| Second bevel gauge records the splay (or is that "rake") angle |
I marked a line on my benchtop at the angle of the first bevel gauge and lined up the leg along that line.
 |
| Leg in a "cradle", leg is at the angle of the first bevel gauge |
Then I set the second bevel gauge up next to the leg to guide drilling.
 |
| Drilling at the angle of second gauge |
But the trick here is that I have to lean the drill not only at the angle of the second bevel gauge, but also perpendicularly towards the front of the benchtop to account for the first angle.
The stretcher that connects the two rails didn't need any special angles. Just straight 90° drilling into the rails. I'm sure there are other ways to work out the angles for drilling the legs, but this worked for me.
 |
| Undercarriage dry-fit |
 |
| Here's what it looks like right-side-up |
BTW, the legs, rails and stretcher were made without a lathe. They're not perfectly round in cross-section, but It's amazing what you can do without a lathe (though I hope to build one this year).
The strength that the undercarriage adds, compared to a stool with only legs, is remarkable. After gluing, this stool is so much more rigid than any others I've made.
 |
| And here she is all gussied up |
Just a couple of notes here. First, my tenons were 1/2" and seemed quite small and possibly weak. The legs are about 1 1/4" diameter where the rails are mortised in, so I could (should?) have used 5/8", or possibly 3/4" tenons. The rails are 1" diameter where the stretcher is mortised in and I think 5/8" tenons would have been better.
Second, the glue up was interesting. Even though I had my legs and all parts numbered and did a couple dry-runs, I still put a leg in the wrong hole when gluing up! Fortunately I was able to knock it apart and get it right. The order of gluing was as follows: stretcher to rails (a tad loose), rails to legs (a little looser), then legs to top. You need to have the undercarriage joints a little loose so there is some flex - otherwise you can't bend the legs enough to get them all in their angled mortises.
Comments and suggestions welcome!


Great post, that's a terrific little stool. Your rubber band gives me an idea of how to more easily find what angle to drill the leg holes at. Why not just make a pencil mark along the rubber band to give you a sight line to drill at? It seems like that would give the same result with less work.
ReplyDeleteBill
Hi Bill and thanks for the comment. But I don't understand your suggestion. Not sure where the pencil mark would go and how it would create a sight line. But you've got me thinking more about this.
DeleteMaybe I could have left the leg in place, removed the leg opposite it (so I could fit a drill between them) and drill the hole horizontal to the underside of the top and straight across from the opposite leg position. I'd get both angles at one time! BTW, I got the idea of a rubber band trick from videos that Curtis Buchanan put out about building a Windsor chair.