Completion - it always feels good to finish a project, even if it was just a practice exercise. In the last few days, the drawer joinery was fitted, the parts finish planed and the drawers glued up.
 |
| Drawer glued and in clamps |
I bought some Bessey parallel clamps a number of years ago and they really come in handy. Drawers are a perfect application for these clamps with their holders (the black pieces under the drawer).
After the drawers set up, I cleaned up the joints and applied a coat of shellac. The carcase got two coats and a coat of paste wax. When using shellac, if there is a pause between coats and I don't want the brush to harden, I wrap it in plastic wrap.
 |
| Brush ready for another use |
Here are a couple of glamour shots showing the drawers in the chest with half-blind dovetails showing. Wish there was more of a color contrast to show off the joinery.
 |
| Glamour shot 1 |
 |
| Glamour shot 2 |
One disappointment was that the chest looks so plain from the front. I'd love to figure out some way to embellish this - make the drawers stand out, give better shadow lines, whatever.
 |
| Blurry pic of chest with drawers in place |
I might build another drawer sometime soon just so I can try cock-beading with a darker wood. I think that would look sharp, but it's a lot more work.
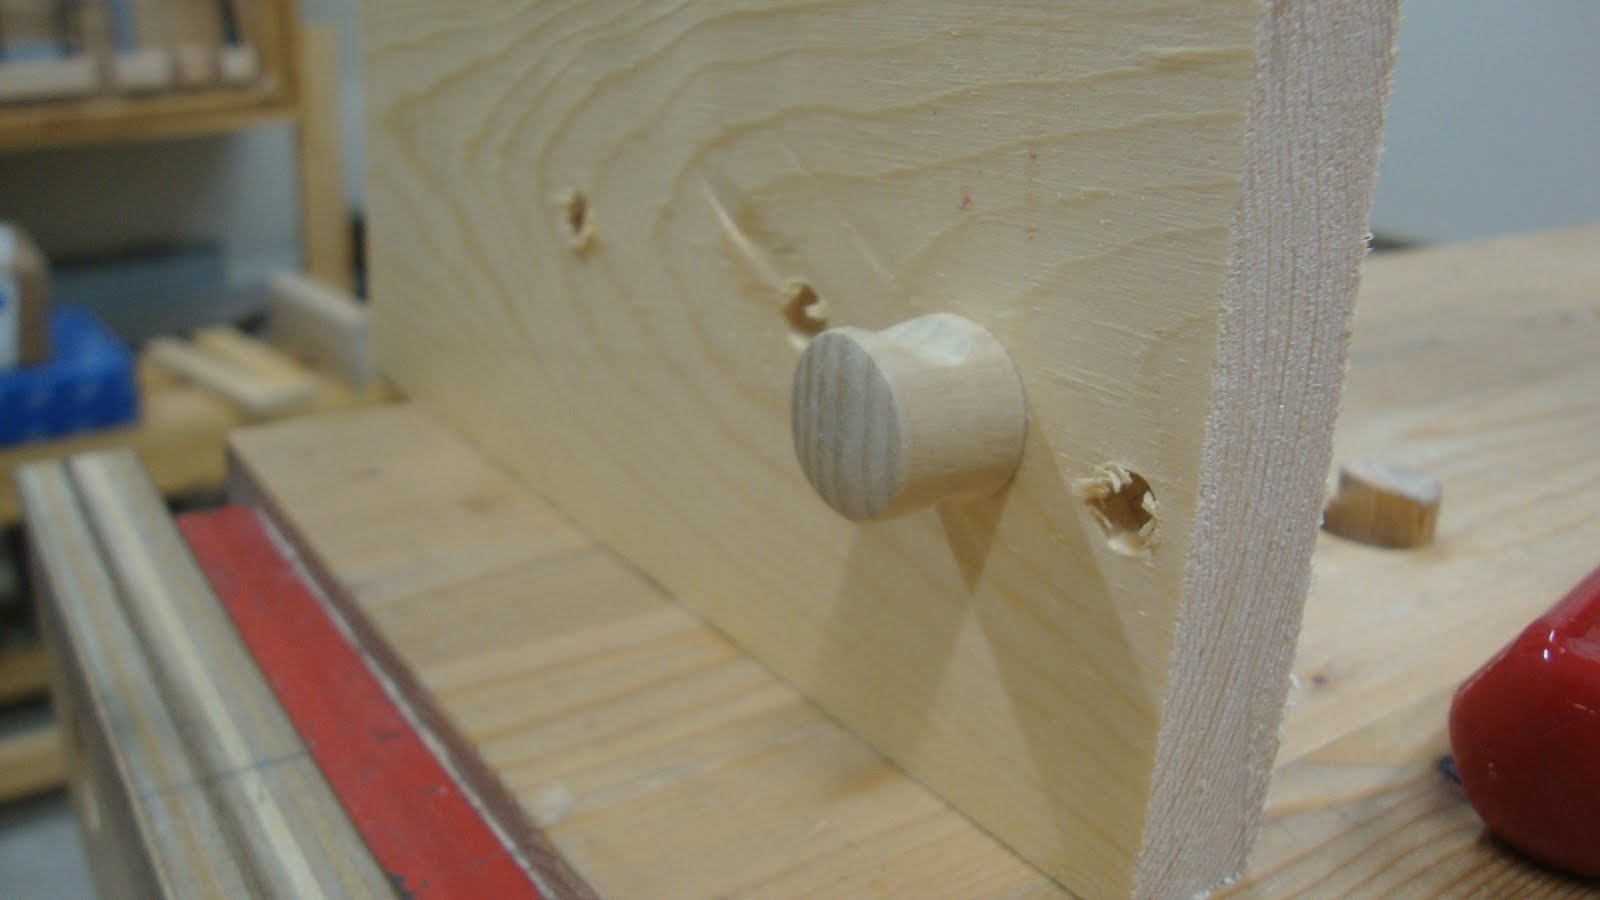
One thing I'd been mulling over for a while was the pulls. I thought I'd just purchase some small wooden pulls, but I'd rather make something. After a short internet search, I decided to try something and it worked out great. I took a piece of 3/4" poplar dowel and put grooves on two sides with a round rasp.
 |
| Poplar dowel with grooves top and bottom |
This gives just enough grip for the fingers to pull the drawer. But I also needed some way to secure the mini pulls to the drawer. Drilled a 1/4" centered hole in the bottom of the pull (which was tricky in a 5/8" long piece of dowel) and inserted a short length of 1/4" dowel.
 |
| Test pull in scrap board |
This went well, so I made three more pulls, but "clocked" them so the grain would run horizontally when installed. After gluing in the 1/4" dowels, They were shellaced and set to dry.
 |
| Is it just me or do these look like little stormtrooper helmets? |
I drilled a shallow 1/4" hole centered in each drawer front and glued in the pulls.
 |
| Drawer pull glued in place |
 |
| Another view |
I'm very happy with how these pulls worked out. And here it is - finished except for something to stop the drawers from going too far into the cabinet. Looks MUCH better with the pulls installed.
 |
| Thar' she blows!!! |
Great little project. Got to try many different things and learned a lot. Long line of dovetails, half-blind dovetails, 18th century drawer construction techniques, figuring out a new drawer pull. More fun than one guy should be allowed to have ...


Matt,
ReplyDeletego ahead and let the brush get hard. You're using shellac. Just put the brush in the shellac for a few minutes and it'll melt the shellac in the brush and you're set to go.
I like the knobs you made. Any plans for feet to elevate the chest up a bit? Maybe the small knob detail?
Hey Ralph. I meant to add a photo of another shellac brush that I started using. It's the hake brush that you told me about. I really like how it sucked up the shellac and
Deletelaid it down nicely. It's only 1" wide though - I need to find a wider hake brush for larger projects.
No plans for feet at this time. It's going to slide into a shelf area. But I had thought about that as this was just a "practice" project. I don't know much about feet or plinths - I need to get more information about that stuff. Just for fun I might try to wrap a dovetailed base around it, with a rabbet at the top all around so the case can sit in the rabbet. That could raise it up a little. I could shape the boards to make it look like feet ... Thinking about it ...
This turned out great Matt! Nice work all around.
ReplyDeleteThanks Greg. It was a fun projects and I learned lots of new things - always a positive and a big confidence builder.
DeleteFine work Matt! "Learning" projects like that are a lot of fun and practical too.
ReplyDeleteYou mentioned the drawer fronts being too plain. Something you might consider is adding beading. You can do that to the existing fronts. A scratch stock will do it for you, and they're not hard to make. I have an article here. Stop each cut before they overlap and you'll have a substitute for cock-beading.
Thanks Bob. I thought about beading the drawer fronts with the Sellers-style "poor man's beading tool" - a slotted head screw in a block of wood. But I was worried that the cross-grain cut would be so ragged as to look horrible. The pine is fairly fibrous and brittle.
DeleteI've wanted to make a scratch stock for a long time now. Seeing yours in the link you sent has given me the push I need to make one.
Hi Matt,
ReplyDeletegreat "little" project. The chest comes out nicely.
Beading came to my mind immediately for the drawer fronts.
I'm sure a scratch stock will do. But my tip would be to somehow train that at a piece of scrap before you will use it for your drawers. You can reduce the risk of tear out if you will make a knife cut first at your cross grain. Or do only the long grain and check how that will look.
Cheers,
Stefan
Thanks Stefan. I thought about starting the bead with a knife cut. I'll have to try it on some scrap to see how it comes out.
Delete