 |
| Stiletto at top with loose handle, unknown maker "Made in USA" at bottom |
First a little about the Stiletto chisel because it's interesting.
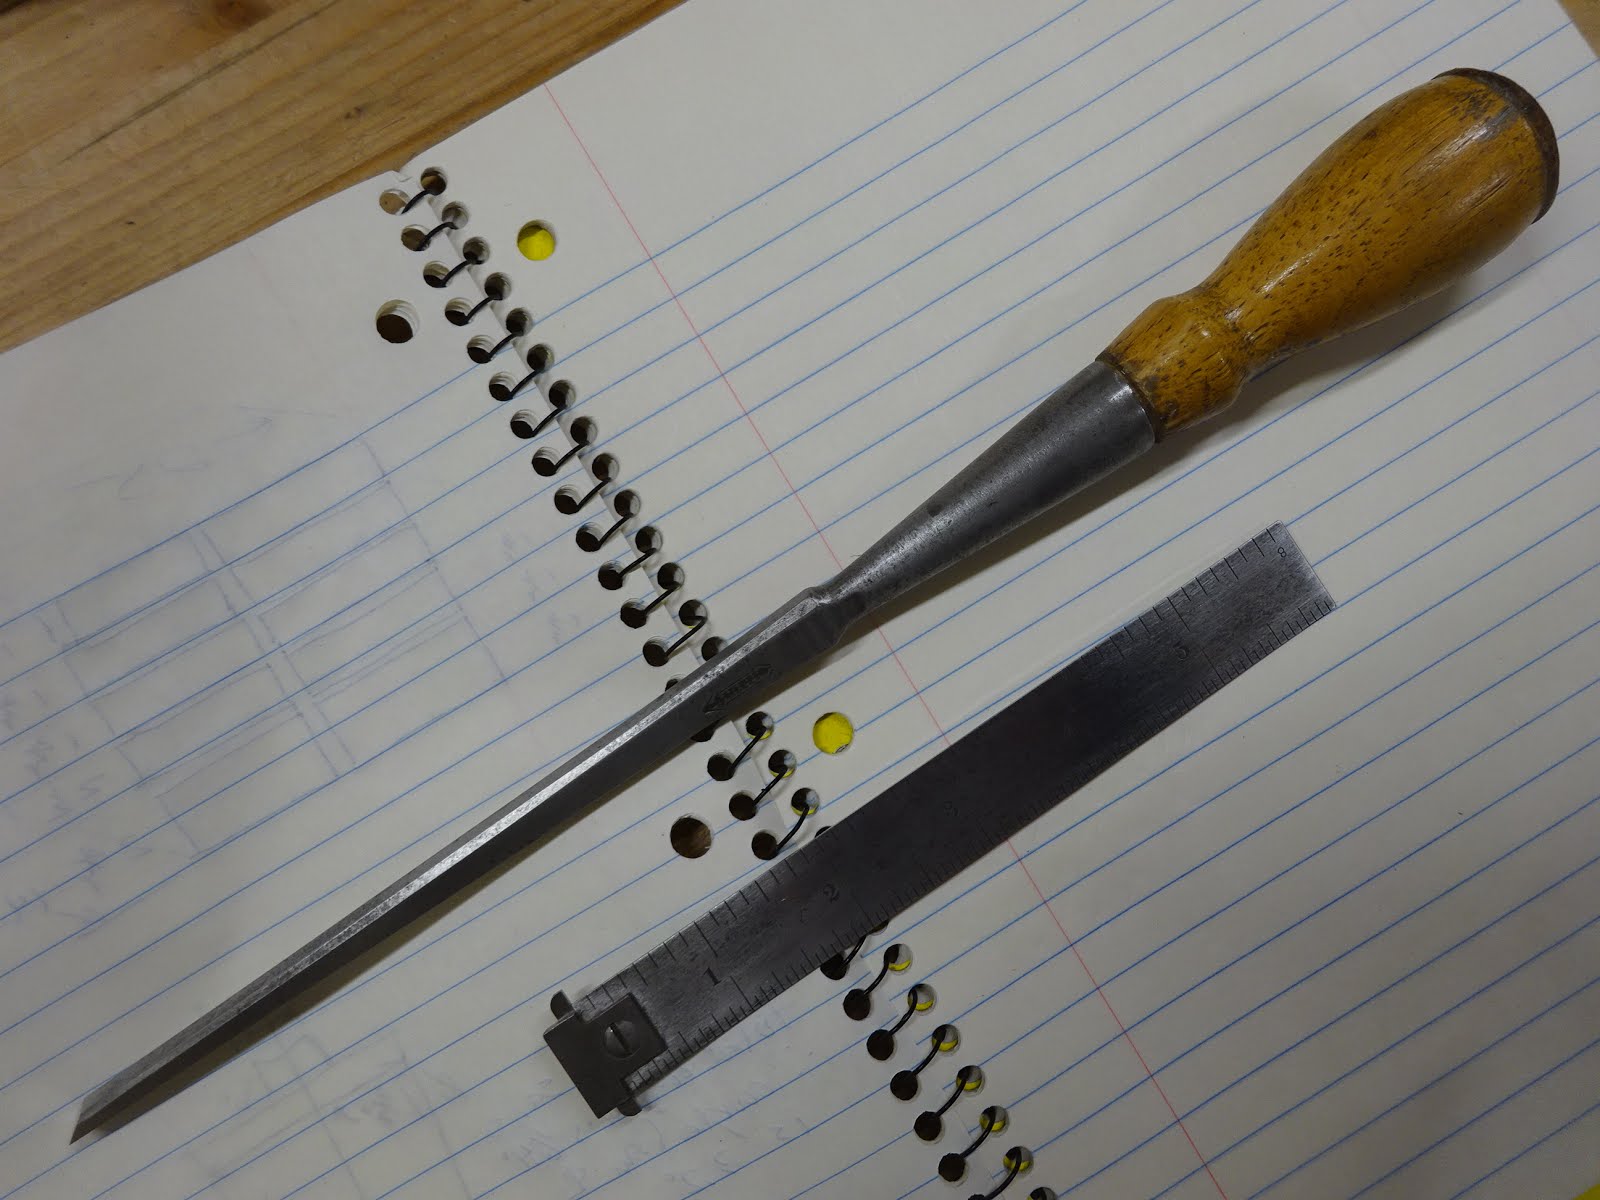 |
| This (roughly) 1/4" chisel is quite long ... |
 |
| ... and very thick in cross section (this is a side view) |
 |
| The part of the handle that fits in the socket was much shorter than the depth of the socket would allow |
 |
| The heel of the handle has leather washers and a steel ferrule |
 |
| Stiletto at top |
My best guess is that the Stiletto is a light duty mortising chisel - perhaps a sash mortise chisel. Anyway, on to the re-handling of these chisels.
And finally, here are the two chisels with freshly made handles. I'll have to see over time how the cherry holds up. But I might not be bashing them with a mallet too much.
 |
| Take a known diameter rod and insert ... |
 |
| ... to see how far in it went (I did this with 3/8" and 7/16" dowel rods) |
 |
| Got a model of the socket's interior |
 |
| Then make a model of the handle and note key diameters |
 |
| Mark the key locations on the blank |
 |
| First thing to do is to shape and fit the socket portion. This took multiple iterations of shaping and testing the fit. |
 |
| Once the socket part fit properly, shaping the rest was reasonably easy (and this was literally about the third piece of wood I've ever turned) |
I first made a practice handle in some scrap oak. That came out so well, I almost used it as the final handle. But it had some plugs that filled holes, so it didn't look very elegant. And I wanted to use some cherry for looks.
 |
| A final fitting before adding some finish |
 |
| A still-wet coat of BLO - used three coats total over three days (Excellent use of binder clips, huh?) |
The old Stiletto handle was quite short. I made the new one about an inch longer.
 |
| Old and new handles for the Stiletto |
 |
| Glamour shot |
