A couple weeks ago, I made a new fence for an old Worth marking gauge. In the original, the beam of the gauge got clamped in position using a wooden screw through a tapped hole in the top of the gauge's fence. The screw was about 3/8" diameter and about 10 threads per inch.
 |
| The original from the Worth gauge |
For the new fence, I used a machine screw and a threaded insert. But it got me thinking (again) about wooden screws and nuts. A couple years ago I finally had success making wooden screws and nuts, but the diameters I was working with were much larger than this (the smallest was 13/16"). So I thought I'd give it a try.
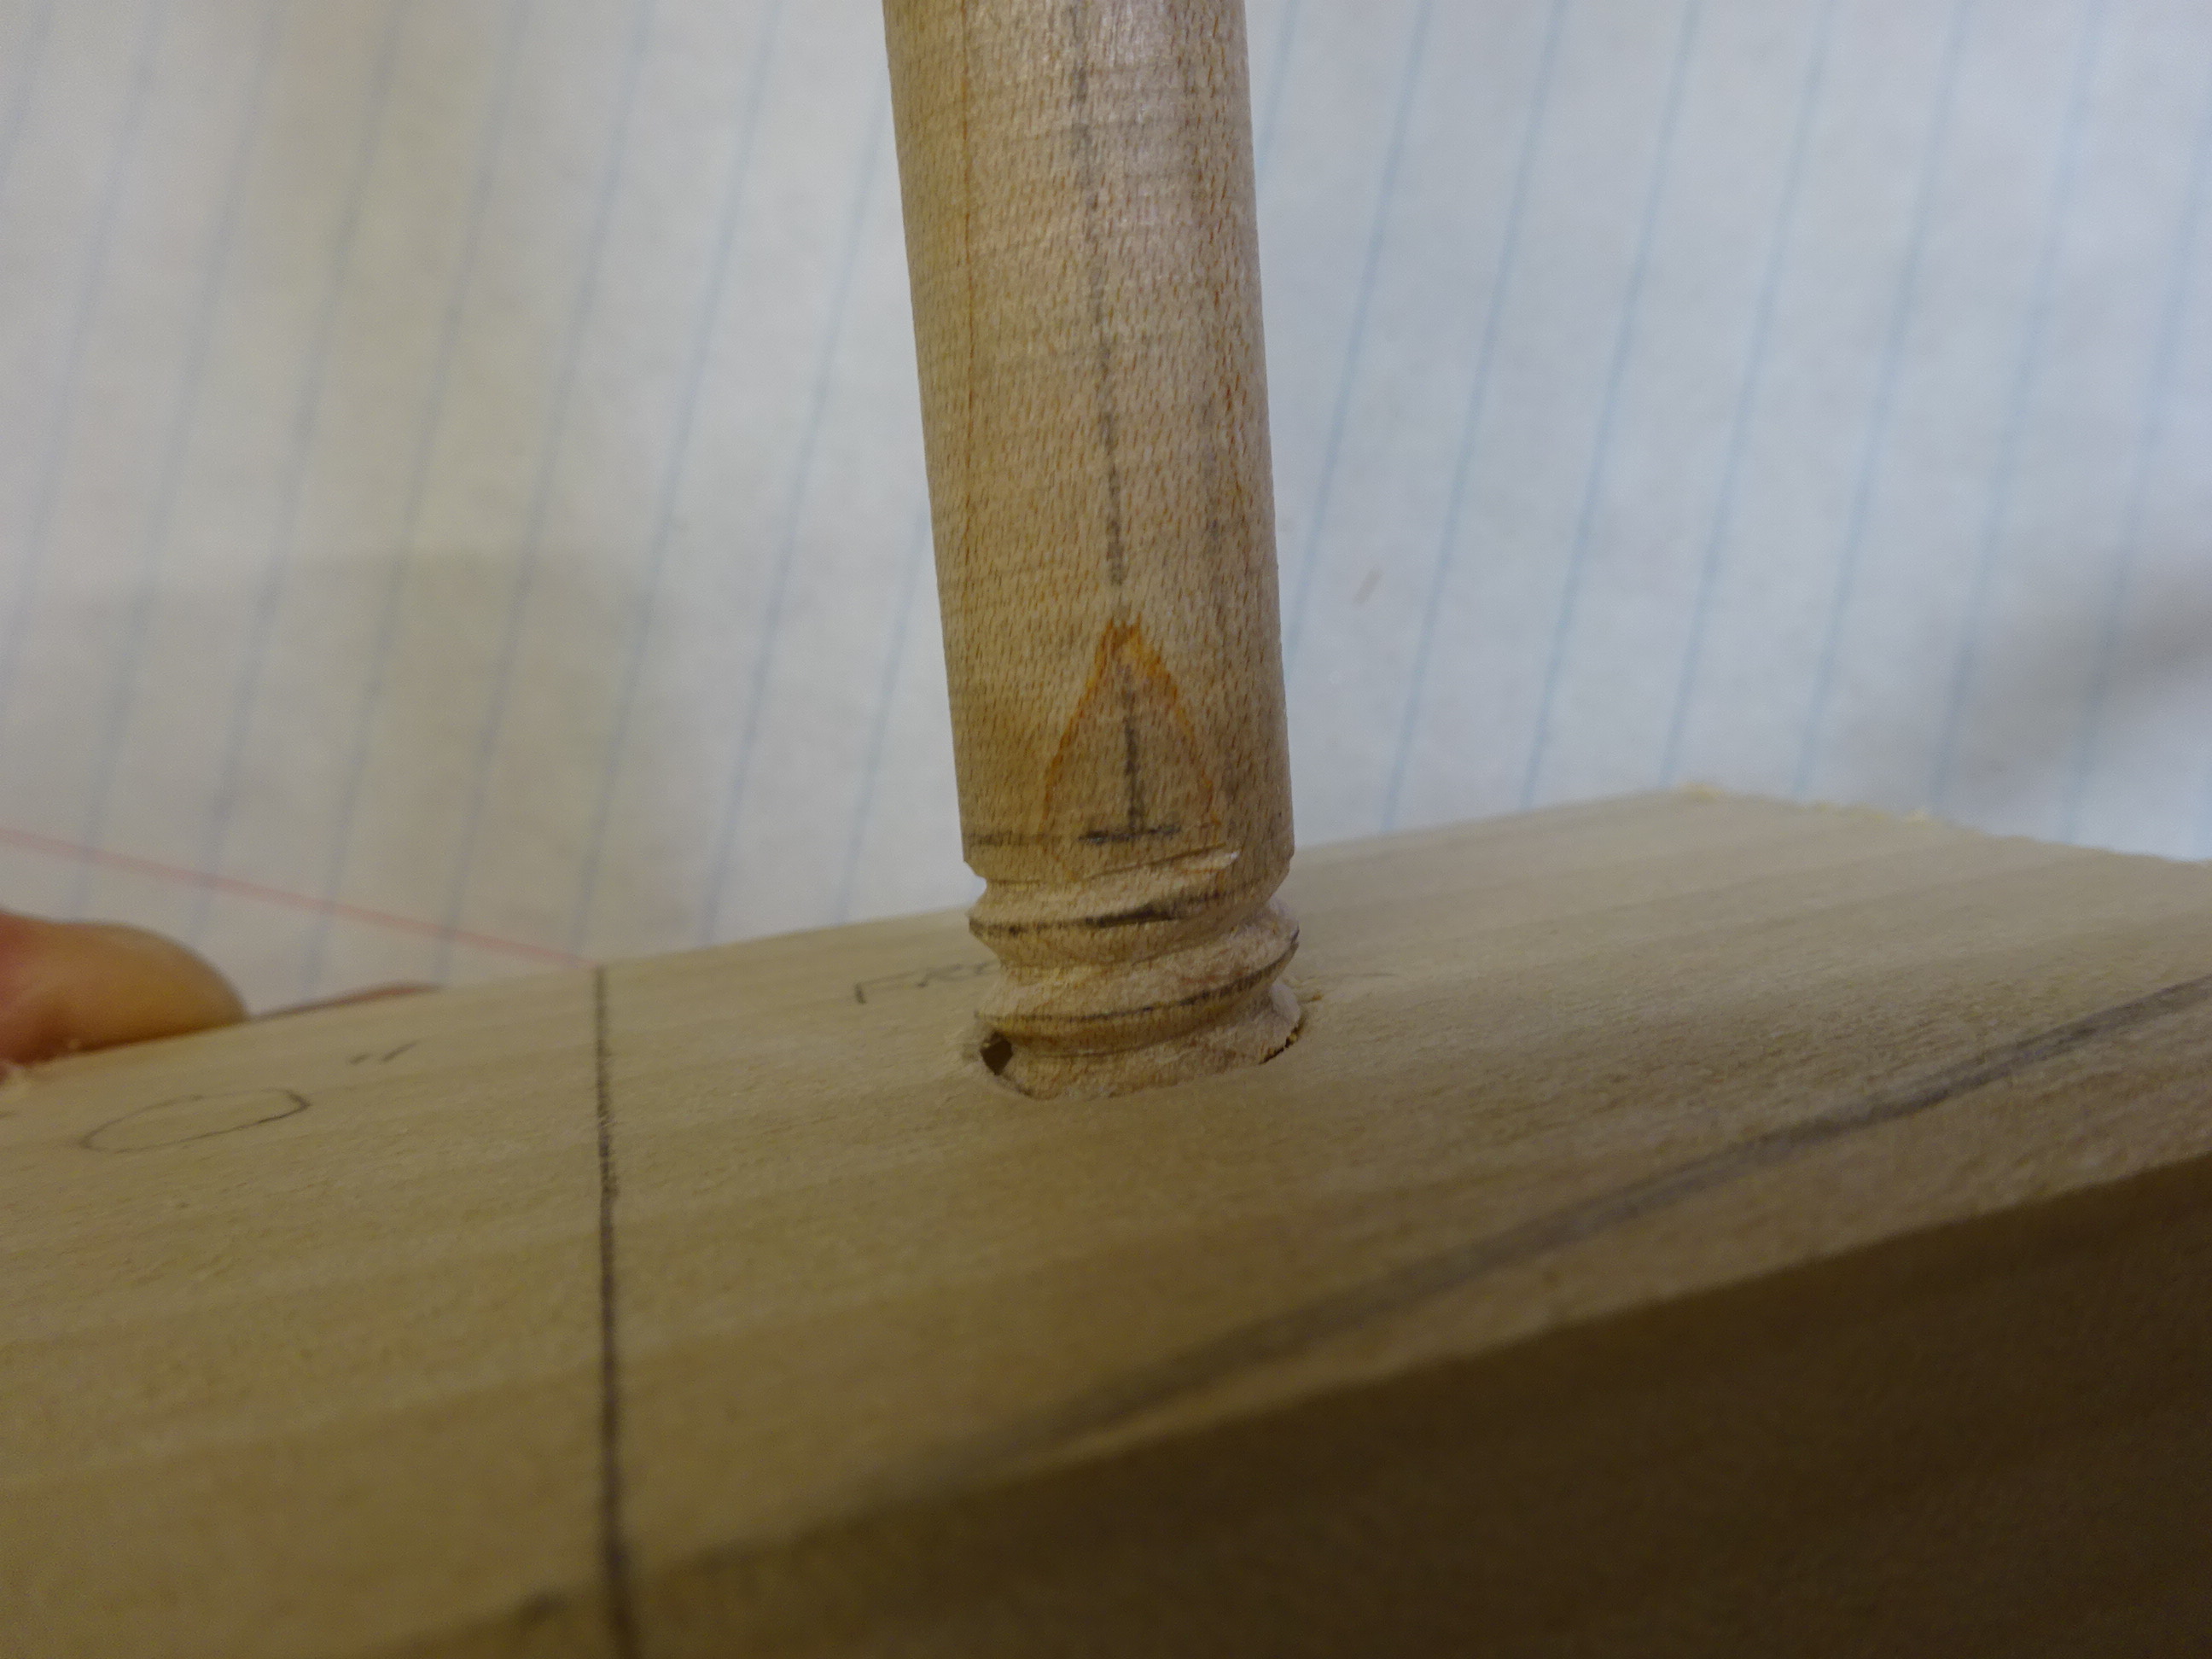
My plan was to start with a screw having 1/2" major diameter and 8 threads per inch. A 3/8" diameter just seemed too small for now. Using 8 tpi, (1/8" thread pitch) makes the numbers come out nice. I started with a 1/2" square blank and on each face, I knifed and penciled lines every 1/8". The lines on each consecutive face were 1/32" offset from the prior face. After planing the workpiece round, The lines were still visible and I could connect them with pencil.
 |
| Ready to connect the layout lines and get filing |
 |
| After filing the threads with a square file |
This worked fairly well, but I still needed to see if it would fit into a nut with the same thread pitch. For the nut, I first tried using the method I had success with a couple years ago. I made a block with a 7/16" hole (the minor diameter of the screw) through a face and then cut a saw kerf in an edge at an angle down to and a little bit into the 7/16" hole.
 |
| You can see the 7/16" hole through the front face, as well as the slanted kerf at top of the block |
 |
| The kerf fits a slim card scraper - you can see the scraper extending into the hole just a little bit |
That 7/16" diameter stick in the above picture has a shallow spiral kerf sawn into it. This stick was laid out very carefully and sawn very carefully. This was the second try - the first was made from a very porous wood that was clearly not suitable for this purpose. The one above is maple.
 |
| The first attempt got destroyed in use. There is just not enough meat around those kerfs to withstand a little stress. |
A little below those threads, I drilled a 1/8" hole and fashioned a tiny cutter, which is just press-fit into the hole.
 |
| The cutter can be seen here - it's got a (roughly) 90 degree point |
In use, this spiral-kerfed piece gets placed into the block (the block with the 7/16" hole and slanted kerf), and the slim card scraper engages the kerf. As the cylinder is turned, it gets pulled into the block and the cutter can cut an inside thread in a workpiece that is clamped to the block.
 |
| Here's the cylindrical piece engaged with the card scraper in the block. Note the spacers taped to the front of the block. |
 |
| Here, I've added a workpiece that had a 7/16" hole bored through it. The block and workpiece are clamped in a bench vise. |
 |
| In this view from above, you can see the spacers allow you to see between the workpiece and the block. This way you know when the cutter exits the workpiece as the cylindrical piece is turned. |
At first, the cutter is barely showing as you turn it through the workpiece. After retracting the cutting cylinder, you advance the cutter and run it through again. And again. And again ... until the threads are well formed and deep enough. For threads this size it only takes a few passes.
 |
| Here are the internal threads that were just cut |
 |
| And the screw fits! Success! |
Well, so this post doesn't get too long, I'll end here and pick up next time with a second method. I'm fairly excited about it because it doesn't rely on the spiral kerf cut into the cutter stick. Maybe eventually there can be some success with 3/8" diameter sticks!


