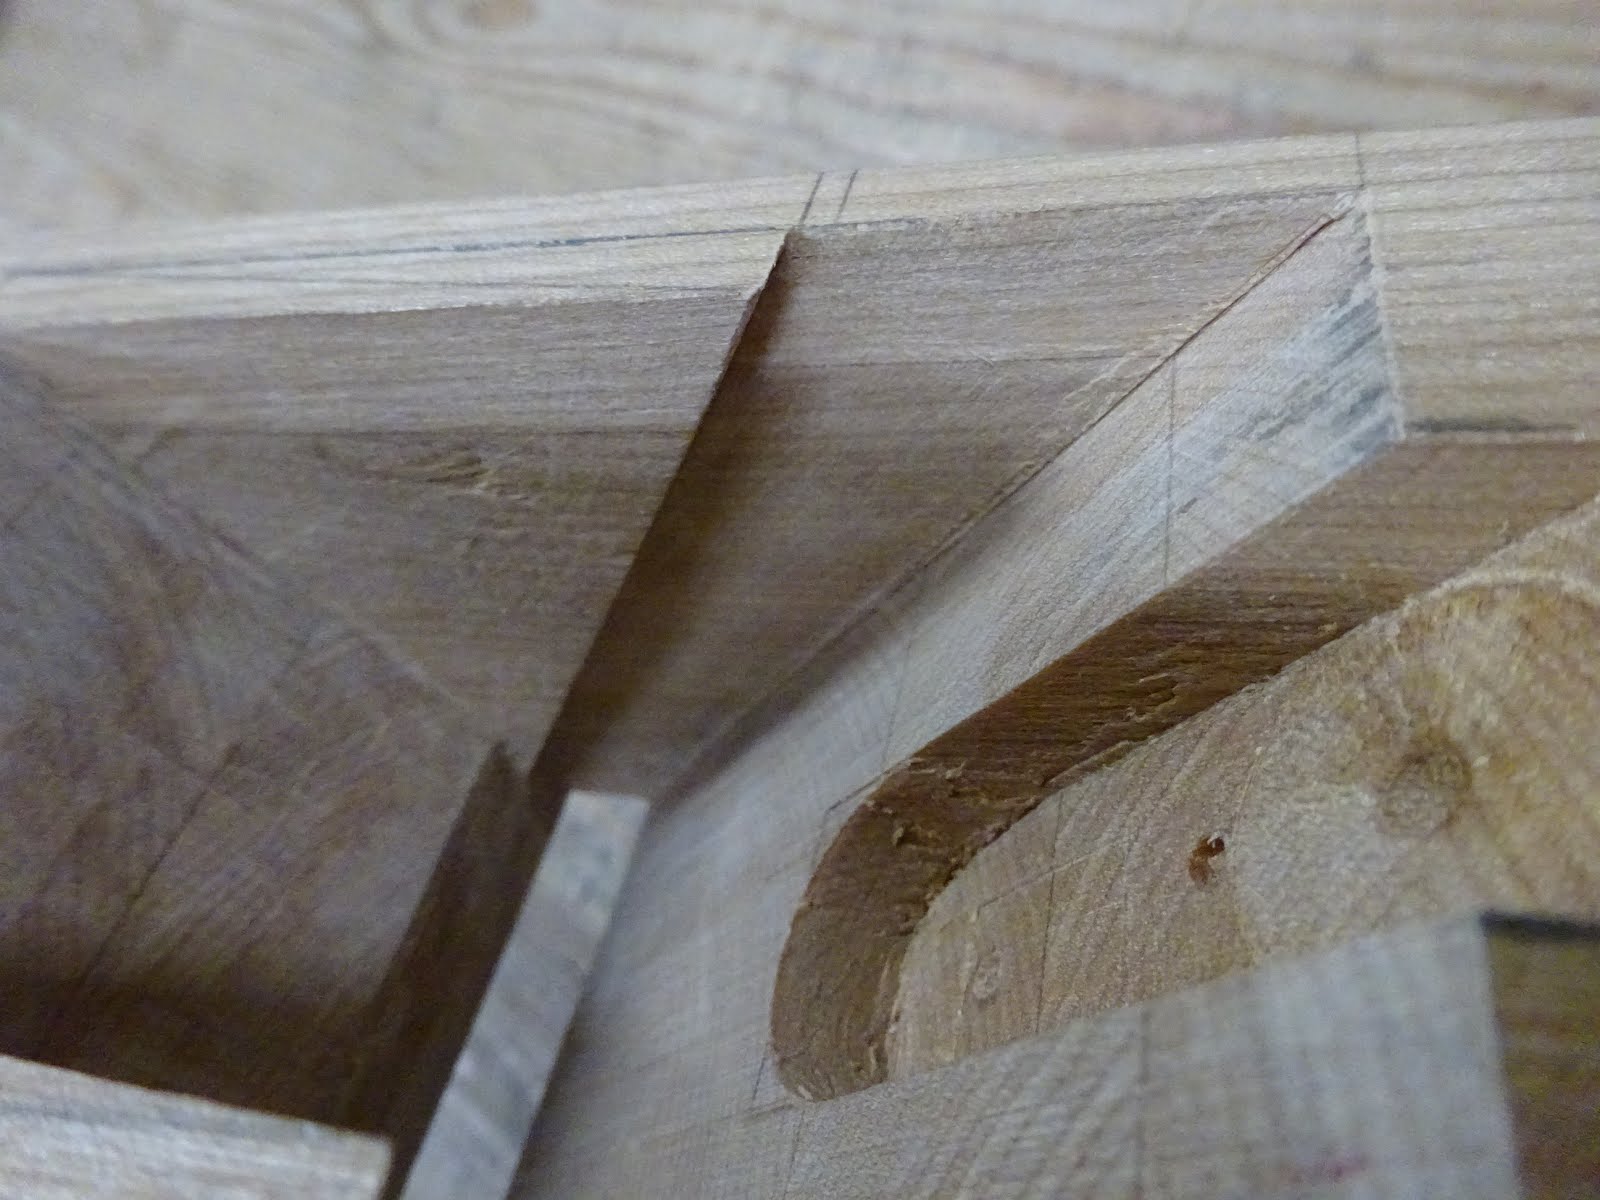
In
the previous post, I finished the primary excavation. That left me with a flat bed, though it was narrower than it needed to be. I needed to extend the bed to the full width of the iron, plus 1/16", and this would create the abutments and form the recesses for the iron and wedge. Here's how it was done.
 |
| Used a flush-cut saw down to the 1/4" line, referencing off the bed ... |
 |
| ... but used a 0.019" thick cereal box shim to ensure not going below the bed line |
 |
| For the final plane, I used a 0.010" thick brass shim |
 |
| Can't see them here, but I also marked 1/4" depth lines on the saw blade so that I wouldn't saw too deep |
For the cut that defines the front aspect of the abutment recess, I made a temporary sawing guide at the combined angle of the iron and wedge and screwed it to the bed. I was able to use the layout lines on the plane body to figure out the angle.
 |
| The temporary sawing guide screwed to the bed |
 |
| In this close-up, you can see I positioned the guide so that the thickness of the saw will get me to the cut line |
 |
| Then I sawed to 1/4" depth ... |
 |
| ... and I'm left with the abutment recess delineated |
 |
| Then some careful paring gets the side walls down to the sawn lines |
You can see that my shims left me some material to pare away. But the nice, flat bed gave a good surface to reference a chisel against to pare that down even with the bed. That was the reason, BTW, that I used the thinner shim on the final plane - paring the leftover bit on the prototype from using the 0.019" thick shim was harder than it needed to be.
 |
Here's the completed abutment recess on the final plane.
The slot for the cap-iron screw has also been drilled and chiseled out. |
The next step in shaping the throat was to widen the front aspect. I showed the following sketch a couple weeks ago when posting about throat geometry. The throat is widened by cutting down from "1" to "3", with the saw angled to cut 1/4" deep at "1" and not at all at "3".
 |
| Throat widened at front |
 |
| Cutting at an angle - you can see the teeth down deep are not engaged in wood |
Then it's a matter of paring away the waste to get a smooth side wall, angled at top. Finally, I marked and cut to lines for the "eyes", the softened edges that spare tender fingers when clearing the throat of shavings.
 |
| "Eyes" laid out |
 |
On the prototype, I pared about the same amount on top as on sidewall (basically 45° paring).
That was a mistake that I corrected on the final plane, cutting more on the sidewall than on the top. |
I'll continue next time with the wedge, first cuts and final shaping.