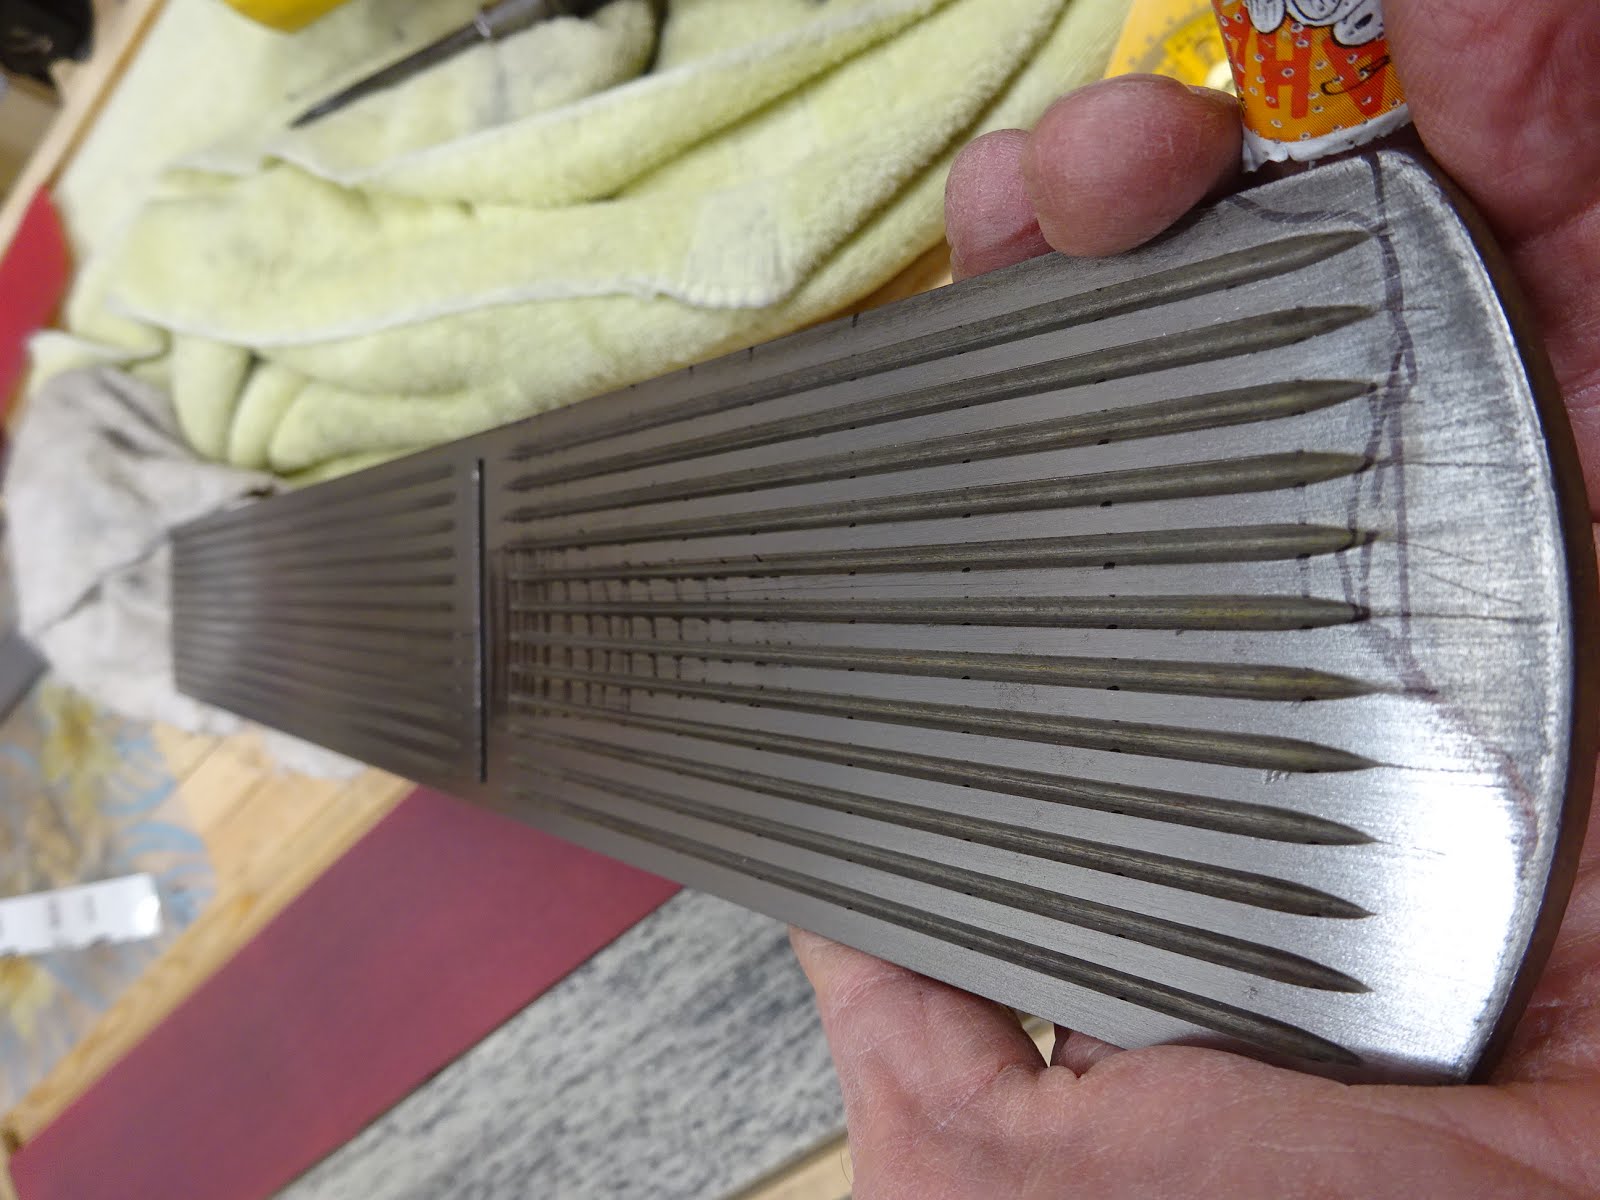
Part 1 of this series is
here.
Part 2 of this series is
here.
To flatten the sole, I first mark lines across it, with special attention near the mouth.
 |
| Sharpie marks on entire sole |
 |
| Extra marks near mouth |
I'm using sandpaper on a glass plate. It's important that the sandpaper be well attached to the glass. I don't have a J-roller, so I use a rolling pin (don't tell the wife ...) to get the sandpaper as flat as possible on the glass.
 |
| Getting any air bubbles out from under the sandpaper |
There are those who say you should have the iron in the plane when flattening the sole and there are those who say it doesn't matter. I'm in the former camp, so the iron stays in but well retracted while flattening the sole.
After a few strokes on the sandpaper (I started with 80 and 100 grit paper), you get an idea of what you're up against.
 |
| As expected, hollow in the center, especially in front of the mouth |
 |
| After a bit more sanding: hollow in front of mouth and low spot at toe |
Just like when planing the surface of a board, I didn't want to sand any twist into the sole. So periodically I turned it upside down and checked with winding sticks.
 |
| I'll take that - looks pretty good |
It took several sandpaper changes, but eventually I got rid of the hollow in front of the mouth.
 |
| Still a few thin lines running lengthwise, but they won't affect planing. I'm calling this good. |
As for the iron, it was dirty and had a little rust, but it cleaned up easily with sandpaper and/or wire wheel. Flattening the back took a while, but eventually I got it.
 |
| After some work on the coarse diamond stone, you can see the outsides are not being reached |
 |
| Progressing, but still not there |
I eventually used the McGuire trick of hammering the iron on the bevel side to bend the outsides a little bit. This was nerve-wracking, fearing that I might crack or break the iron, but it worked and I was able to get the back of the iron flat.
The edge was WAY out of square and the bevel was shaped poorly. I ground it with the hand-crank grinder to get it close before sharpening on the diamond stones.
 |
| Something odd here |
In the picture above, I drew the top line registering a square along the right side of the iron. The lower line was drawn registering off the left side. Apparently the sides of this iron are not parallel - it narrows a little as it gets farther from the edge.
It took several iterations working with the iron and the cap-iron to get them to mate properly, but eventually they came together gap-free.
The next and last part of this restoration will be about fixing the broken tote.