A few month ago, Ralph (the Accidental Woodworker) sent me a wooden plane that he had acquired some years back. He couldn't find the iron and chip breaker, so I just have the wooden parts. He said the original iron didn't fit the plane well, with no lateral adjustability down in the throat.
 |
| About 16" long, made for an iron about 1 1/8" wide |
 |
| J. KELLOGG AMHERST, MS [MS was the old abbreviation for Massachusetts] |
I found a little information about J. Kellogg. Most articles referenced Pollak's "A Guide to the Makers of American Wooden Planes". James Kellogg did business from the mid 1830's until retirement in 1867. After that, his son William continued the business, keeping his father's logo. The business shut down in 1886 due to a dam failure that cost the business its source of power (and maybe washed away the buildings). So this plane is at least 137 years old.
While the plane body is in great shape, some work was needed. A new iron needed to be fit to it, and the lower part of the tote had broken off and needed to be fixed or replaced.
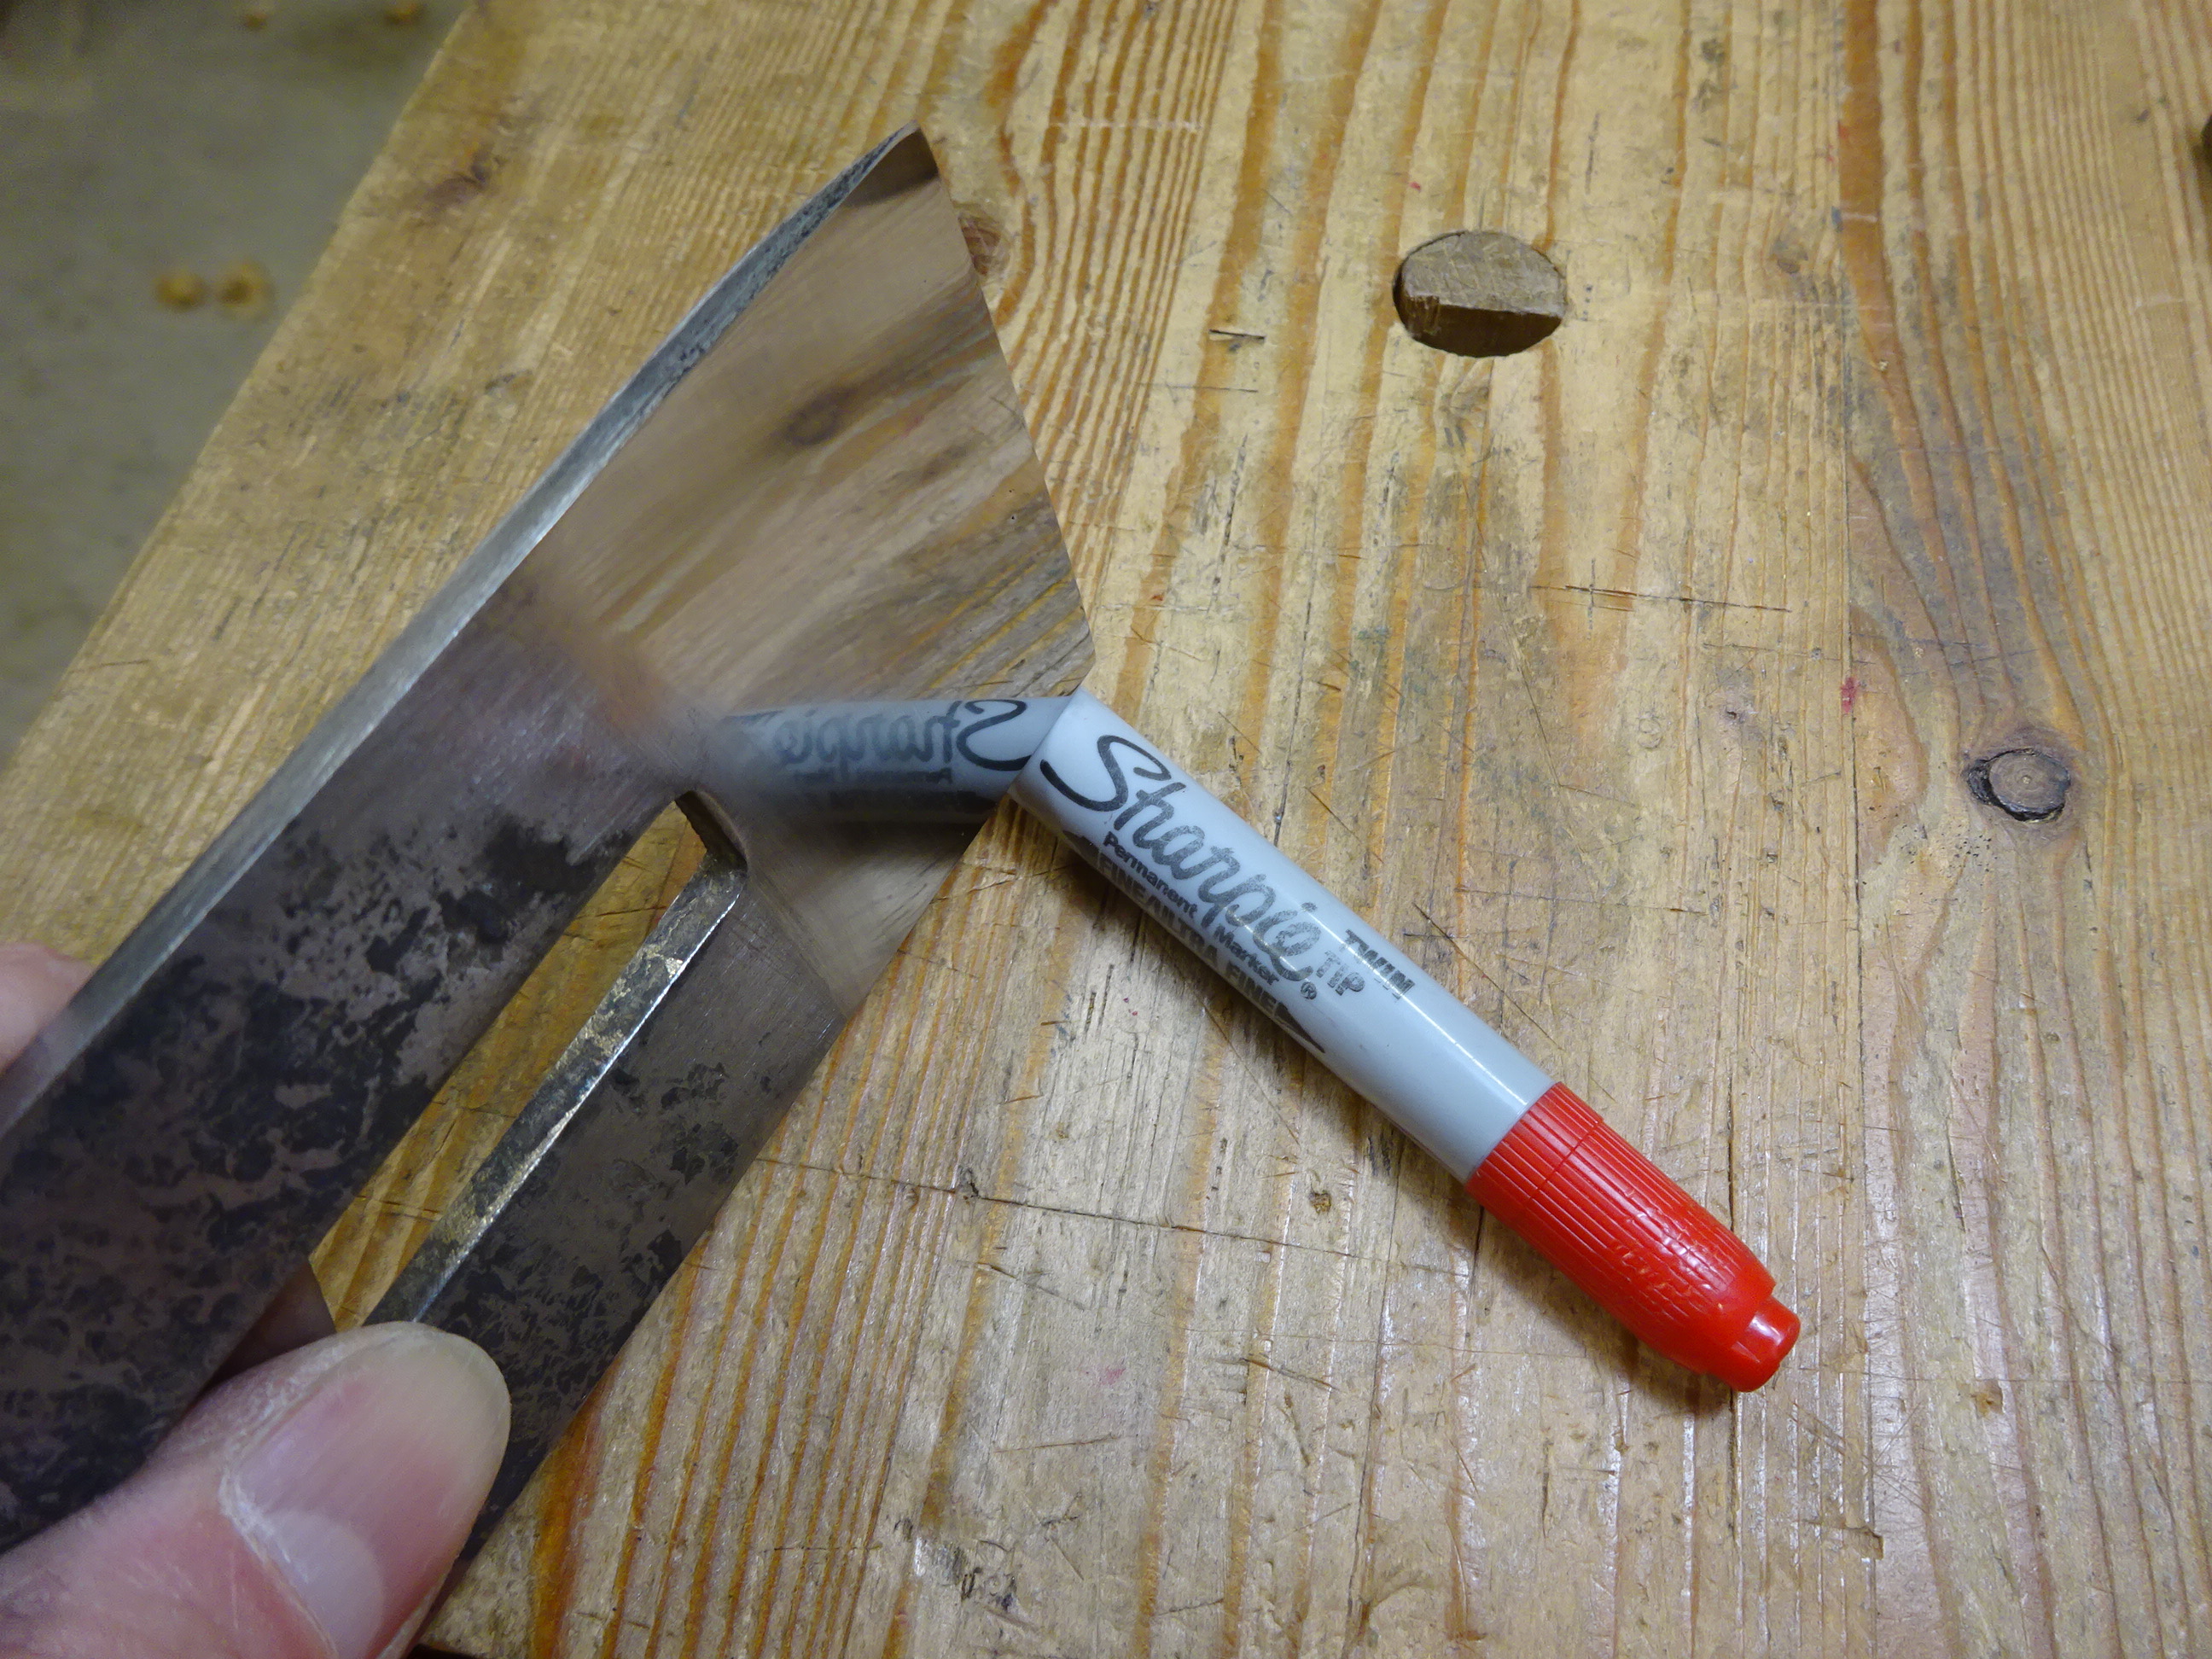
At a tool show last October, I bought a couple old double irons with the intent of using one for this plane. Both were about 1 1/8" wide.
 |
| Spear and Jackson top L. & I. J. White bottom |
 |
| Originally formed in Michigan in 1837, Leonard and Ichabod J. White moved the company to Buffalo, NY in 1843. The company lasted until 1928, when they merged with A. A. Simonds / Dayton Co. (reference) |
 |
| Spear and Jackson have such a long history that it would take a whole post to summarize. Started in 1760 as Spear and Love, they're still selling tools today! |
 |
| The L & IJ White iron is odd in that the cap-iron screw slot is off-center. Further look showed that one side had been ground. Originally, it was probably 2 1/4" wide. |
I decided to use the S&J iron. I'll grind the other side of the White iron to make a 2" wide iron with centered slot and use it for something else.
The first thing I did to the Kellogg plane was to true it up.
 |
| Planed the sole flat and twist-free |
 |
| Squared both sides to the sole |
Here's where I found the problem that Ralph had with this plane. The width of the Wedge mortise was wider than the mouth of the plane. This allowed a 1 1/8" iron a little room up top, but there was no adjustability at the mouth.
 |
| Almost 2 3/16" wide at top |
 |
| Less than 2 1/8" at mouth |
So I used chisels to pare the side walls of the wedge recesses even and flat.
 |
| Even after truing up this wedge recess, there were still gouges where the original iron scraped the sides |
Having removed material here, the original wedge no longer fit. Rather than glue pieces to each side of the wedge to make it wider, I made a new one. But first, I needed to fettle the blade, as that's needed before you can do final fitting of the wedge.
 |
| To make a loooooooong story short, I took a LOT of time to flatten the back, then sharpened with no camber and relieved the corners (like a smoother). |
The cap iron needed quite a lot of work to get it to mate well with the iron, but they now mate without any gap.
The wedge was made from a piece of cherry, and I took a fair amount of time to ensure there were no gaps between wedge and plane body when tightened. As part of this, I fit the iron to the plane's bed using both the candle soot method and feeler gauges. After about a thousand iterations, it fits right.
 |
| Initial shaping of the wedge |
 |
| After final shaping and fitting |
The handle / tote needed serious work. First of all, the walls and bottom of the mortise were not true.
 |
| Truing up the mortise bottom with a router |
 |
| Paring the mortise walls vertical and evenly spaced |
I don't have any beech, so I glued the remaining piece of tote to a chunk of cherry and shaped it as best as I could. One key thing about fitting this is to ensure the tote doesn't get in the way of the back end of the iron or the hammer used to adjust it.
 |
| I made these block years ago to plane a flat surface on broken plane totes |
 |
| Then glued it to a piece of cherry |
 |
| But this had the tote too tall - a hammer would hit the top of the tote when adjusting the iron |
 |
| Because I couldn't move the tote further back, I lowered it by removing the bottom 3/8" |
 |
| This gave enough room for a hammer to adjust the iron |
 |
| After some shaping, scraping and sanding, it was glued in. Note the thin wedge at front that filled a gap and forced the tote back in its mortise. |
Two more things: first, the mouth needed tightening and second, the plane needed a strike button.
 |
| Started out with about 1/8" opening |
 |
| Shaped a piece of quarter-sawn white oak and scribed its outline on the sole |
 |
| Excavated the area and glued in the patch to get a nice tight mouth |
 |
| Bored a 7/8" hole for a strike button |
 |
| Inserted a 7/8" diameter piece of white oak, protruding about 3/32". The grain is oriented left to right (relative to plane sides), hopefully fewer issues with wood movement this way |
The plane had been stained at some point in its life and I thought about staining it again, but that's not how I like wooden planes. I just added a couple coats of BLO and it's currently drying in the shop. On some test cuts, I'm able to plane shavings about 0.001" thick. I'll take that.
Thanks for the plane, Ralph.
I didn't know that the plane had that many issues. I never progressed beyond trying to deal with getting a new iron to fit. Still haven't found it and I know it is in the shop somewhere because I'm a pack rat. If and when I do find it I'll send it out to you. Nice to see that it is going to be making shavings again.
ReplyDeleteWell, it might not have absolutely needed everything I did, but I like to be thorough. Some jobs, like squaring the sides to the sole were not totally necessary in and of themselves, but it sure helped with the method I used to pare away the wedge mortise side-walls (plane on it's side, using a block on the bench to level a chisel for accurate paring). Also didn't really need a strike button, but I like them and it's little hassle.
DeleteGood thorough job. It gets to live again as a tool.
ReplyDeleteBob
Thanks Bob. It would be a shame if not used.
Delete"He said the original iron didn't fit the plane well, with no lateral adjustability down in the throat."
ReplyDeleteThis is something which happens when the plane body shrinks.
When severe shrinking occurs it can cause a split as the iron keeps its width.
I once bought a plane whose iron was seriously stuck in it. I finally could remove it after many strikes. I then enlarged the wedge recesses.
The second picture in this post might confirm your suspicion. Look at the grain orientation - bark side down, indicating that the sole might shrink more than the top. The sides (especially one side) being so out of square with the sole might also support this. Good sleuthing!
DeleteNicely done. Lot of detailed work on this one.
ReplyDeleteYeah, and there were even more details that I didn't fit into this post.
DeleteWould you be interested in me sending you my coffin smoother? The shavings gets jammed in the mouth and the blade needs heat treatment again. I just haven't had anytime to really look into it and I would love to put it to good use.
ReplyDeleteThanks for the offer, Salko. It's temptimg, but no thanks - I've got a couple of wooden smoothers. If you get the time to look into it, I hope you can figure out why shavings are jamming. I've got some ideas on what to look at, but they would take too much time and space to write them here.
DeleteAlright no worries
ReplyDeleteExcellent tutorial and walkthrough
ReplyDeleteThanks Poto. Good hearing from you.
Delete